Updating & Styling a boring bookcase {tutorial}
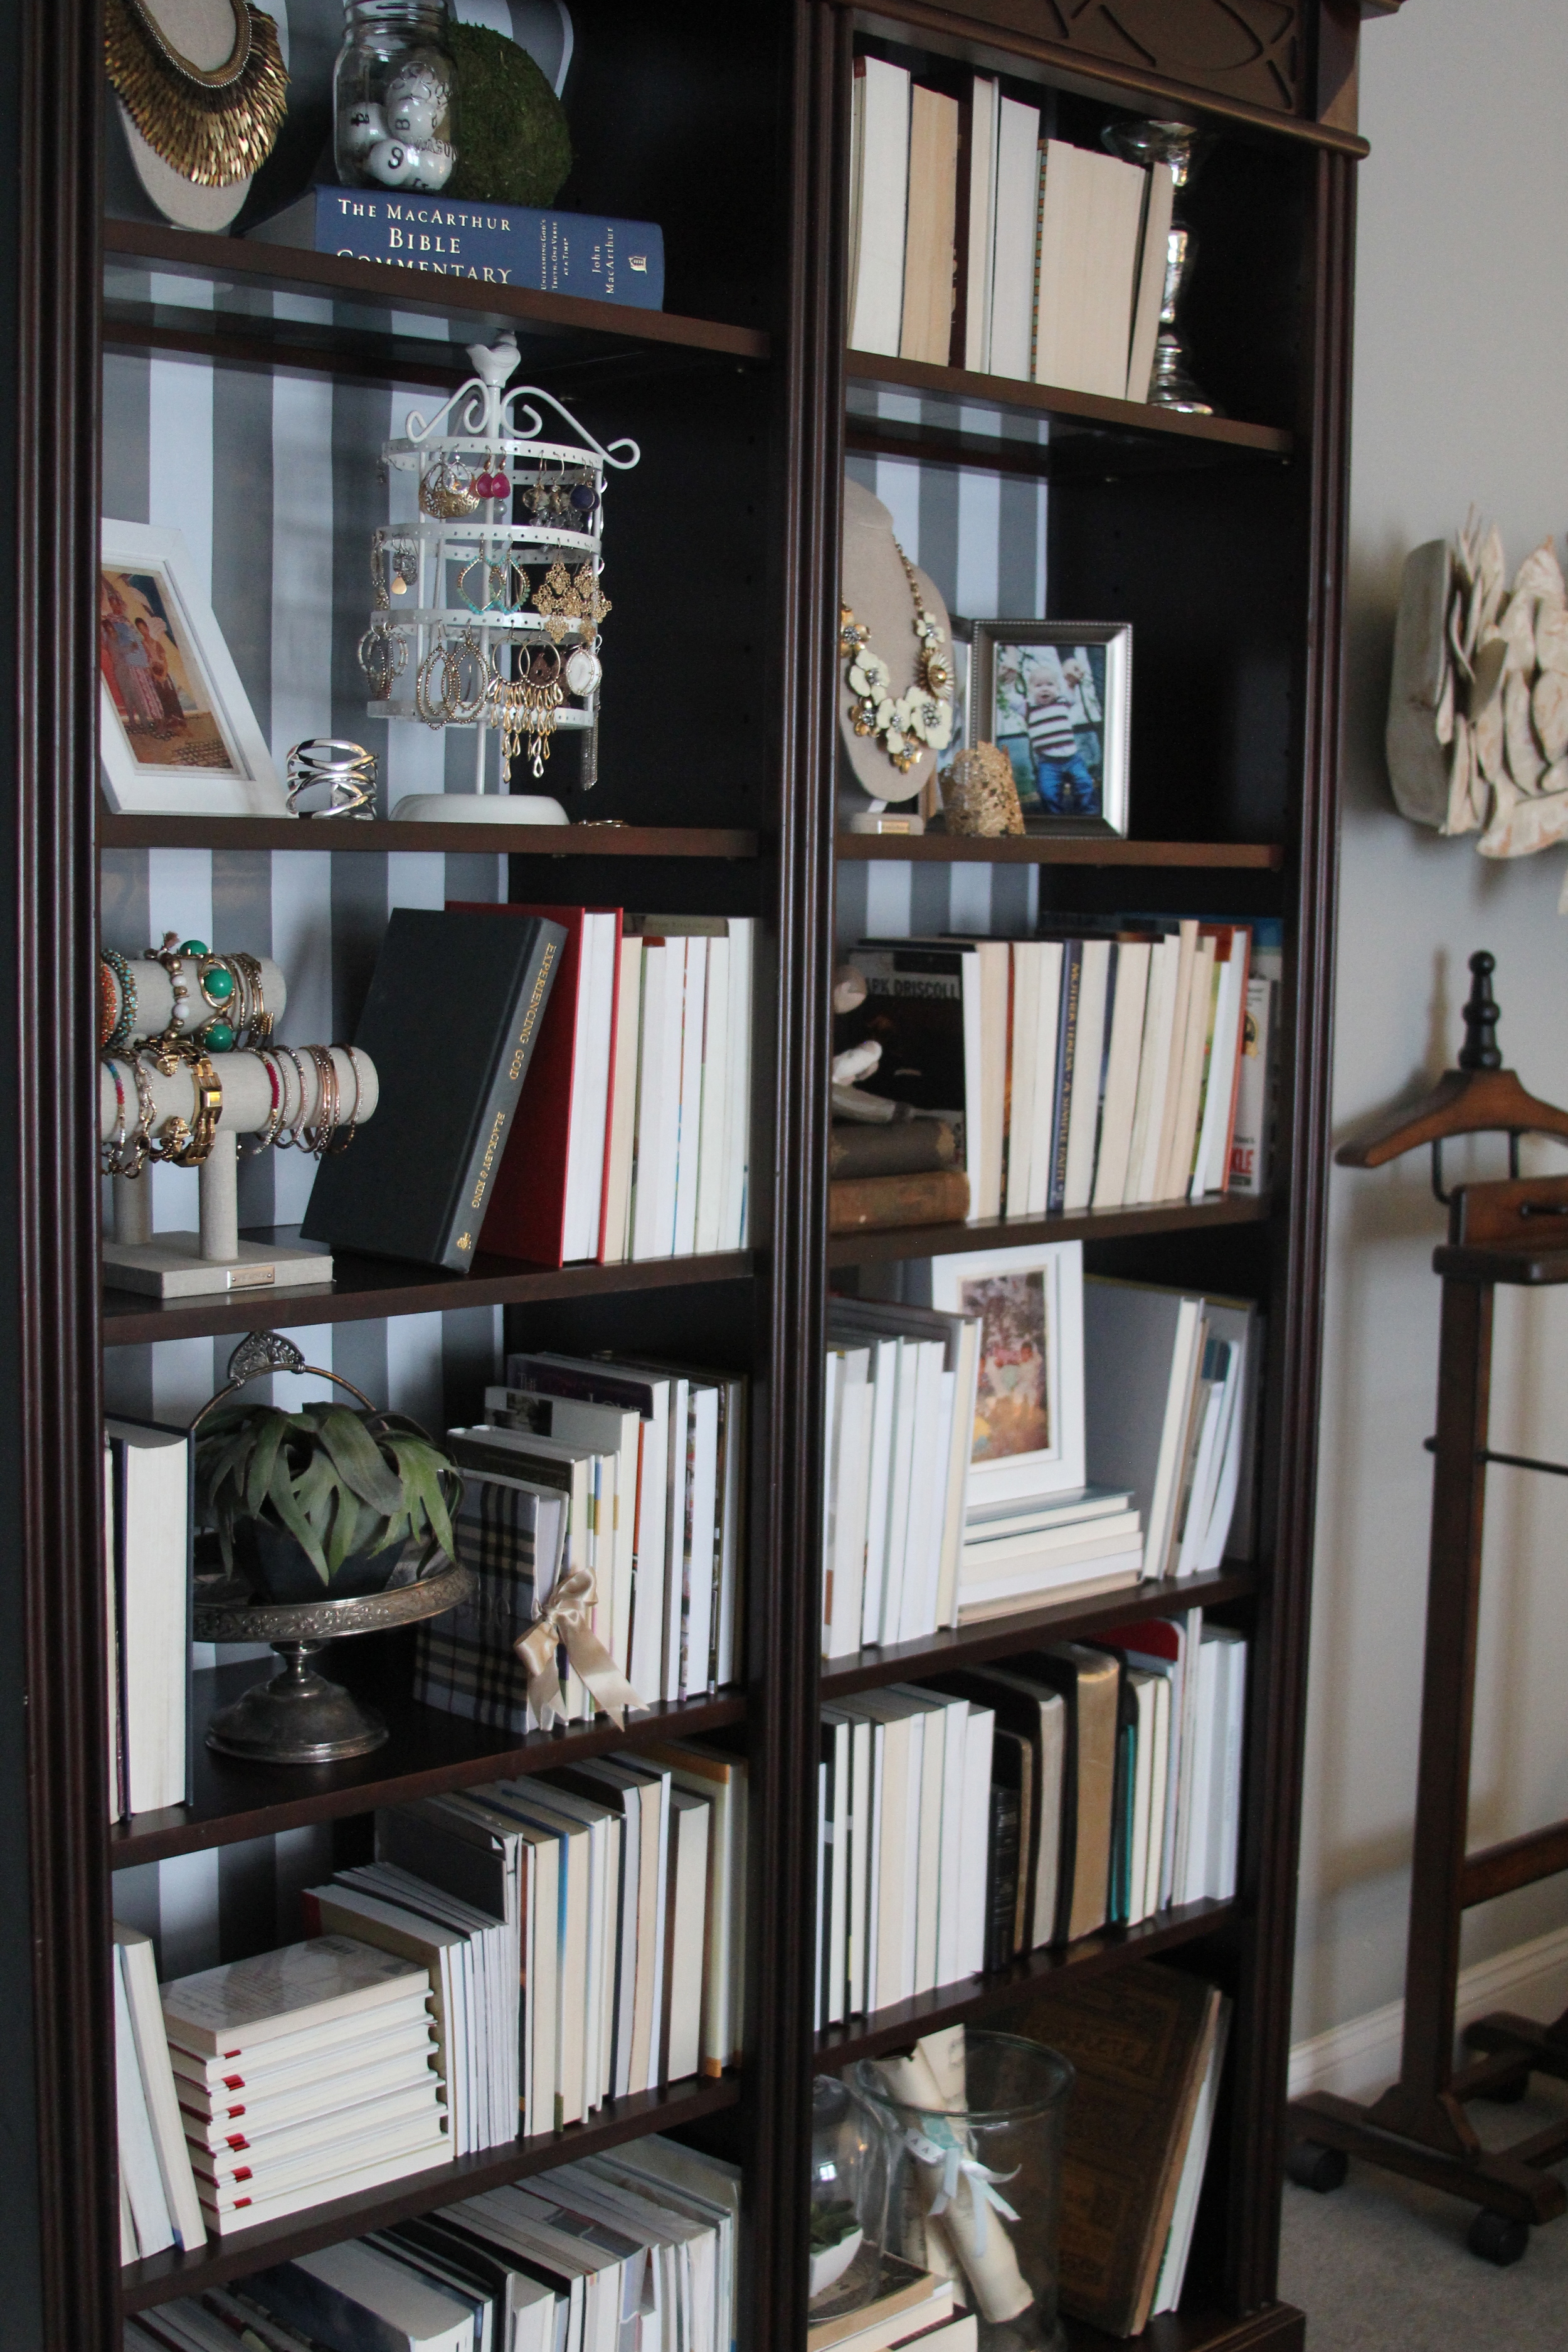

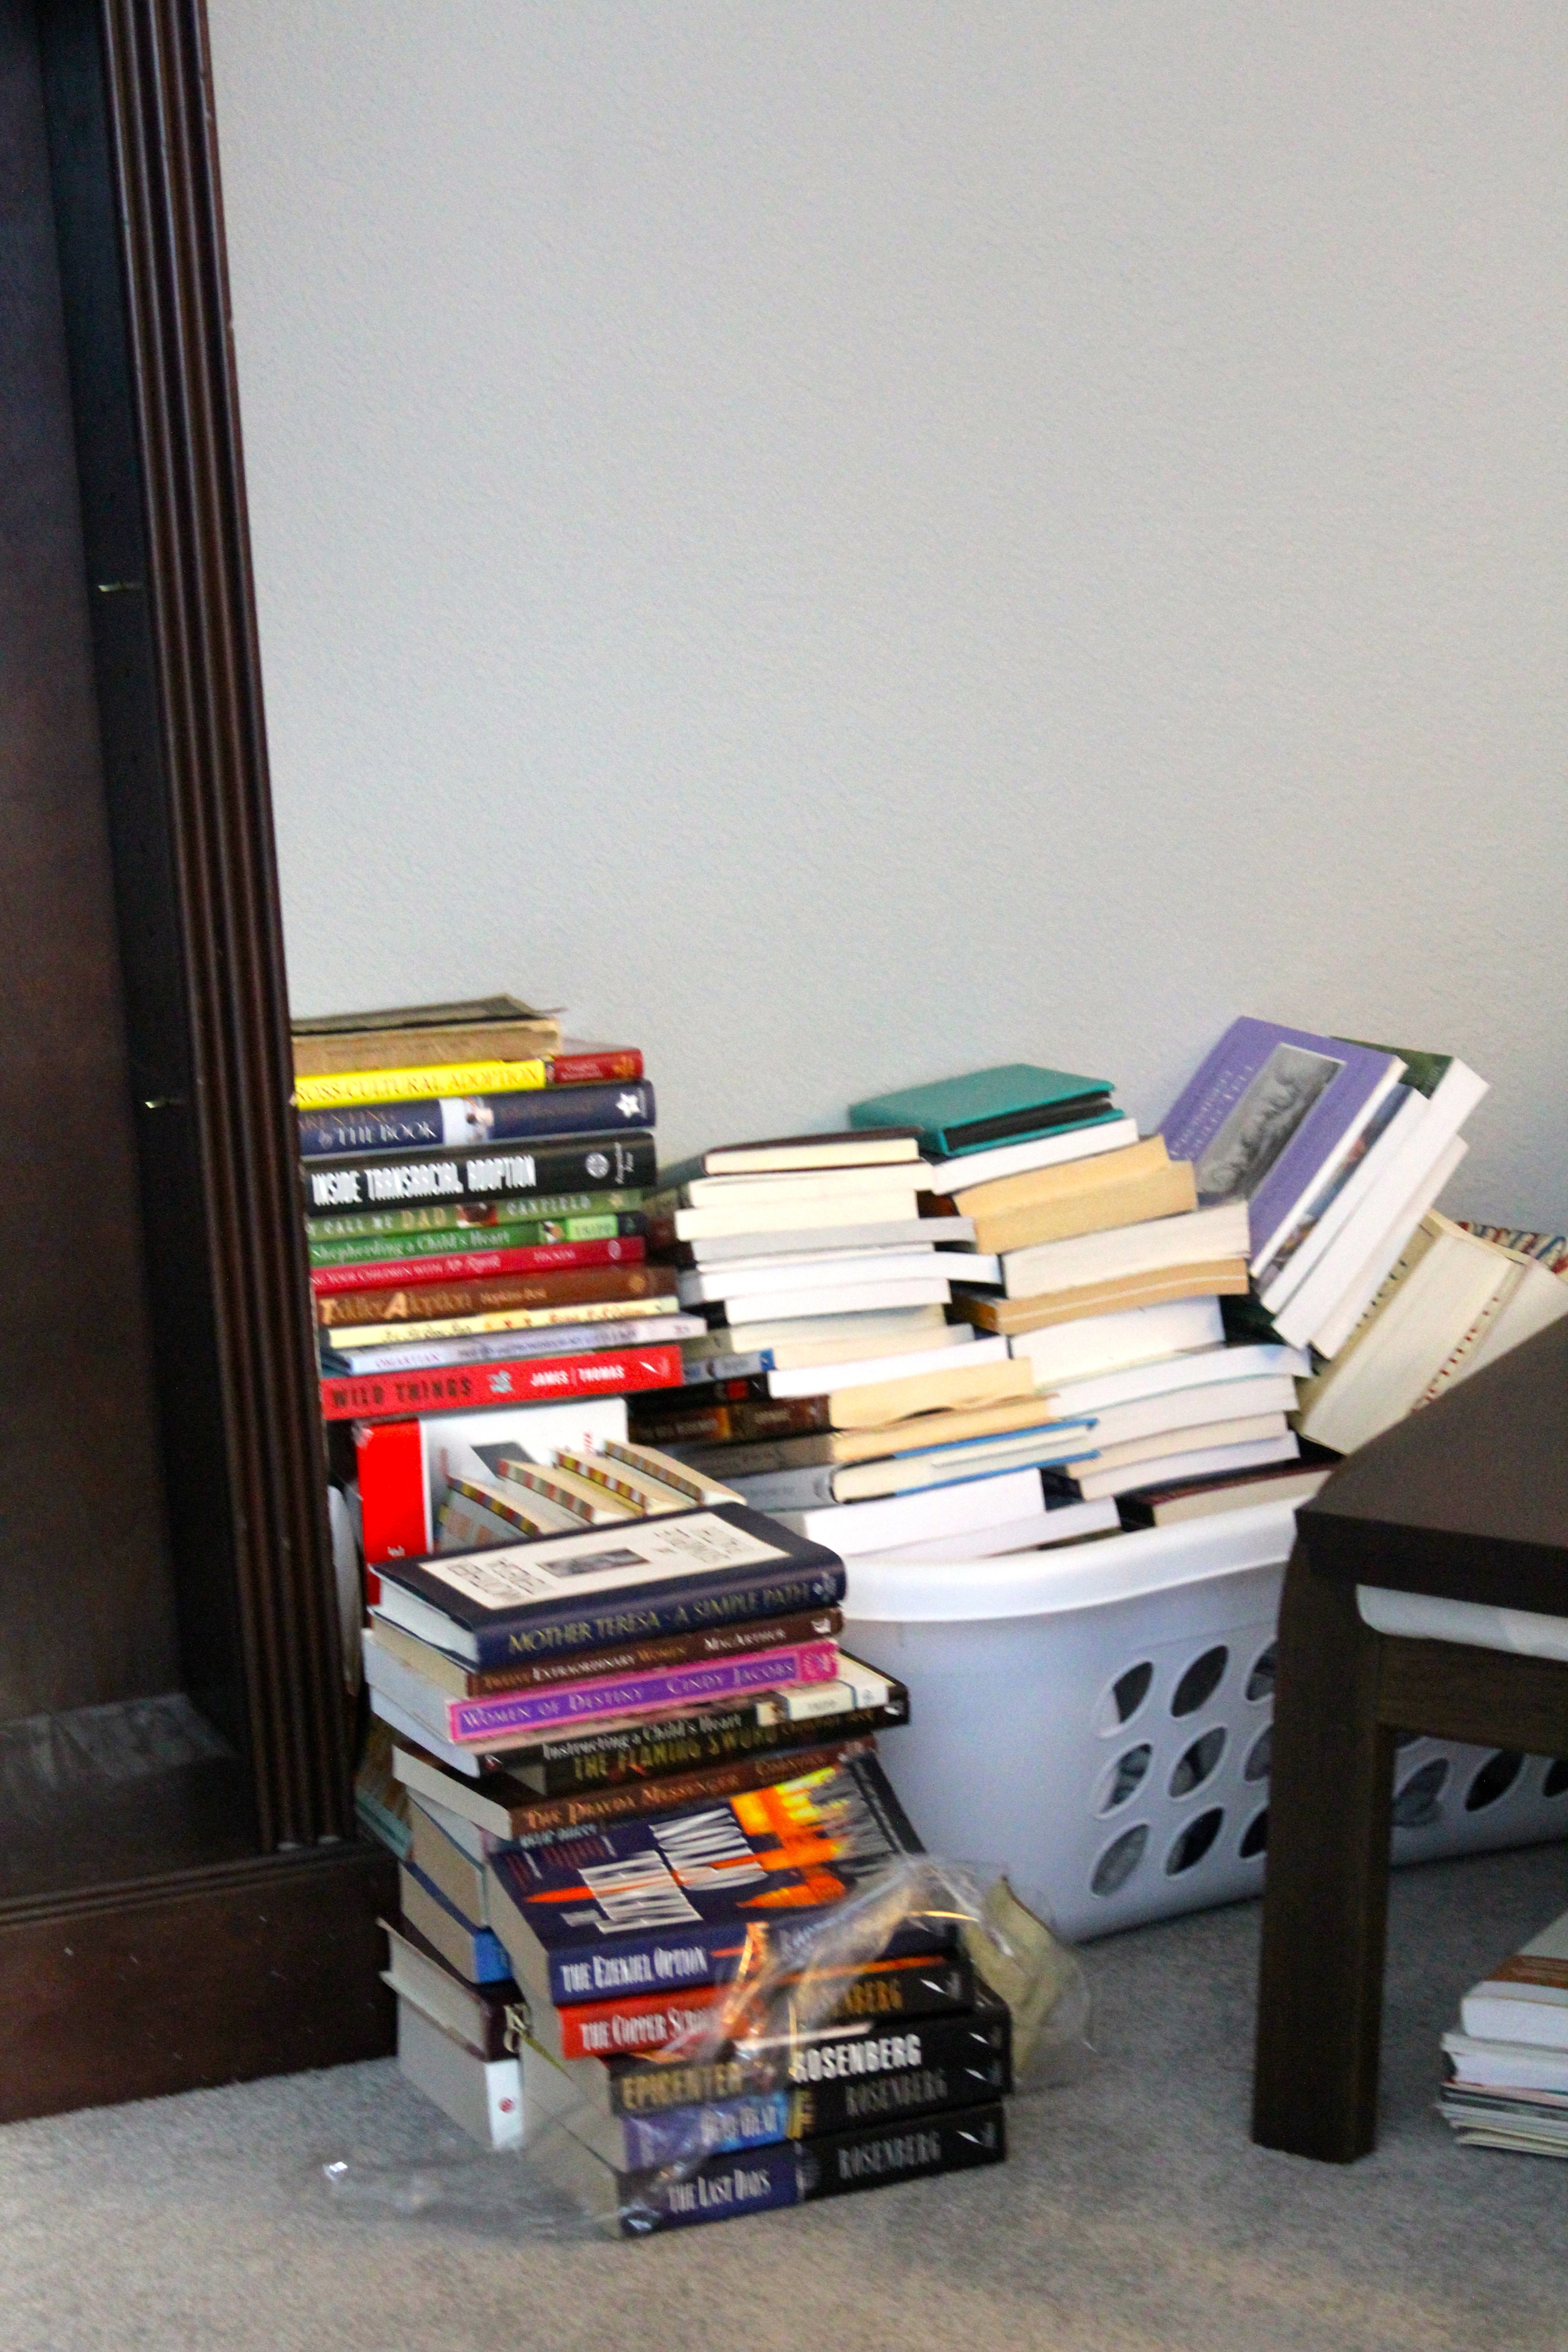
I have hated the cluttery mess of the bookcase in our Master Bedroom since moving in. Truly, I have been waiting to be inspired about what to do with our bedroom in general.

Sigh... clutter is just not sexy. Not romantic. Not soothing.
I couldn't handle it anymore so when the snow came this weekend & we were home and cozy...I finally had a chance to set to work.
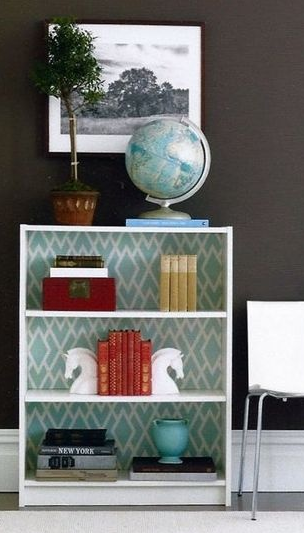
{source - exact link unknown}
I've seen photos like this for awhile, so when I happened onto a bunch of fantastic wrapping paper at Home Goods a few months ago, I thought it'd be a perfect way to bring my bookshelf back to life!
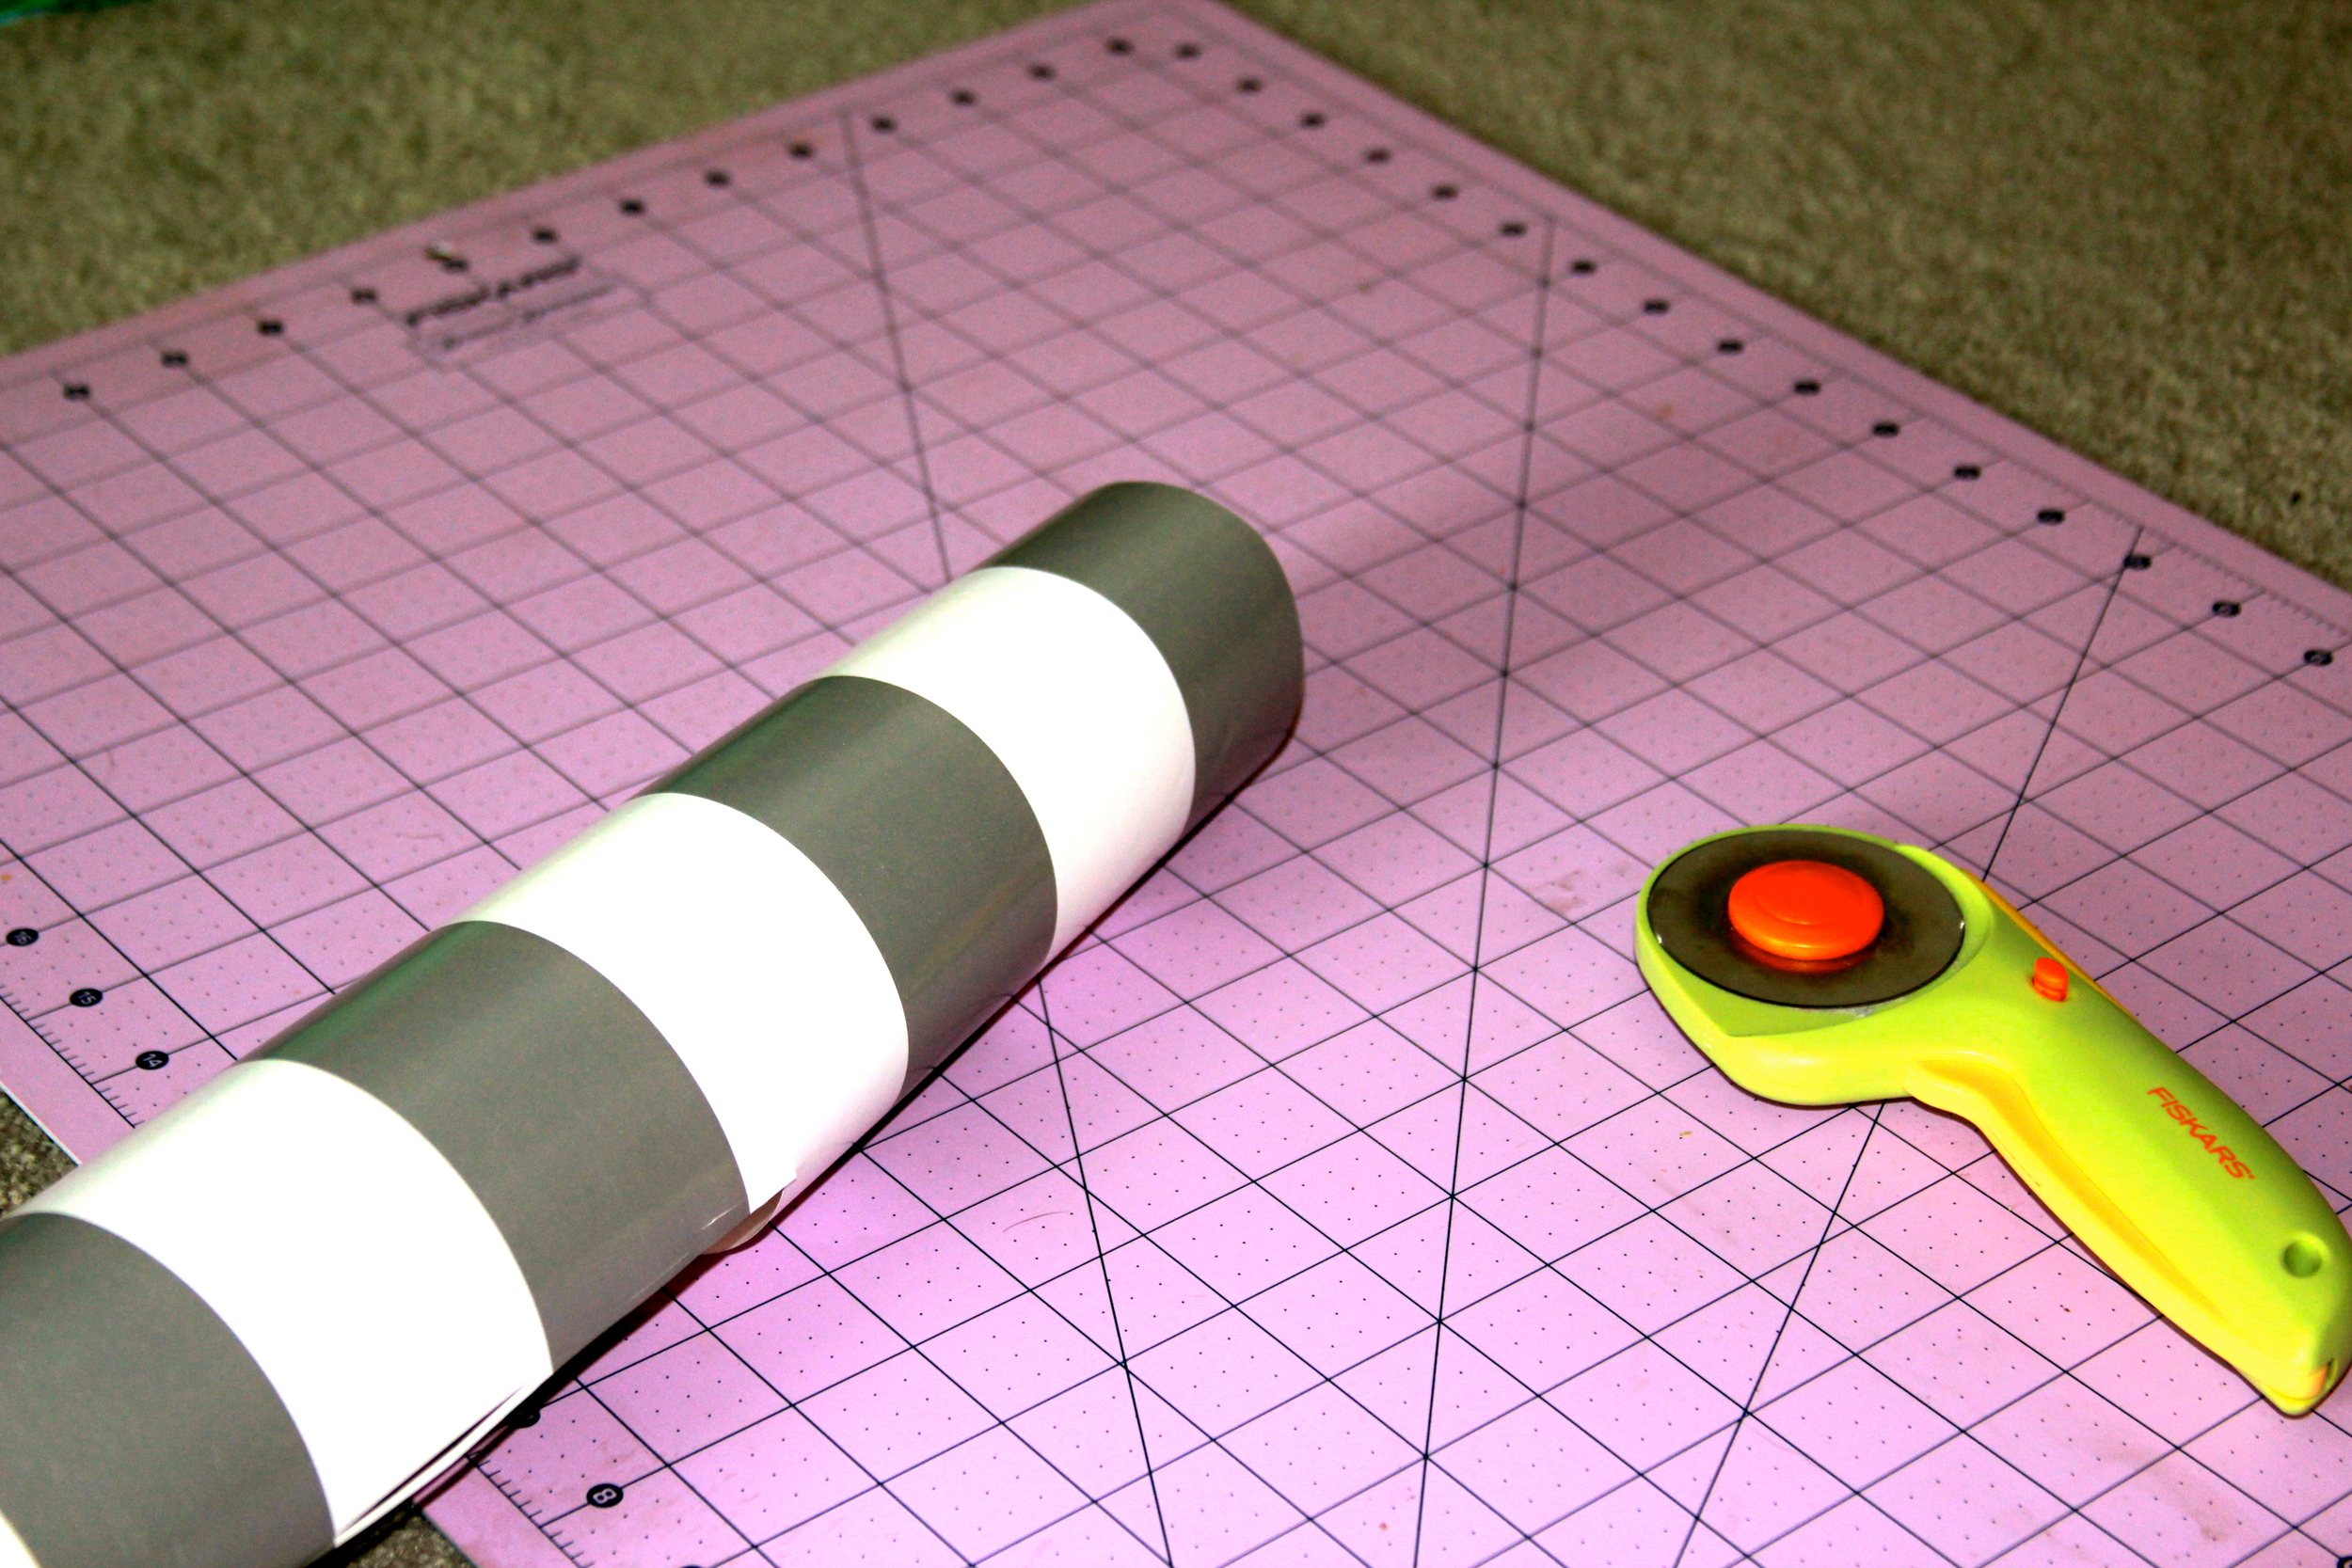
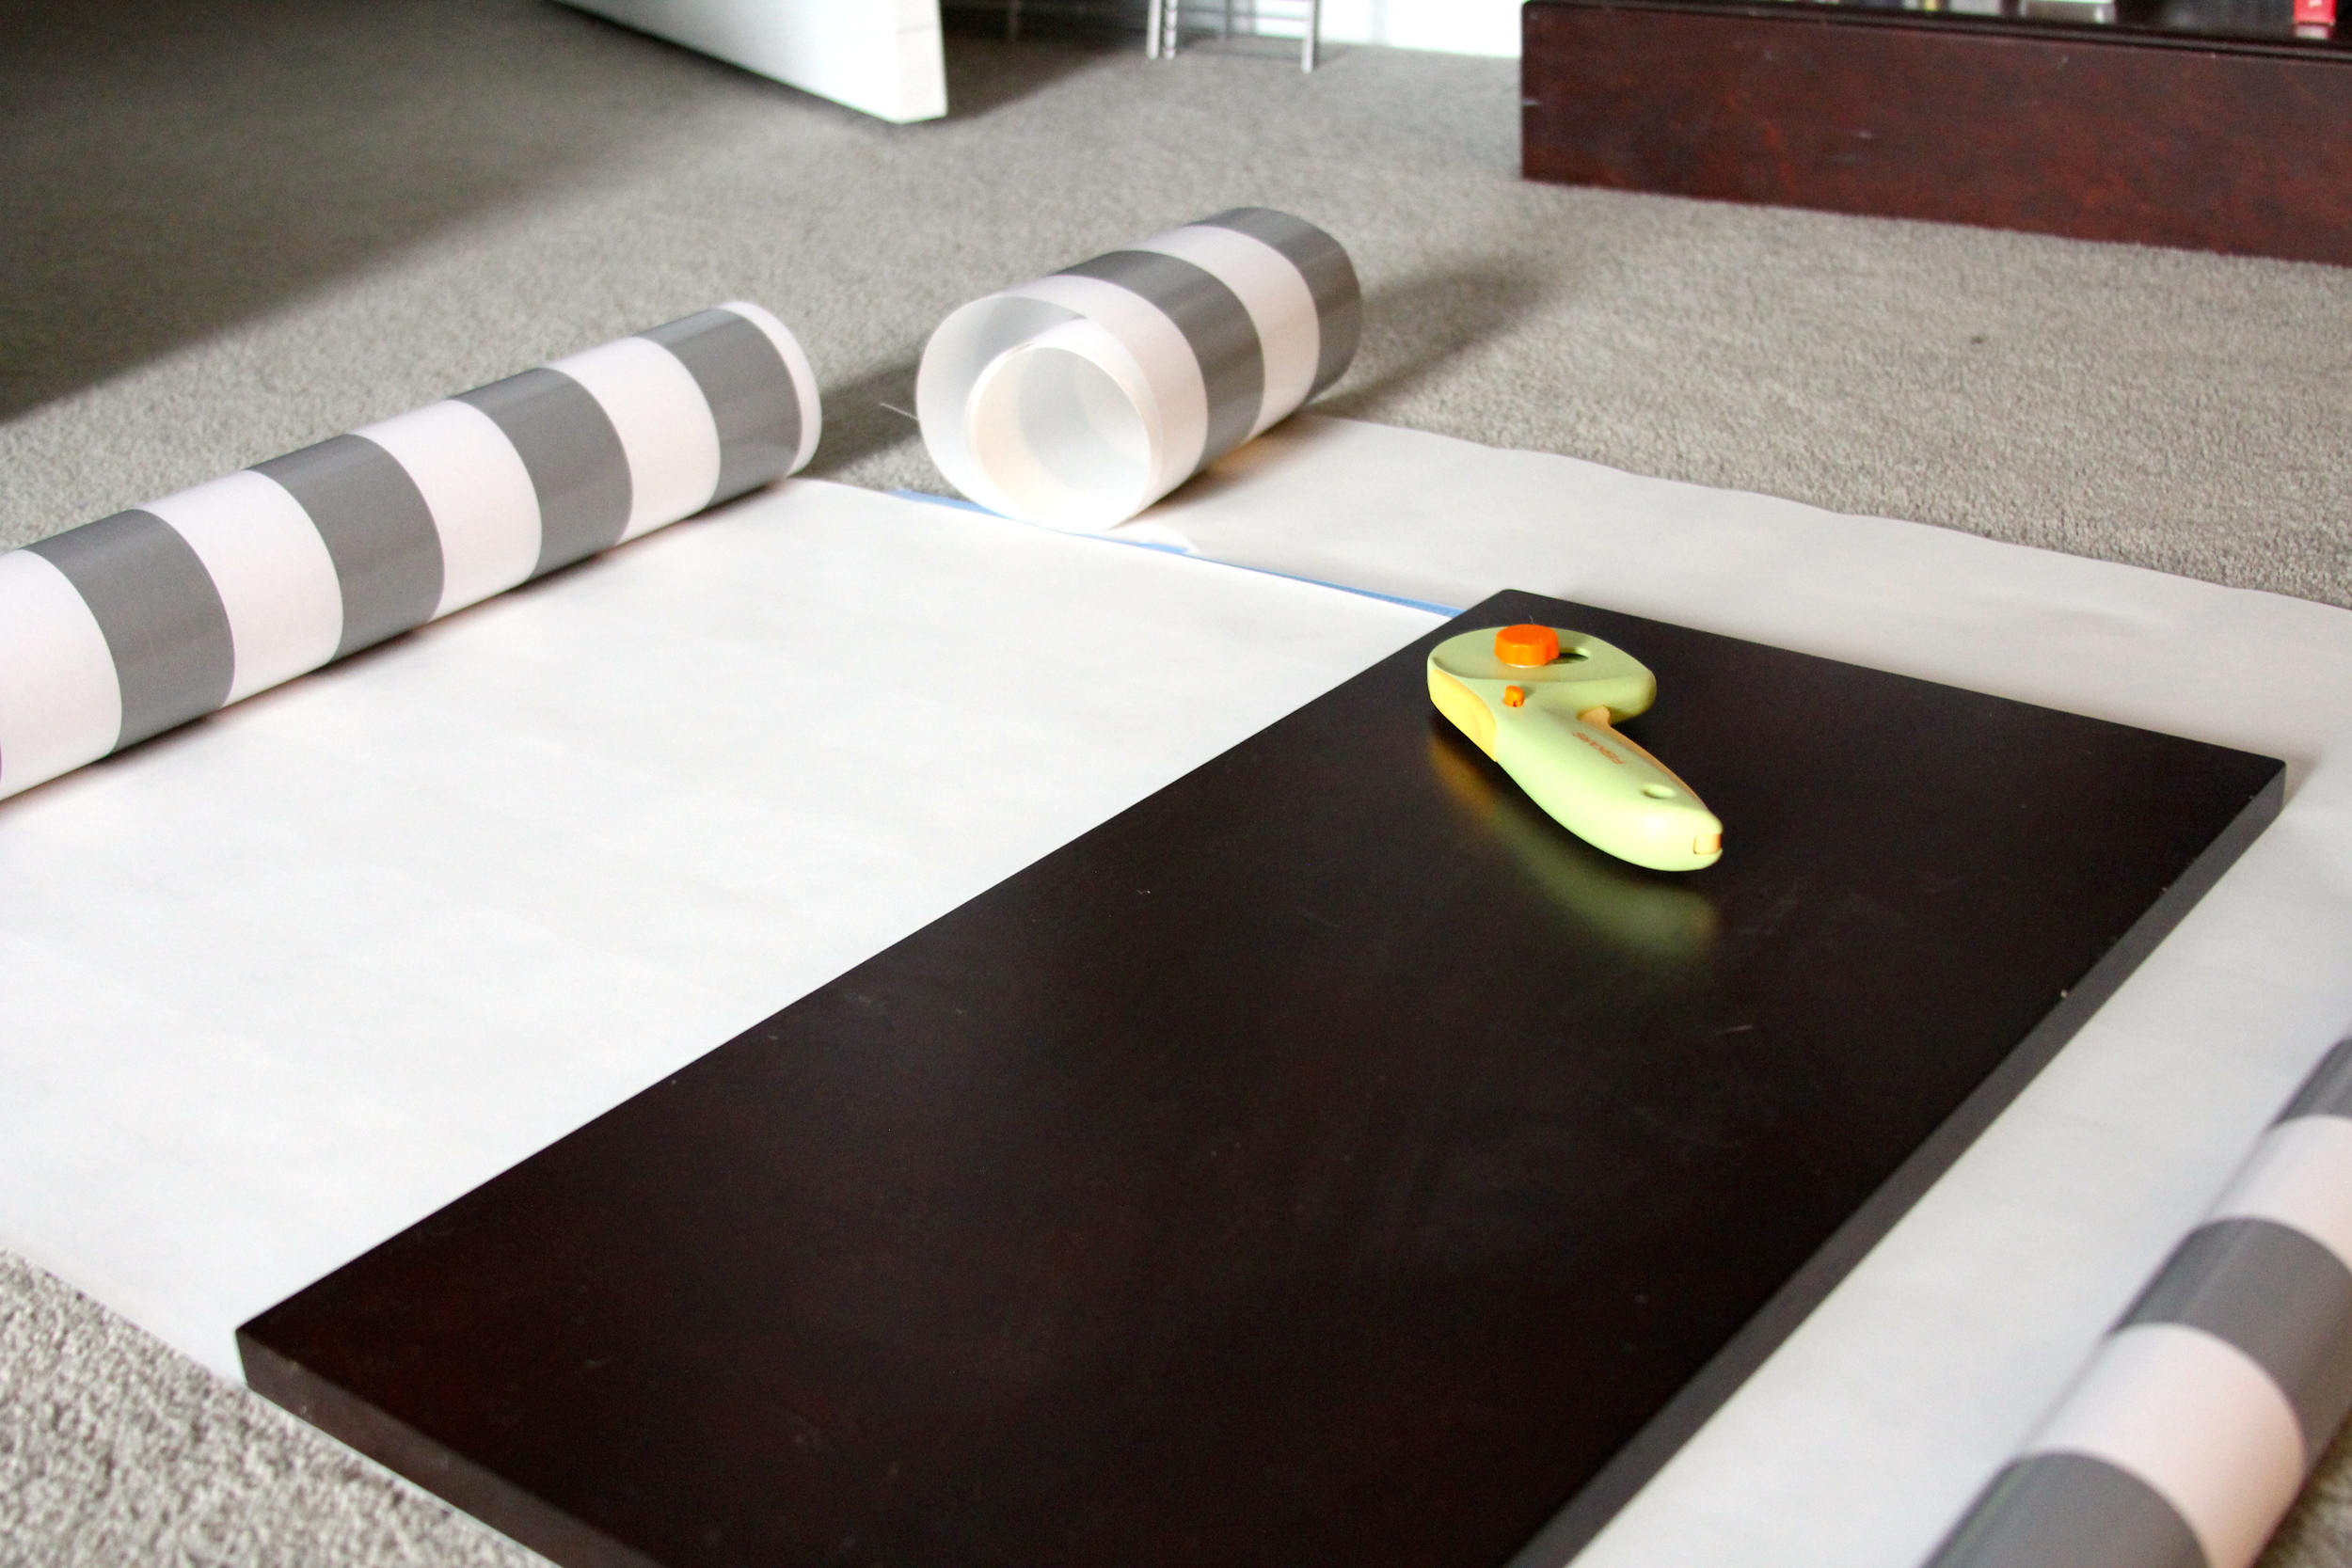
If you sew, you probably have these items already. If not, you could certainly use other supplies.
A self-healing sewing mat is SO helpful for all sorts of diy projects, in addition to it's intended use of sewing. A rotary cutter has been my best friend for many projects, as well.

After removing {and dusting} all the shelves, I placed one shelf on top of my wrapping paper to get the correct width.
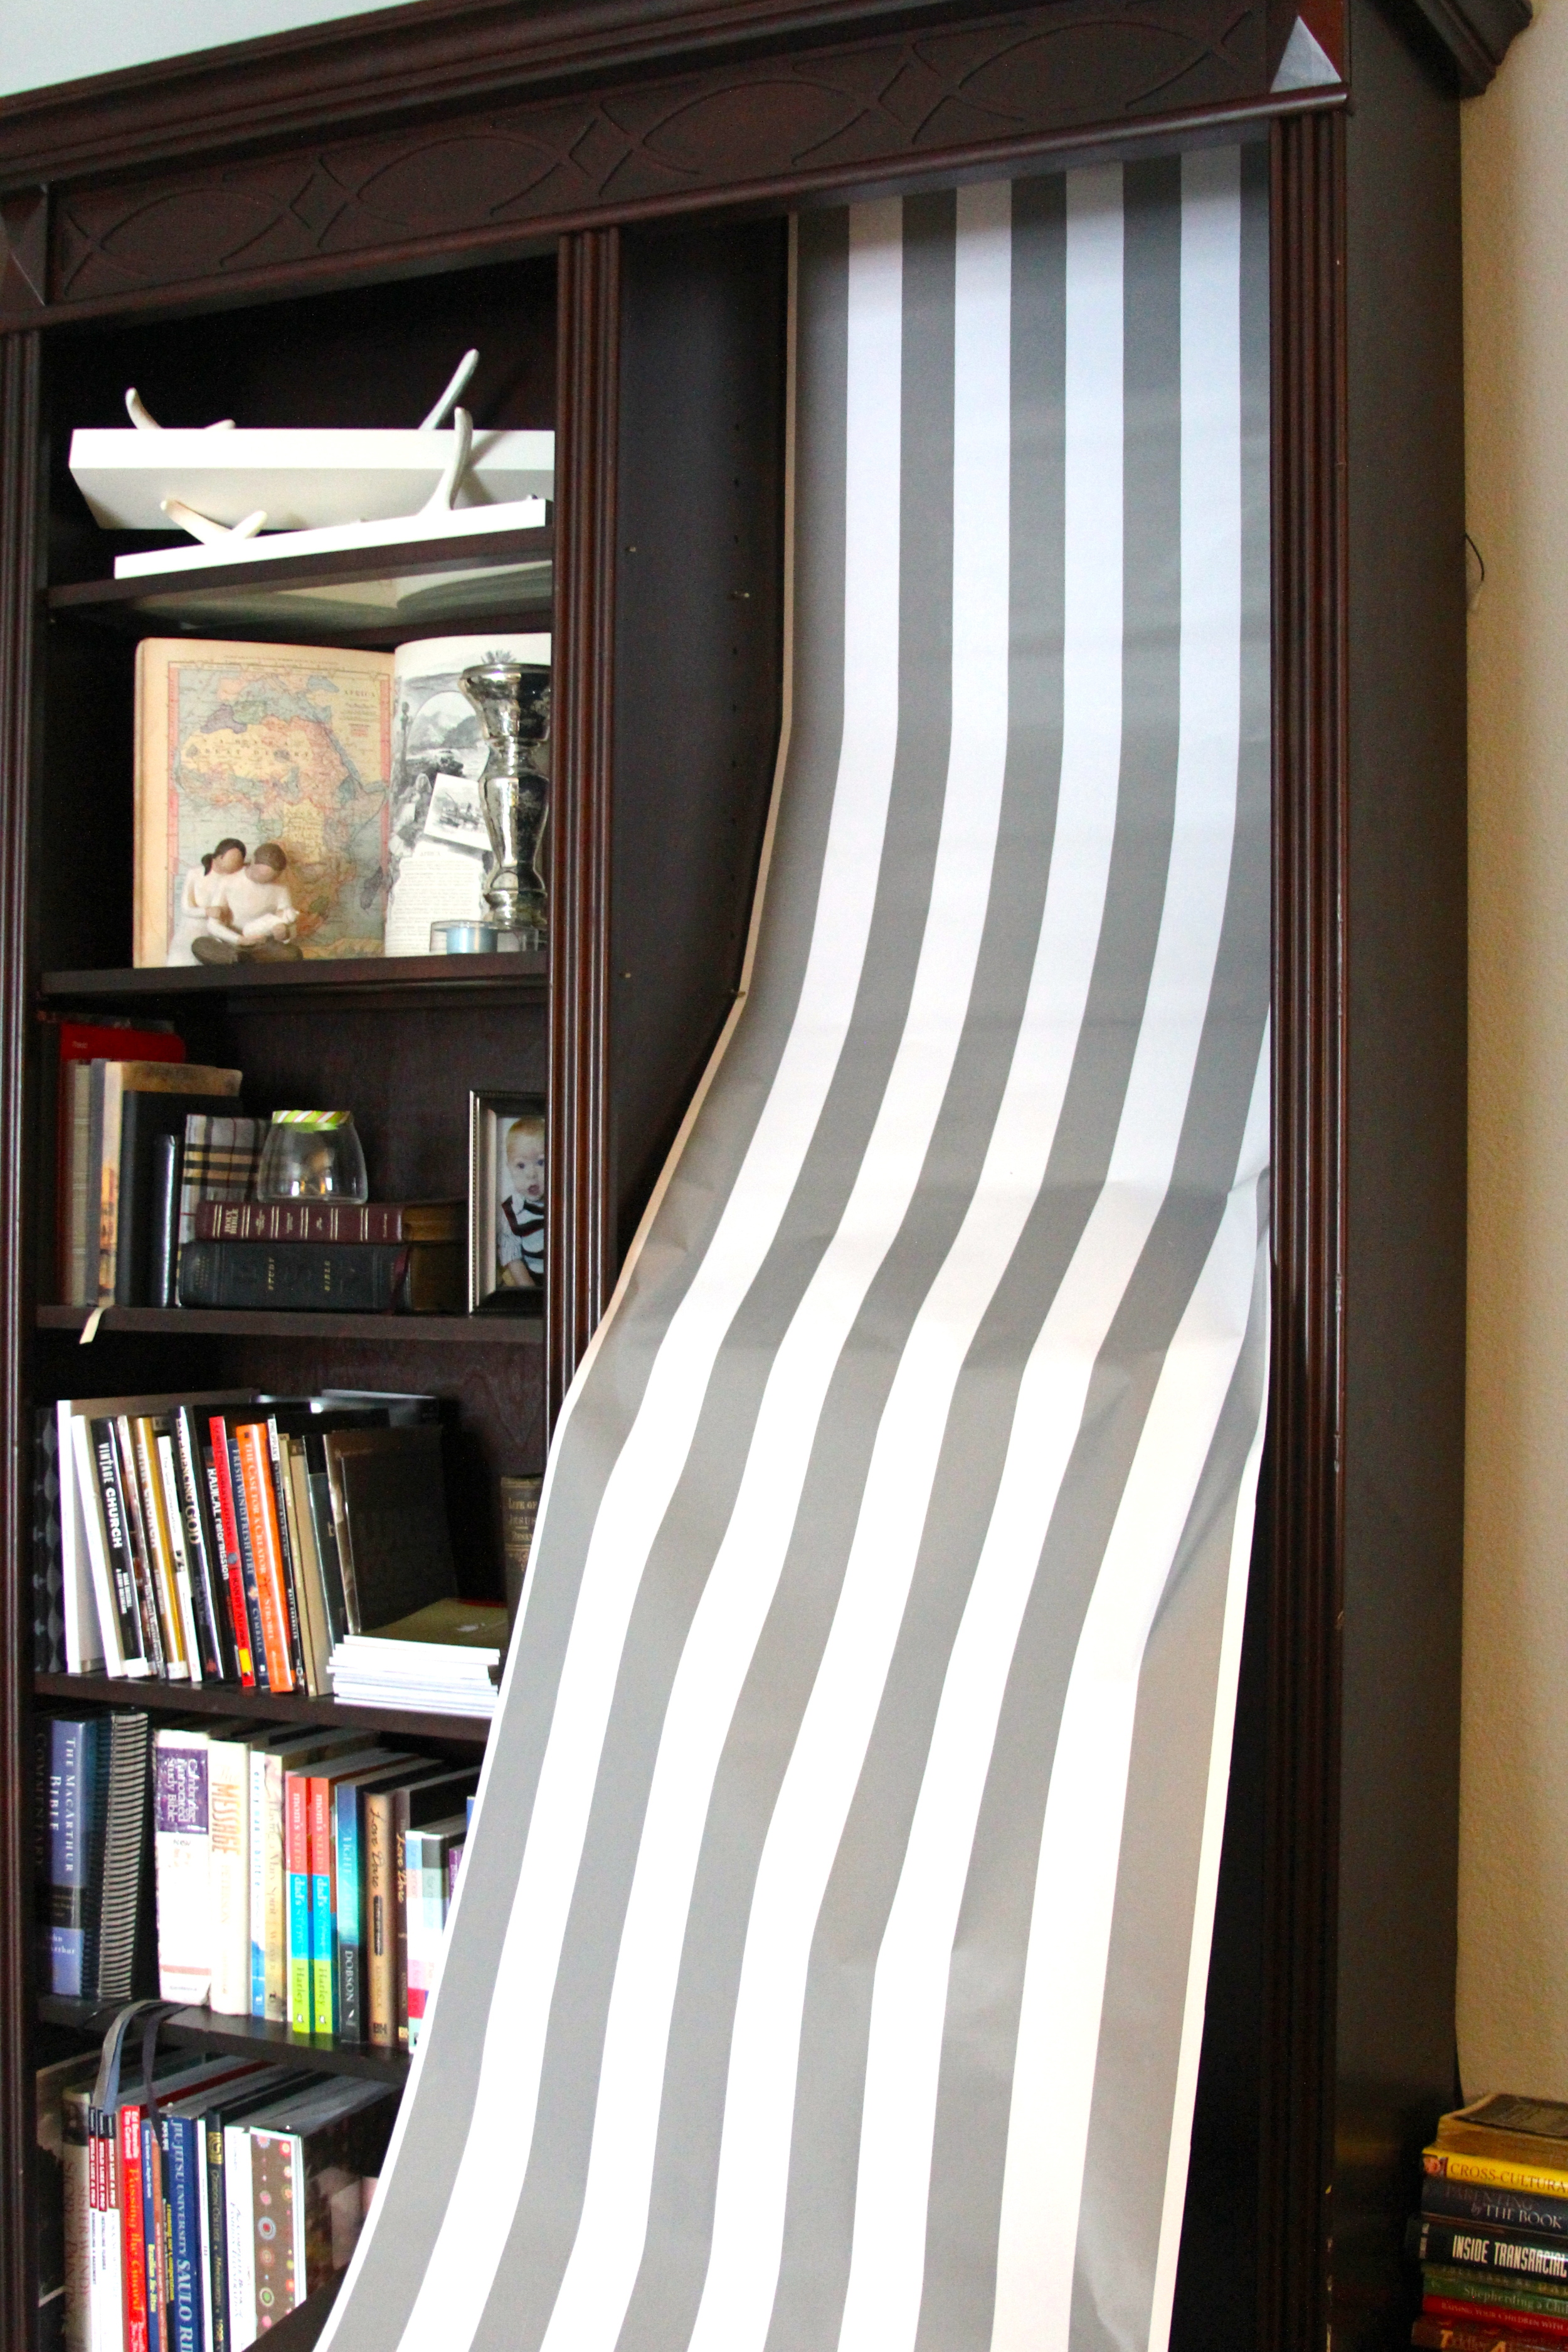
Then using double stick scotch tape, I began to hang the paper.
I decided to use tape because I could easily re-stick it if the paper wasn't aligning correctly, & because I could simply switch it out if/when I tire of the stripes {yes, this project is quick enough to redo when I feel like it}.
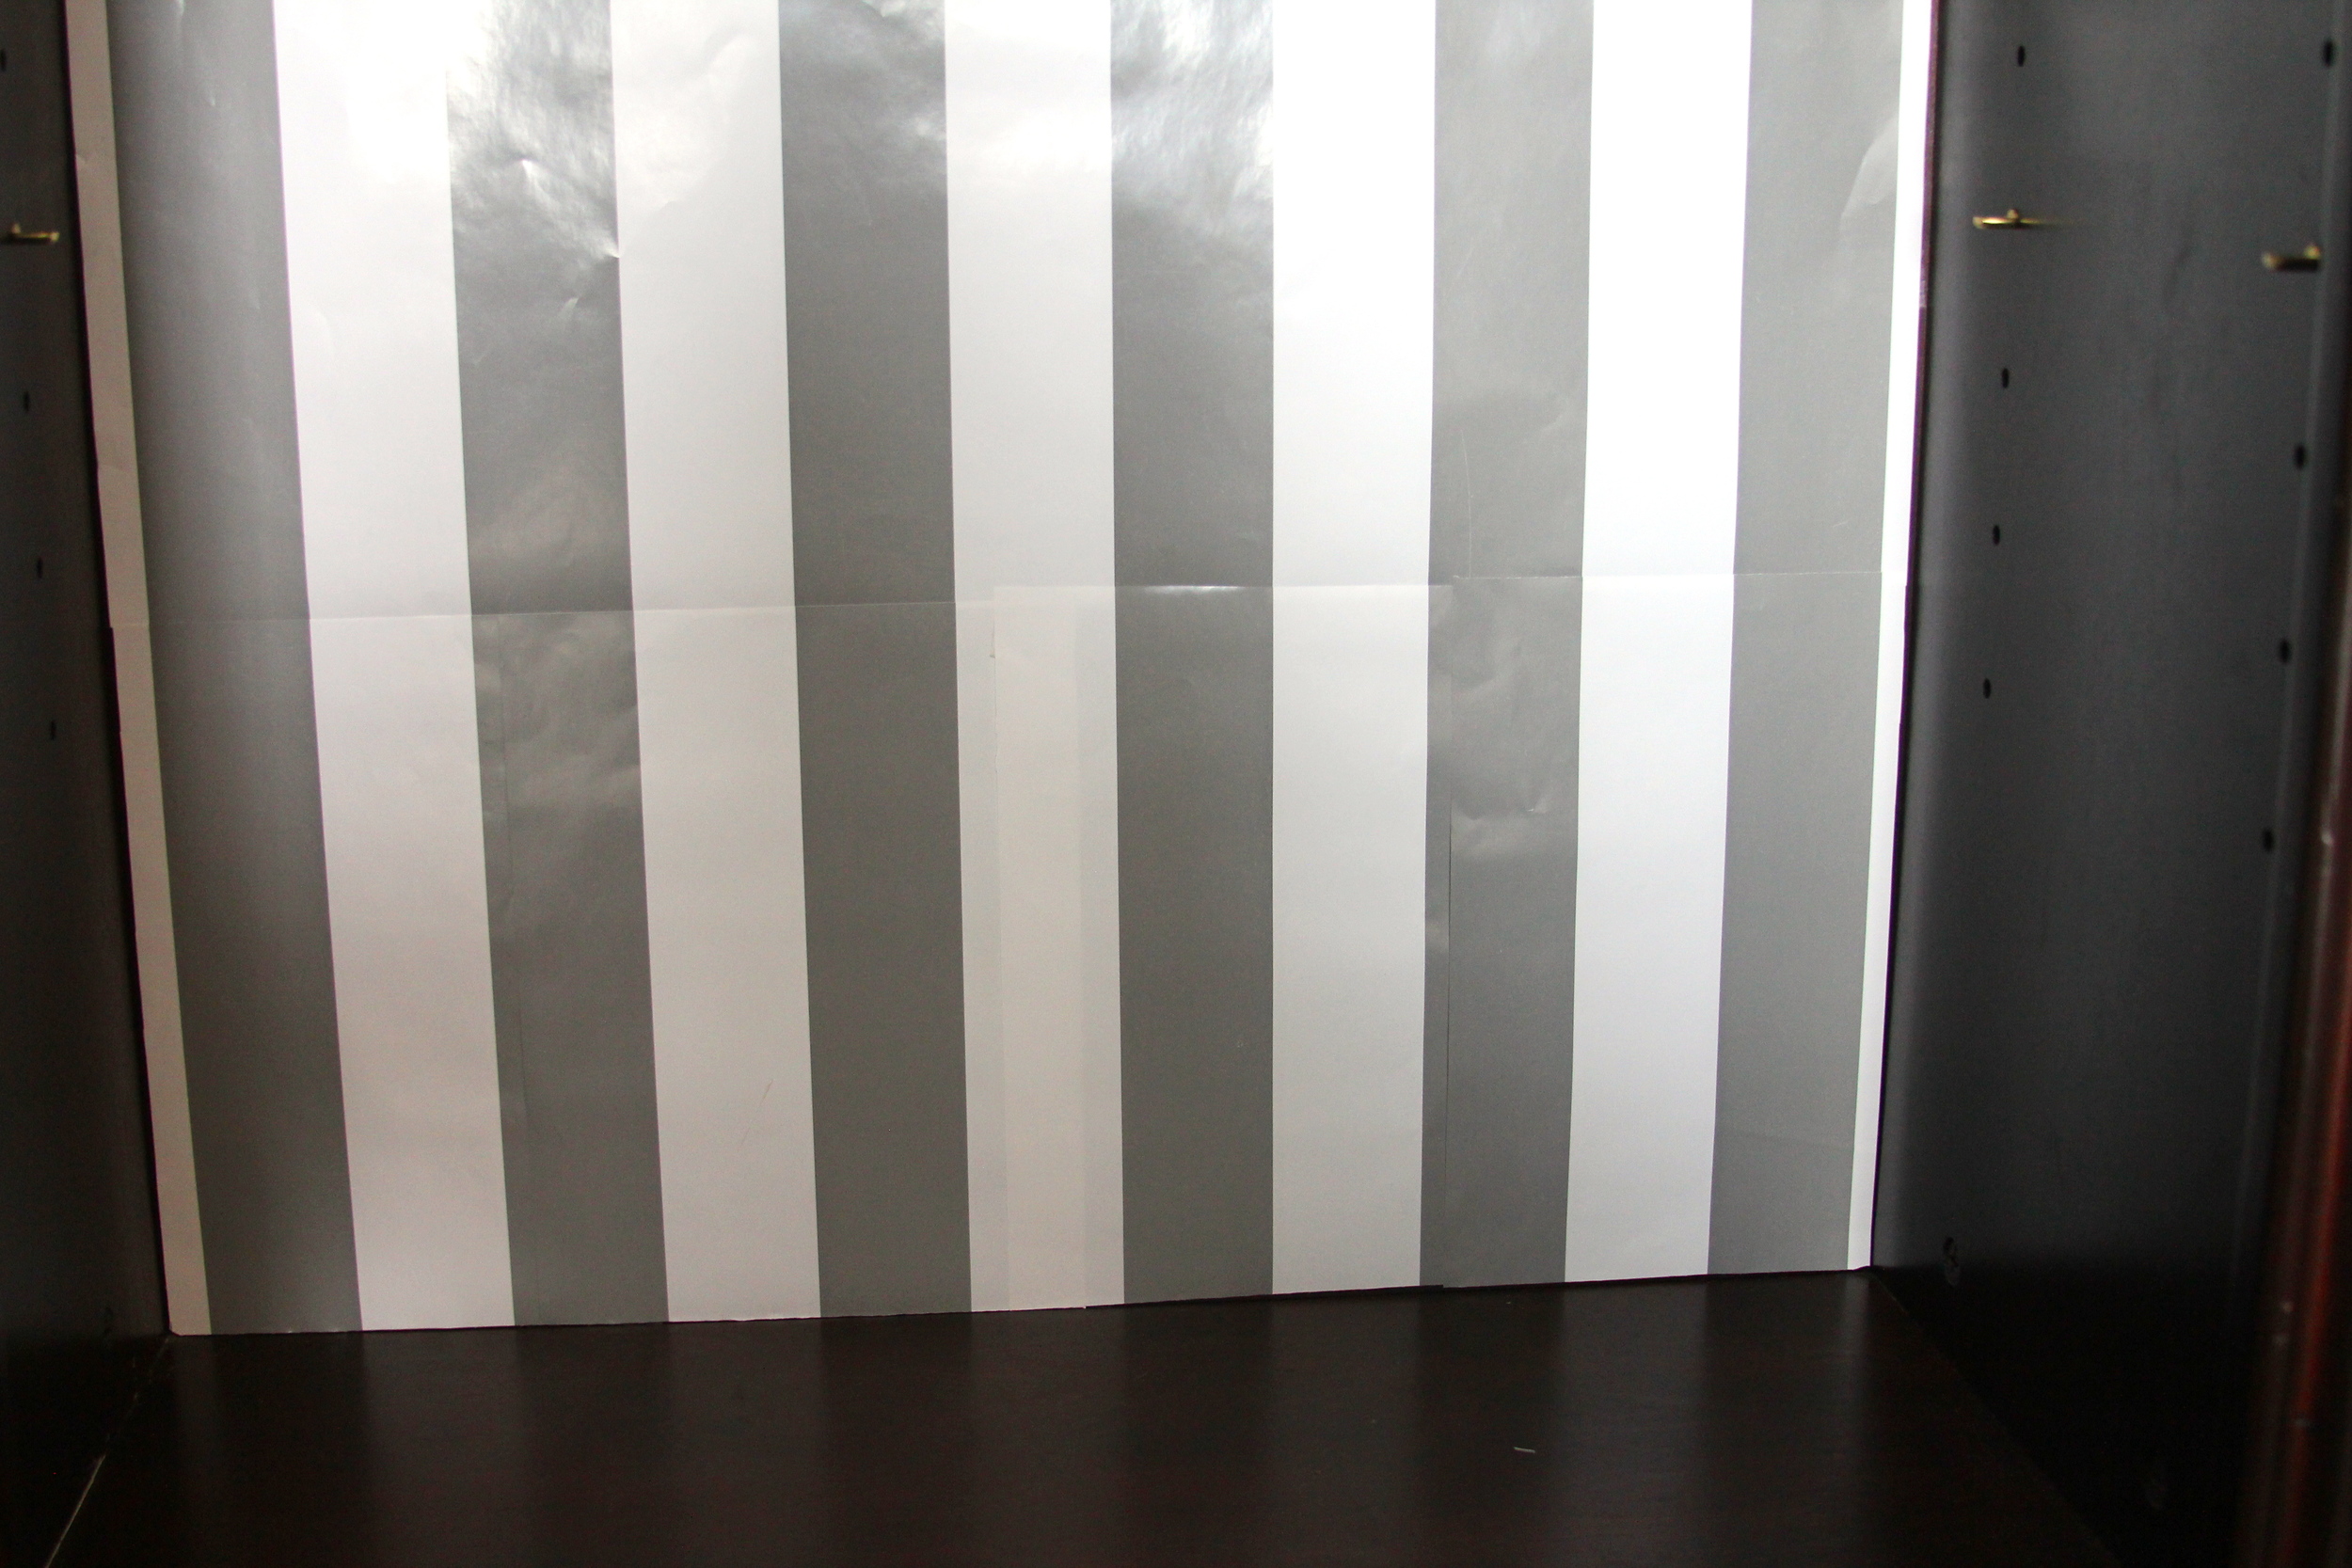
As I was halfway down my second row of shelf, I realized I was out of wrapping paper.
...after a quick freak out, I decided to puzzle together remnants of paper.

My dad always taught me to make mistakes into something better than what it would've been in the first place...so I clung to his advice!
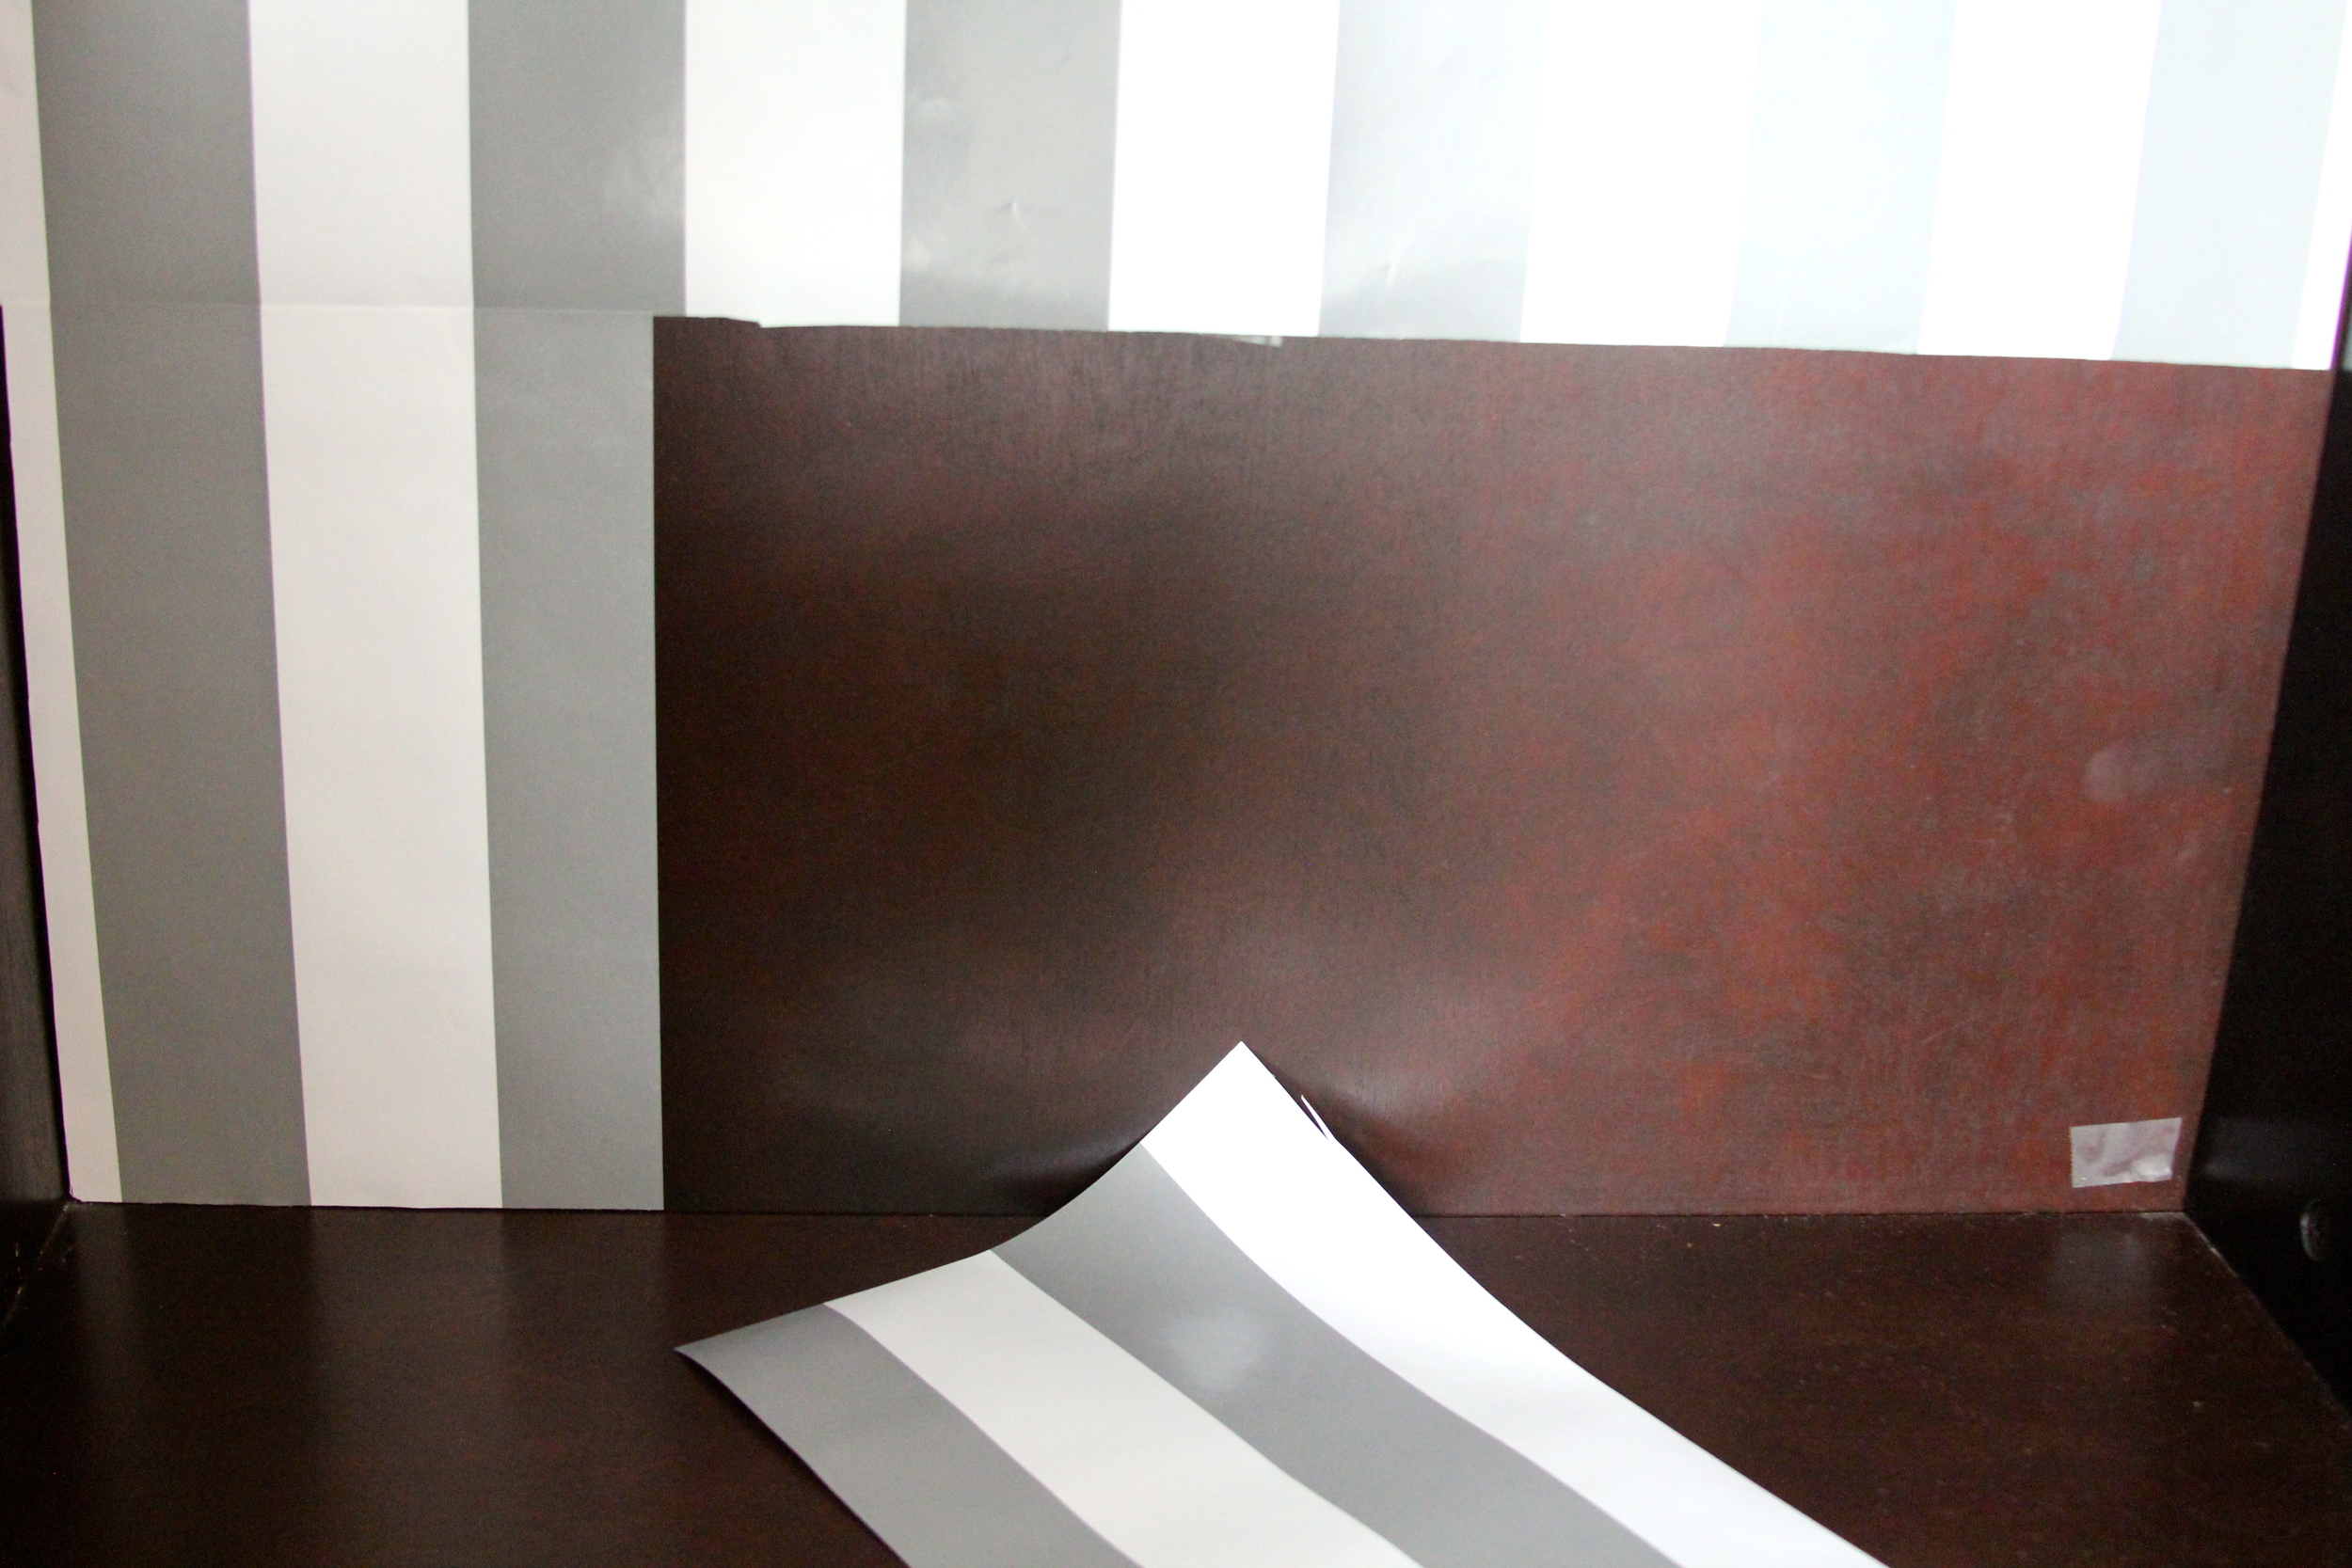
No biggie. Books will cover it anyway.
Note to self though, buy more paper than you think you'll need!


Step 1:
Lay in your books
Vary how you place them. Some stacked, some leaning, some vertical. Play with it until it looks right. Make sure that one side doesn't feel "heavier" than the other.

Step 2:
Next, place decorative items into empty spots within the books.
Use items that shine, have texture, and are unique {I always use plants when decorating my shelves, tables, and countertops because it instantly gives life}.

{Jewelry: Stella & Dot's Dot Bloom Necklace and Chantilly Lace Cuff}
Display items you use everyday, or things that are beautiful, yet generally tucked away {like jewelry, for example}.
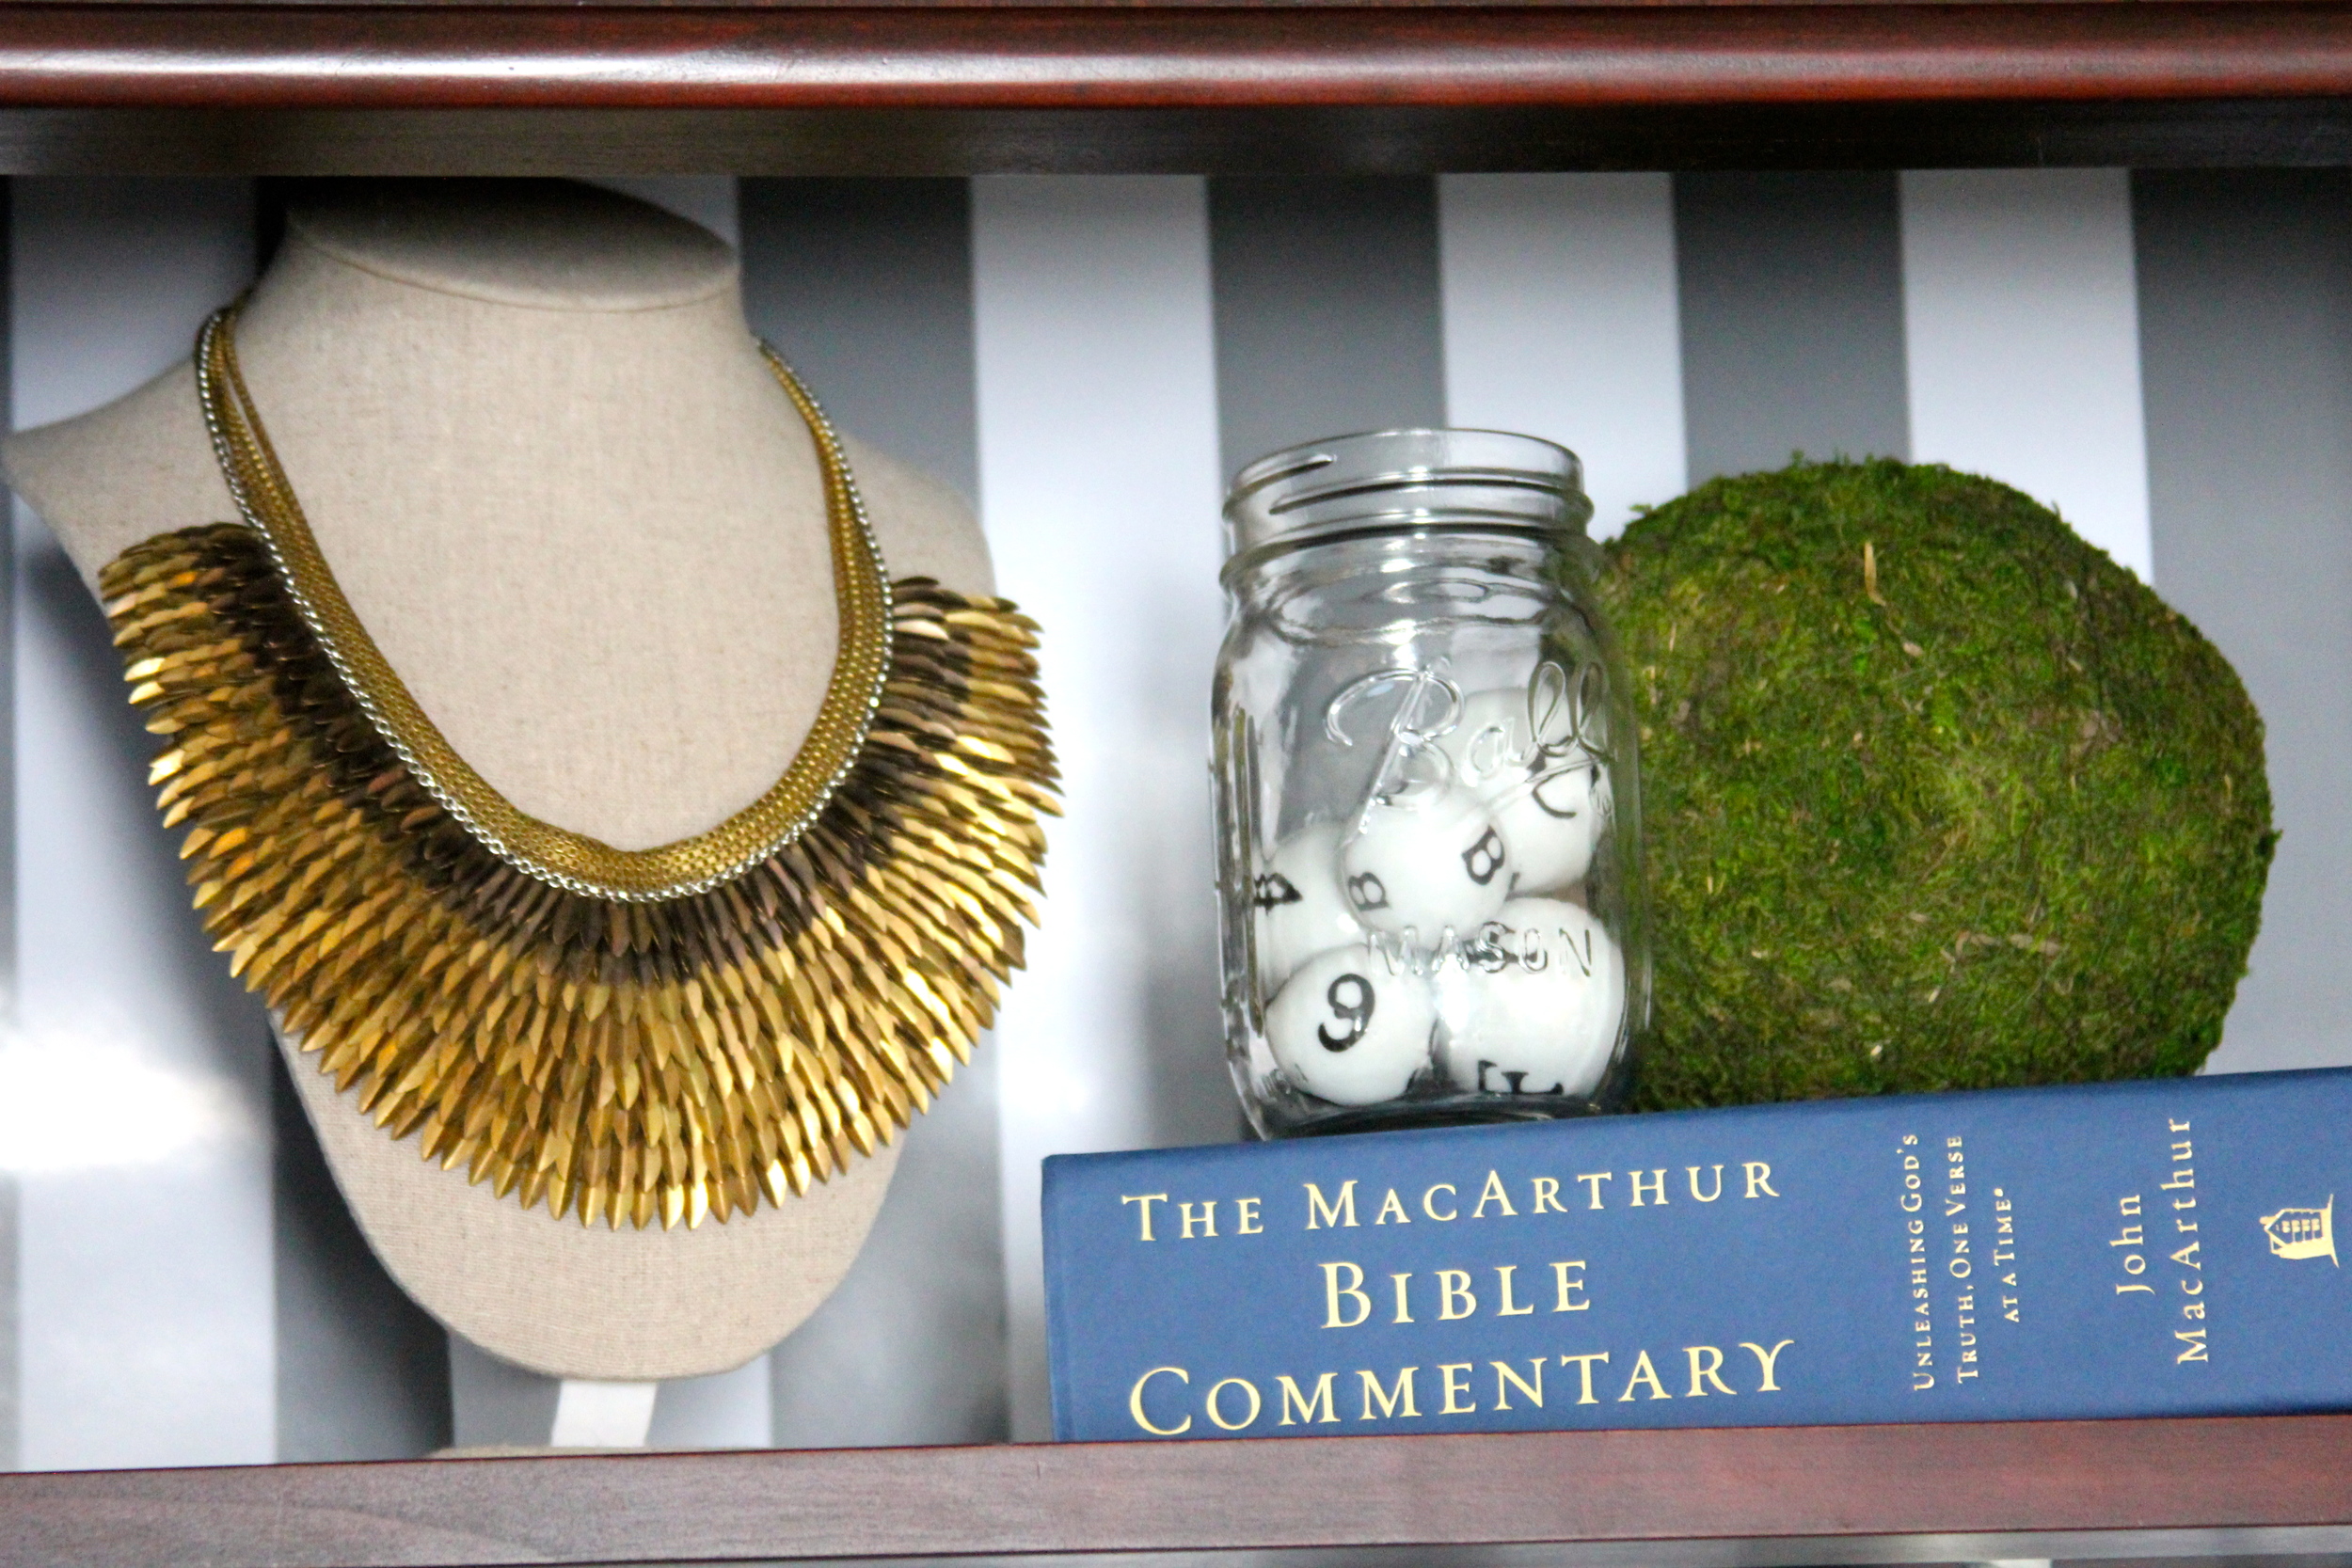
{Necklace: Stella & Dot's Pegasus}

Oh! I almost forgot!
Yes, I decided to place my books backwards. I wanted a simple, clean, more monochromatic feel. I'd seen it at Anthropologie and loved it.
I have categorized every shelf by subject, so even if I were to look for a book, it would only take me a moment longer. I even quizzed myself {yes, I'm a dork}.
Step 3:
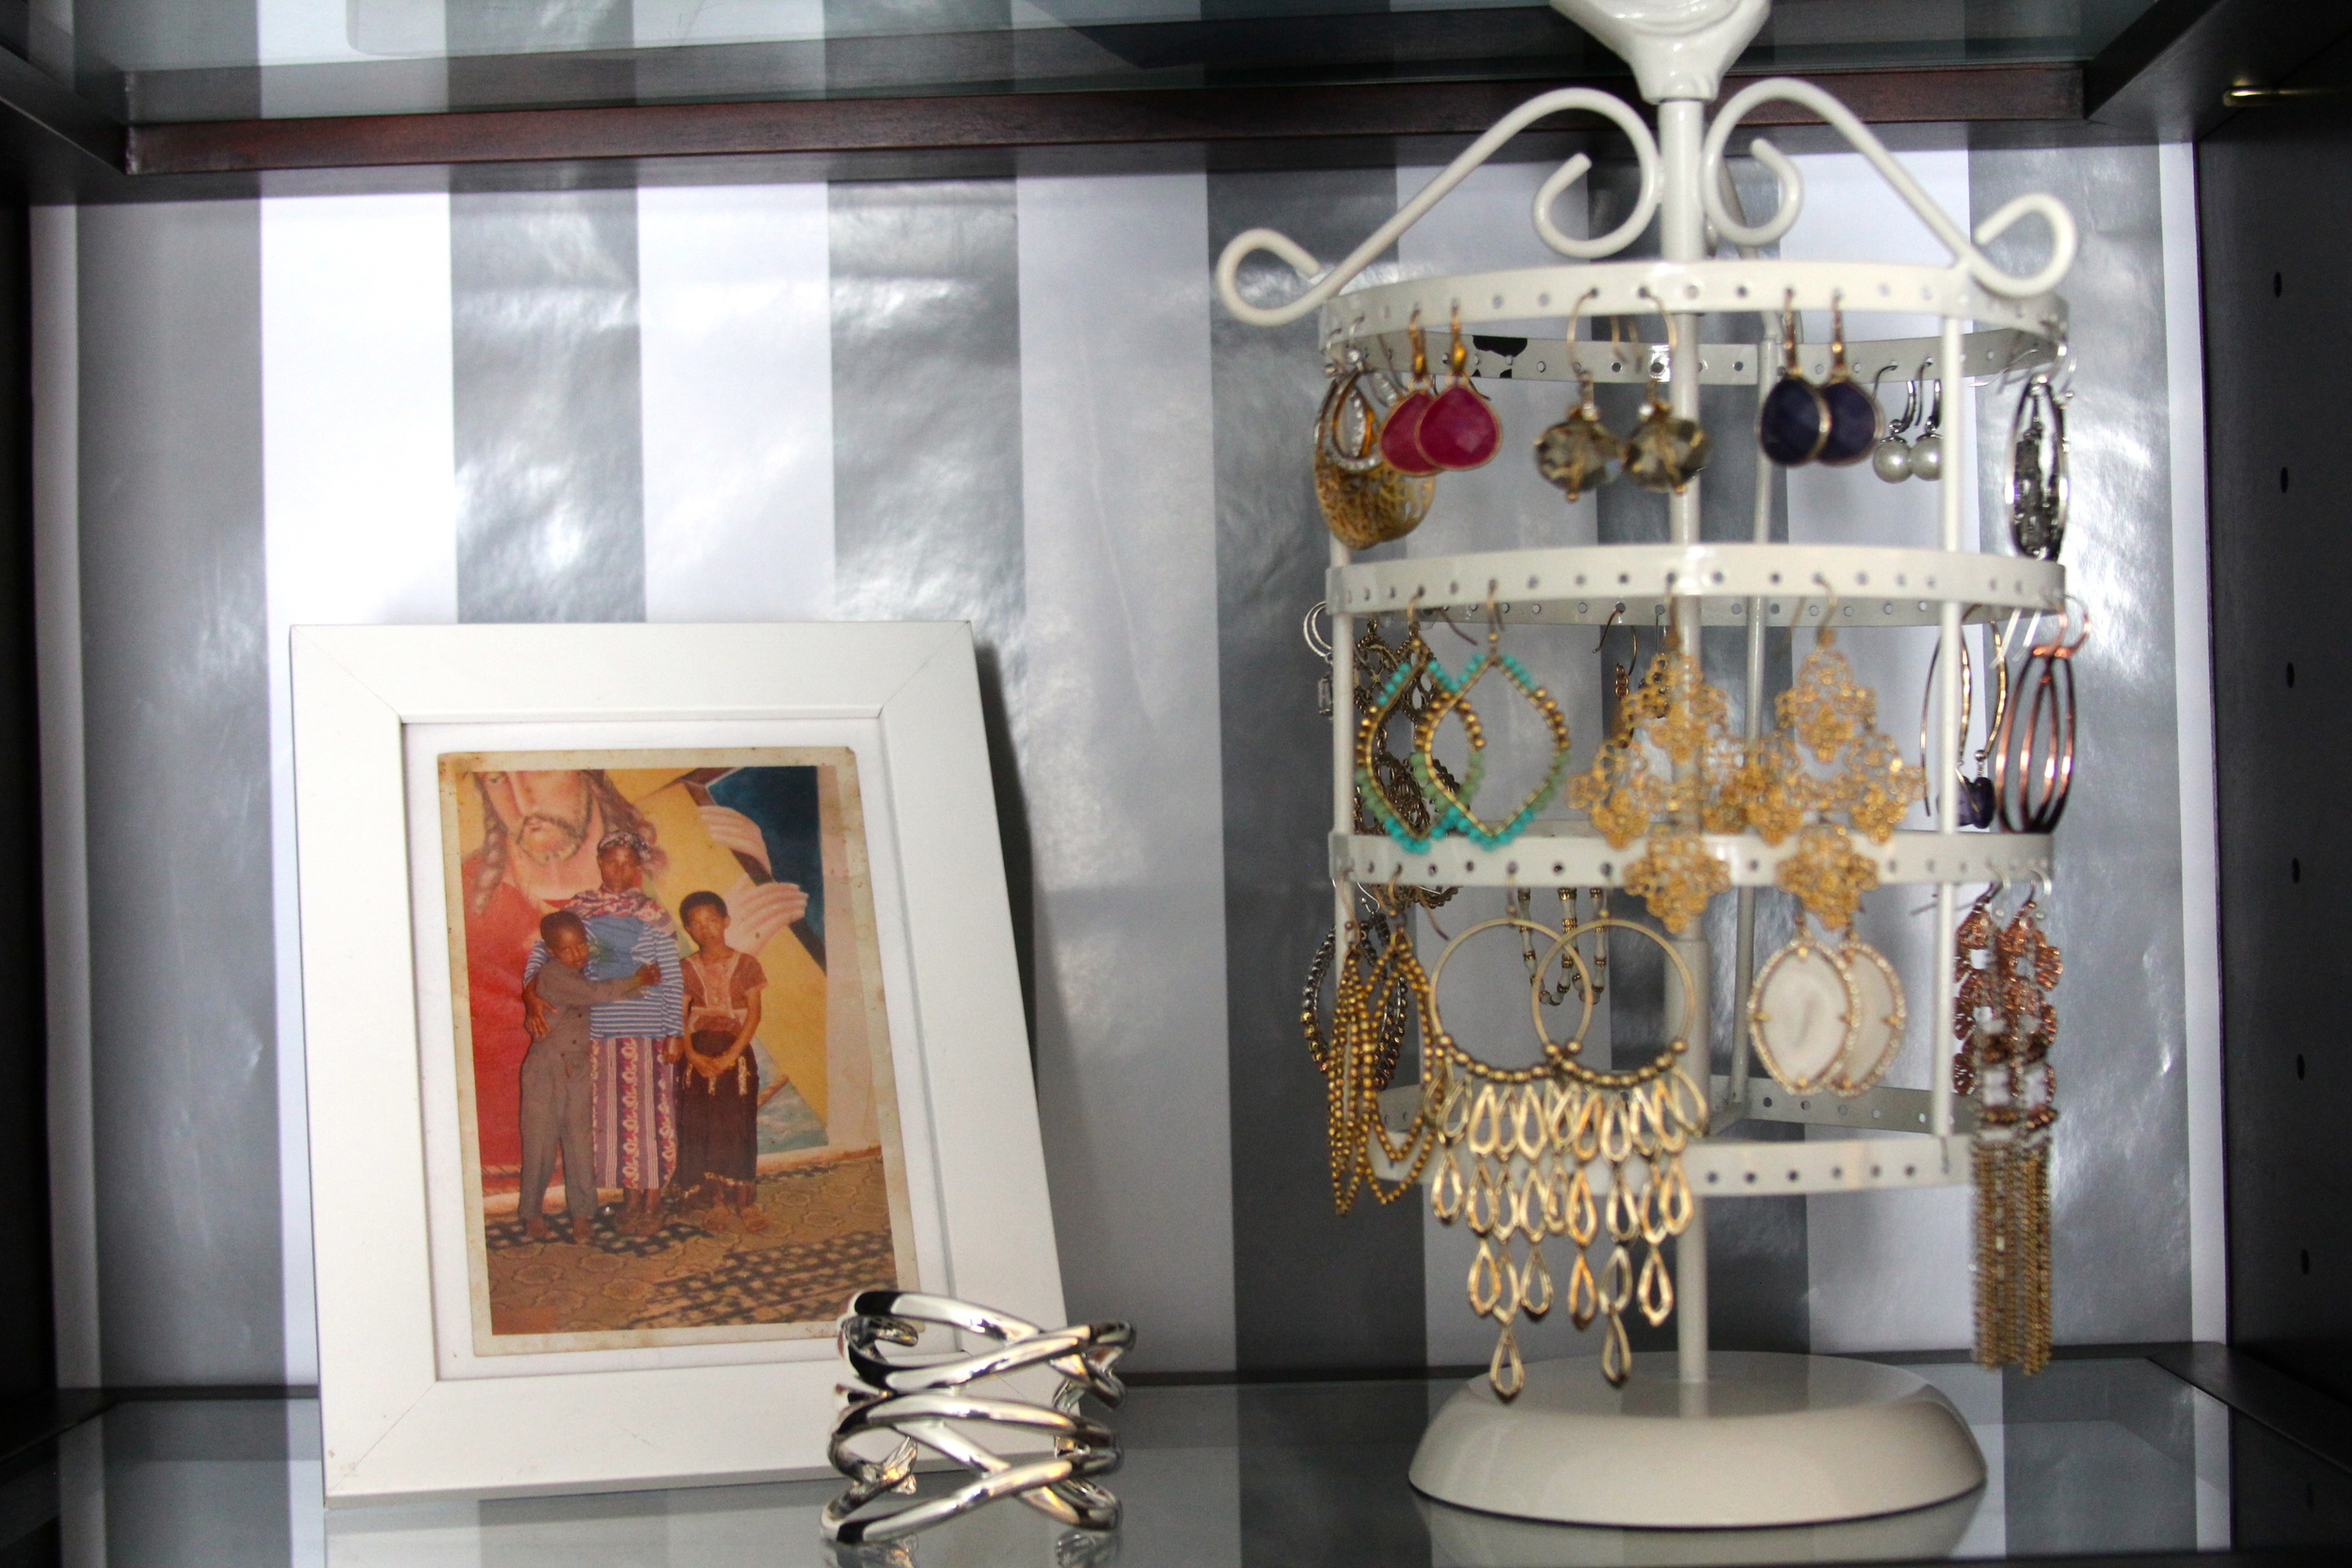
Make sure you include personal momentos. Don't let it become like a beautiful shelf displayed at a store. Make sure it includes YOU and your family!
These photos are all we have from Ezekiel's family in Ethiopia {read his story here}.

He, his mother, and sister Hannah.

Ezekiel and Hannah as babies.
His sweet mother gave them to Ben. I have no doubt she had no copies. What a treasured gift. Completely priceless.

I doubt I'm done moving, editing, & changing things on these shelves. But so far, I'm really liking it {really, anything is better than how it looked before}.

Slowly, another room in our house is beginning to take shape.
{need more styling ideas? Click here for beautiful photos from Fieldstone Hill Design's blog}
. . . . . . .
What do you think? Would you update your bookcase like this?
