making a camouflage birthday cake {tutorial}
The cake I made for Anton's Bootcamp {Army} Birthday Party was definitely an experiment.

I'm THRILLED that it turned out though, and thought I'd share with you how I did it.


Because I happen to like the taste of boxed cakes more than homemade {ghasp!} and because I didn't want to spend all evening in the kitchen, I started with these two cake mixes.
I chose Dark Chocolate Fudge because I wanted the darkest brown possible.

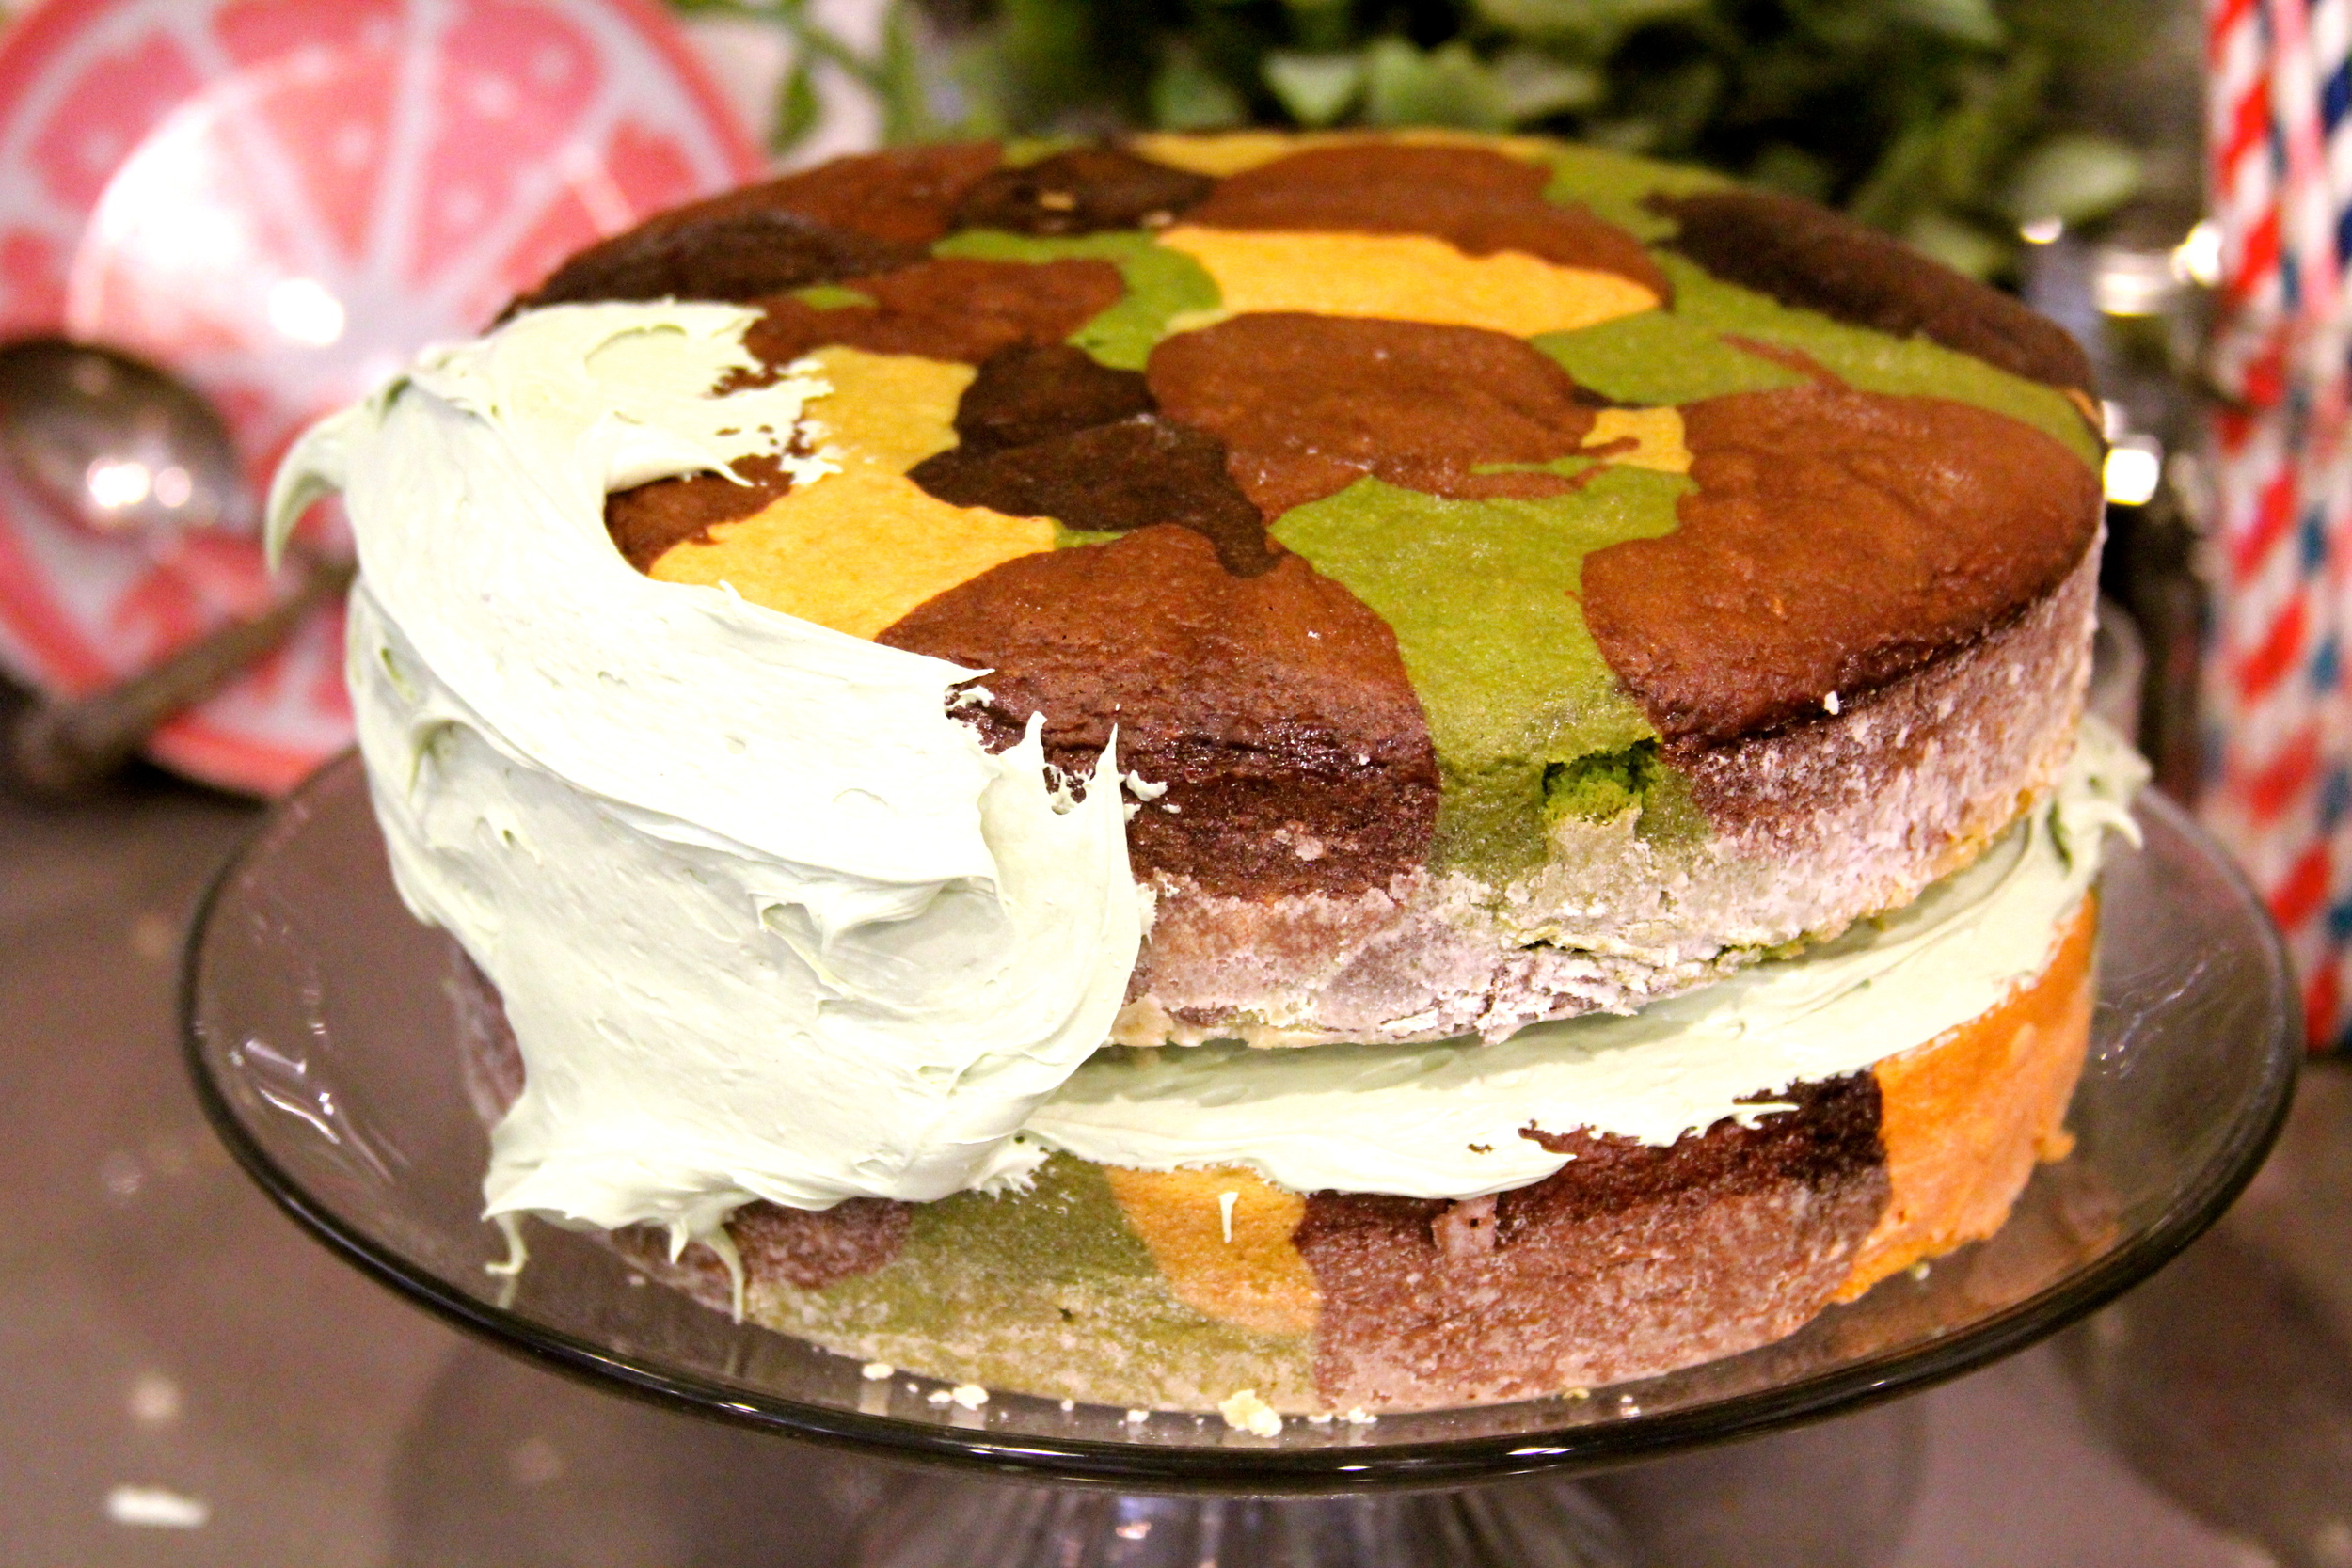
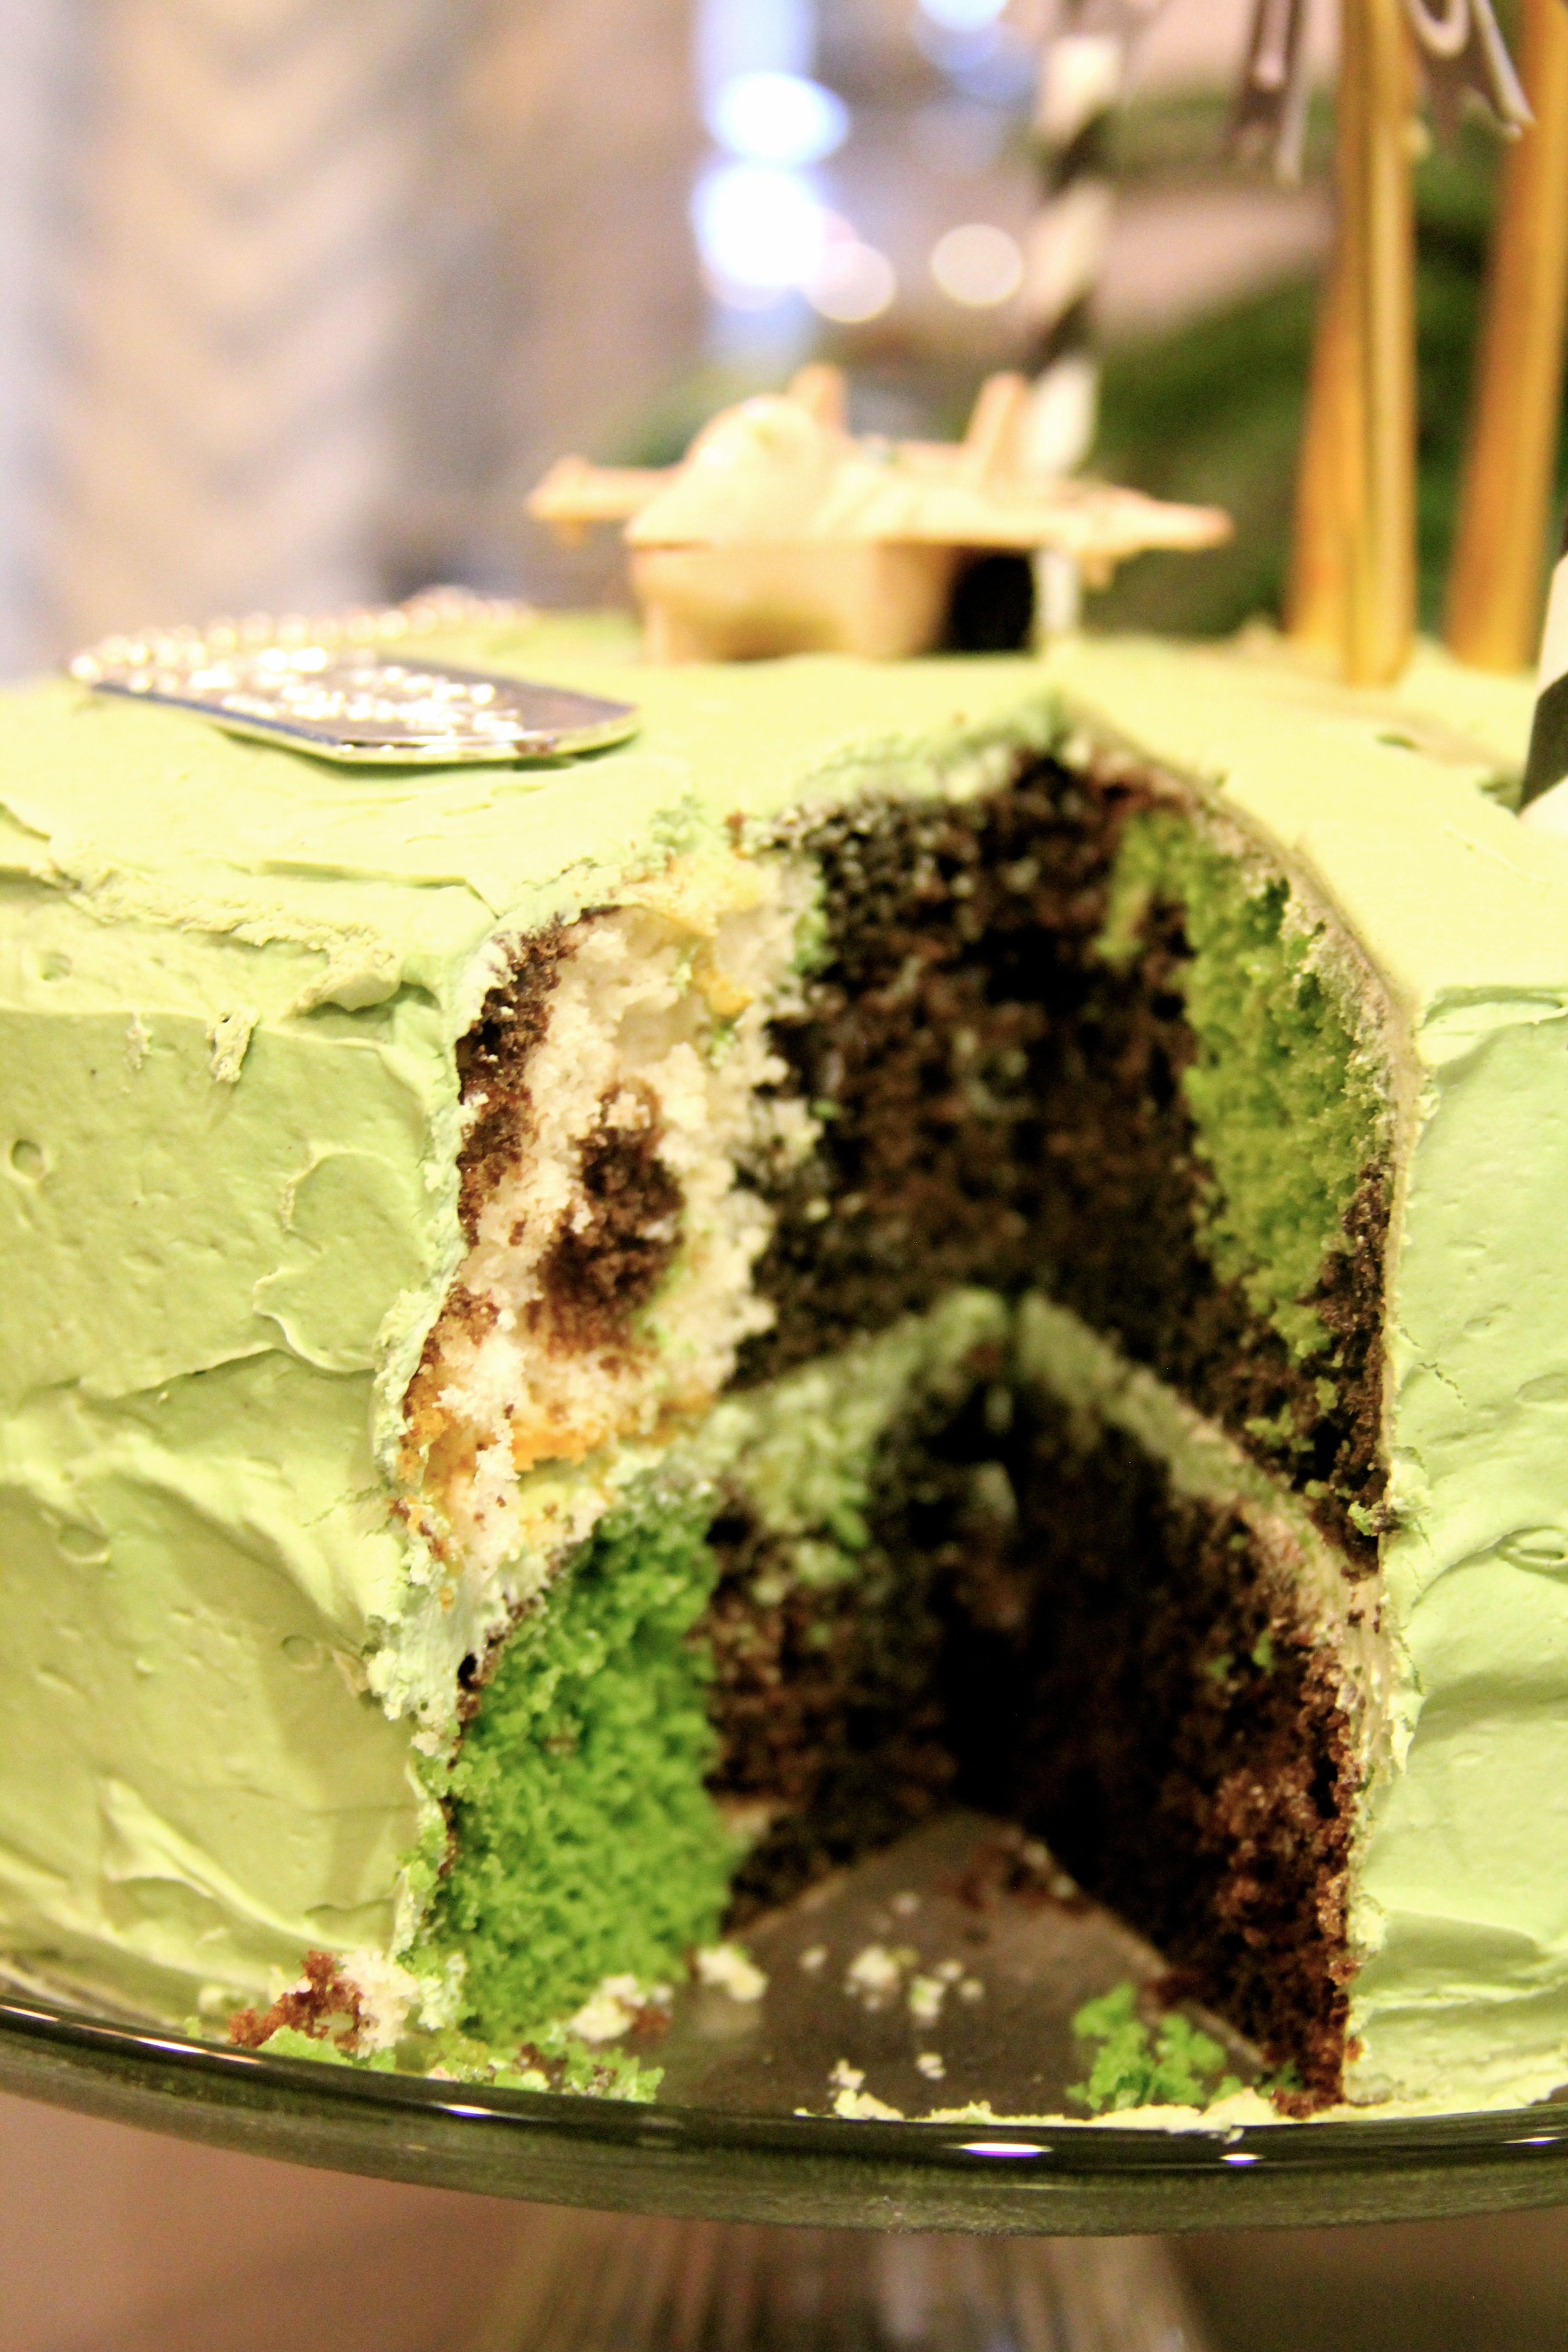
After preparing the 2 mixes according to the directions, I split them into several bowls.
I added white to one of the dark chocolate bowls, making a lighter brown {next time I'd make it WAY lighter because once cooked, it was difficult to see the difference in color}.
I also separated more of the white into 2 other bowls, dying them different shades of green.

I typically mix my own dye colors {a leftover love from my college days taking color theory & painting classes} but because I began this project around 10pm, I decided to take the easy route and use a pre-made hue.
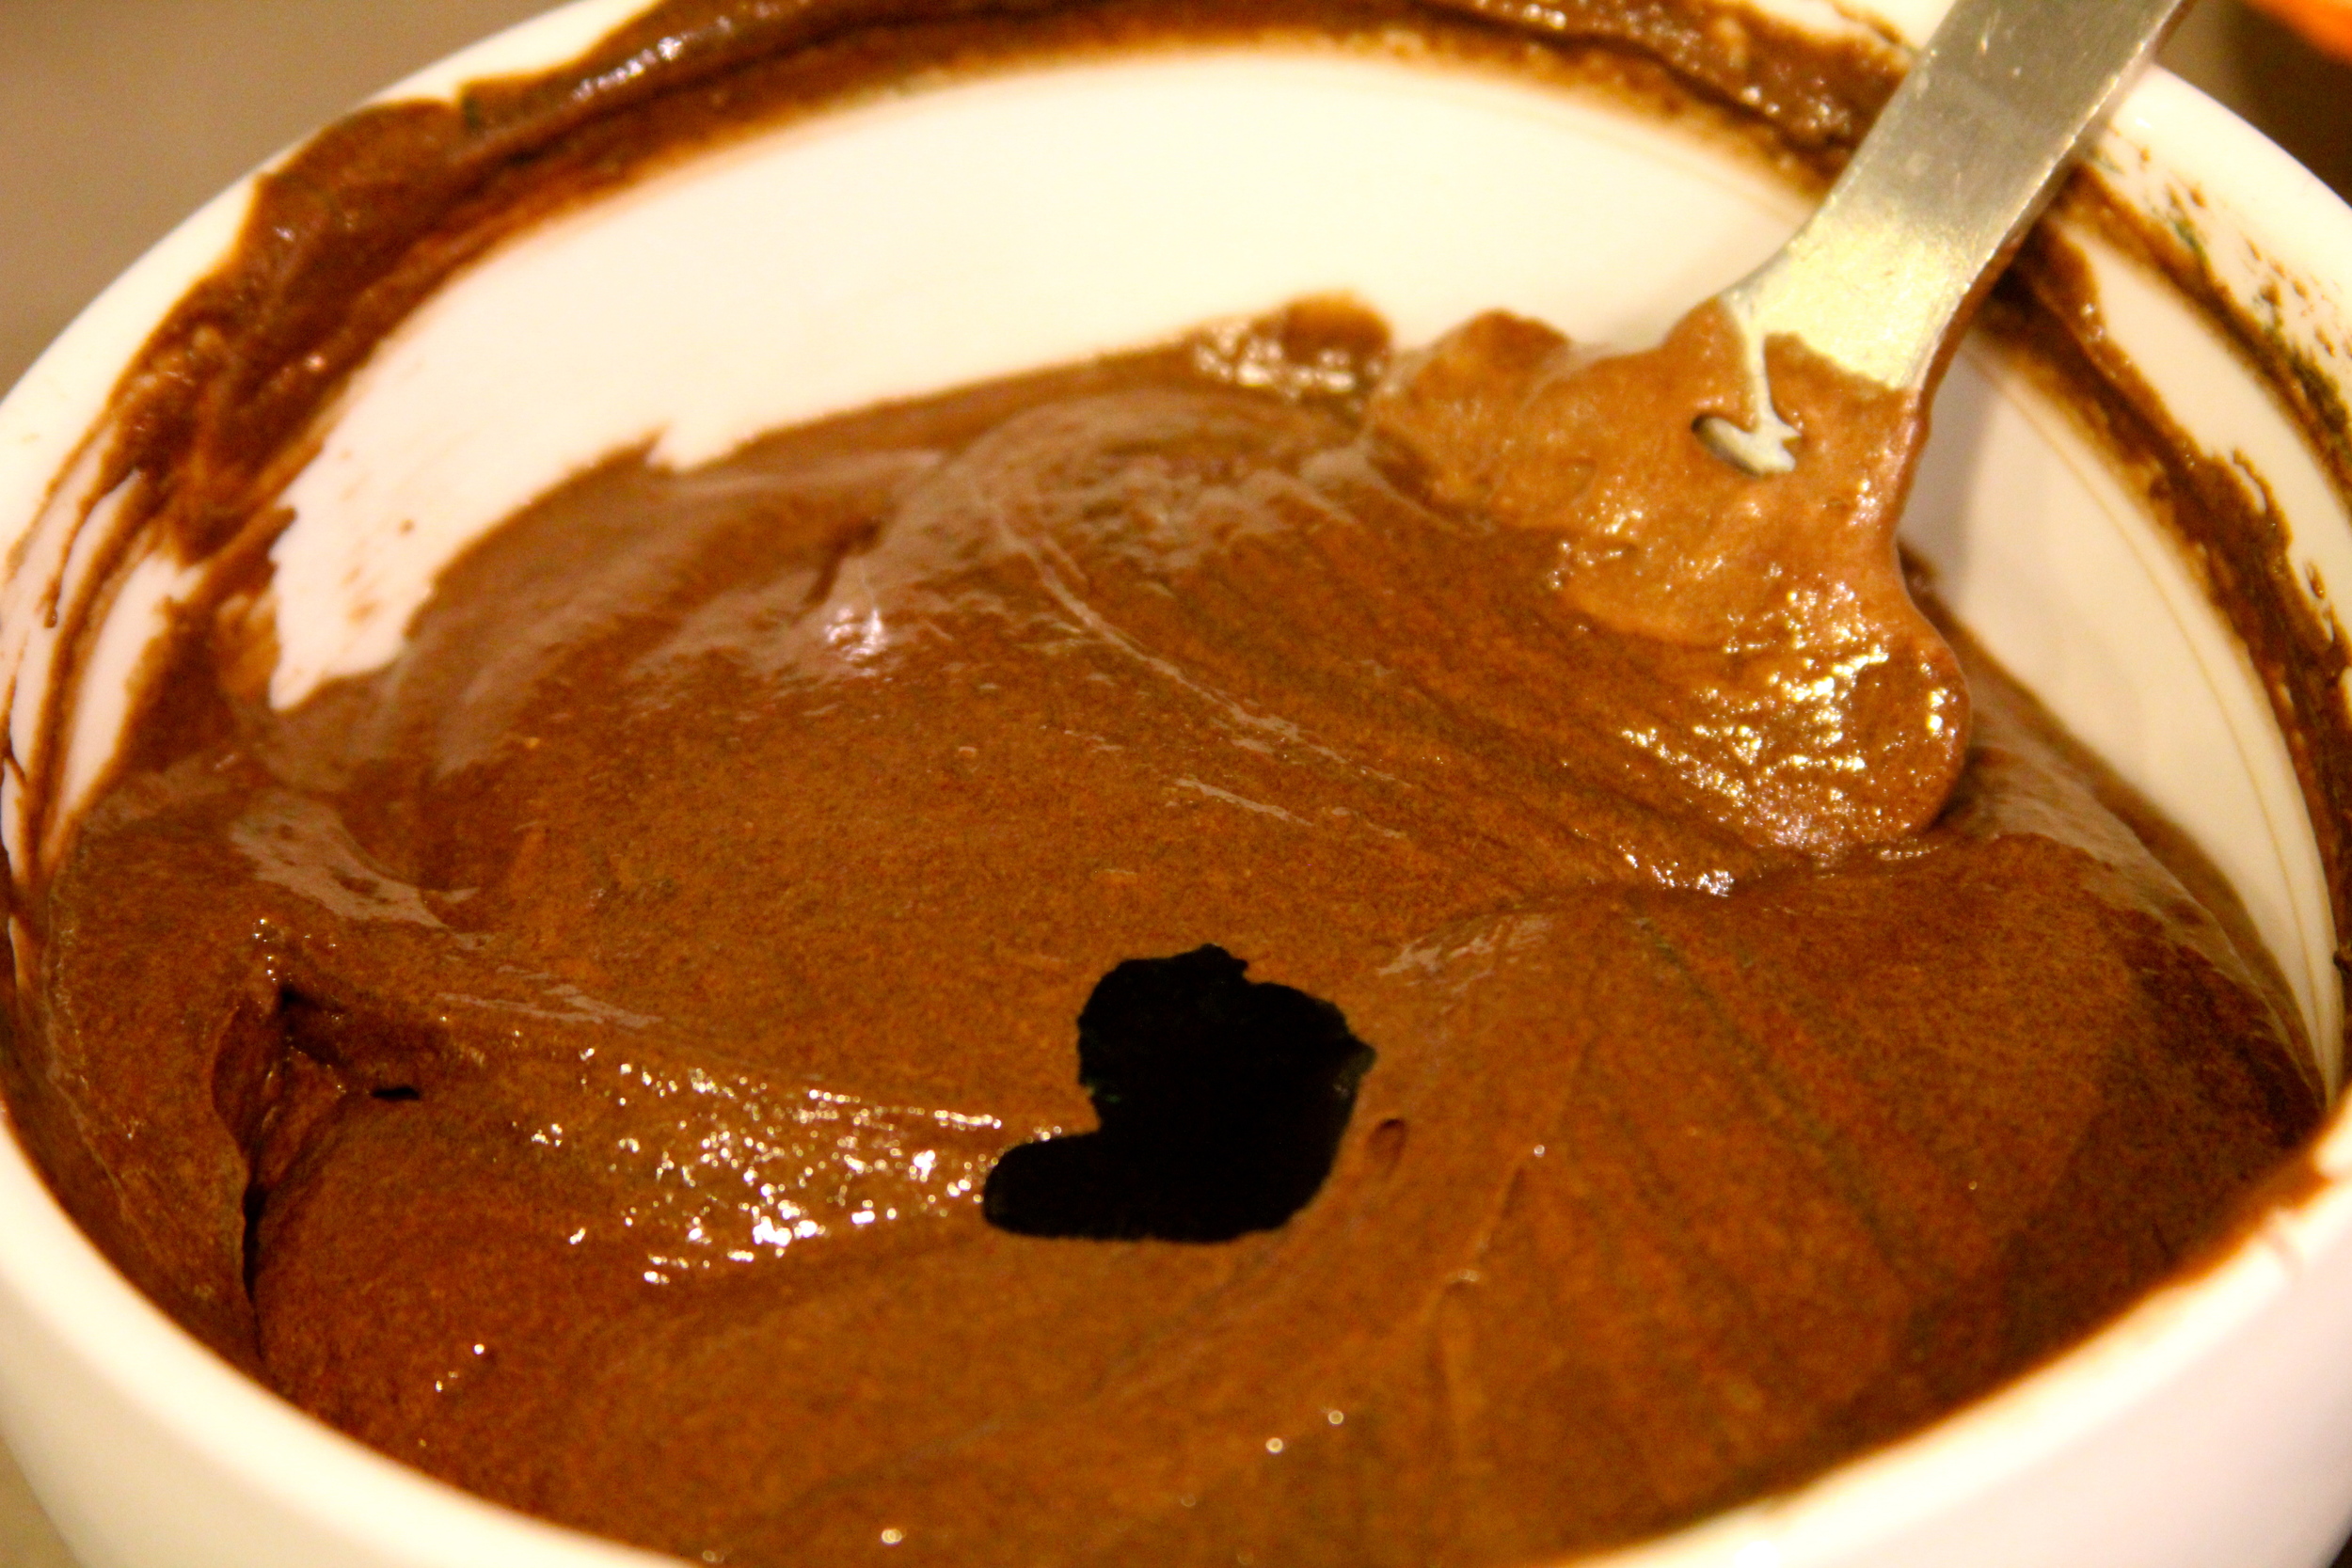
I really wanted a contrast between the colors and remembered reading somewhere that if you add blue dye to dark chocolate, it turns it nearly black.
It turned out great.

Ben and I worked together, taking turns plopping big dollops of color into the prepared cake pans {first spraying a healthy coat of Pam, then dusting it with flour}.

I wanted to make Anton a big cake to blow out candles from, but decided I also wanted cupcakes...lets be honest, they're just easier for birthday parties.
Especially parties at the park.

This time I used piping bags, each with a separate color {learn to make your own here}.
Bake according to instructions on the box.

Again, because I didn't want to be up all night, I used pre-made vanilla frosting. I added more of the avocado green dye but wanted more of an army green so I simply mixed in a little chocolate icing that I had left over from Ezekiel's birthday party last week.
After mixing it together with my Kitchen Aid, it became exactly the color I was hoping for. Not too dark, not too bright.

Rather than frosting the entire top of the cupcakes and cover up the camouflage cake entirely, I decided to grab my piping bags again and make a little multi-color swirl on top.
I did this by putting 2 separate frosting colors in 2 separate piping bags {without tips on them}. Then, placing both bags together into yet another bag {with a tip this time}, they come out together, giving a multi color effect.

Just like wanting more contrast in the 2 brown colors in the cake, next time I'd like more contrast in the greens I used on top of the cupcakes. They ended up being very subtle.

All in all, my camo experiment was a success & was fun that every slice of cake was different.

I love how it turned out...more importantly, the Birthday Boy loved it.

. . . . . . . . . . .
By the way, do you adore my "Anton" bunting? Me too!
Learn how to make cake bunting here.
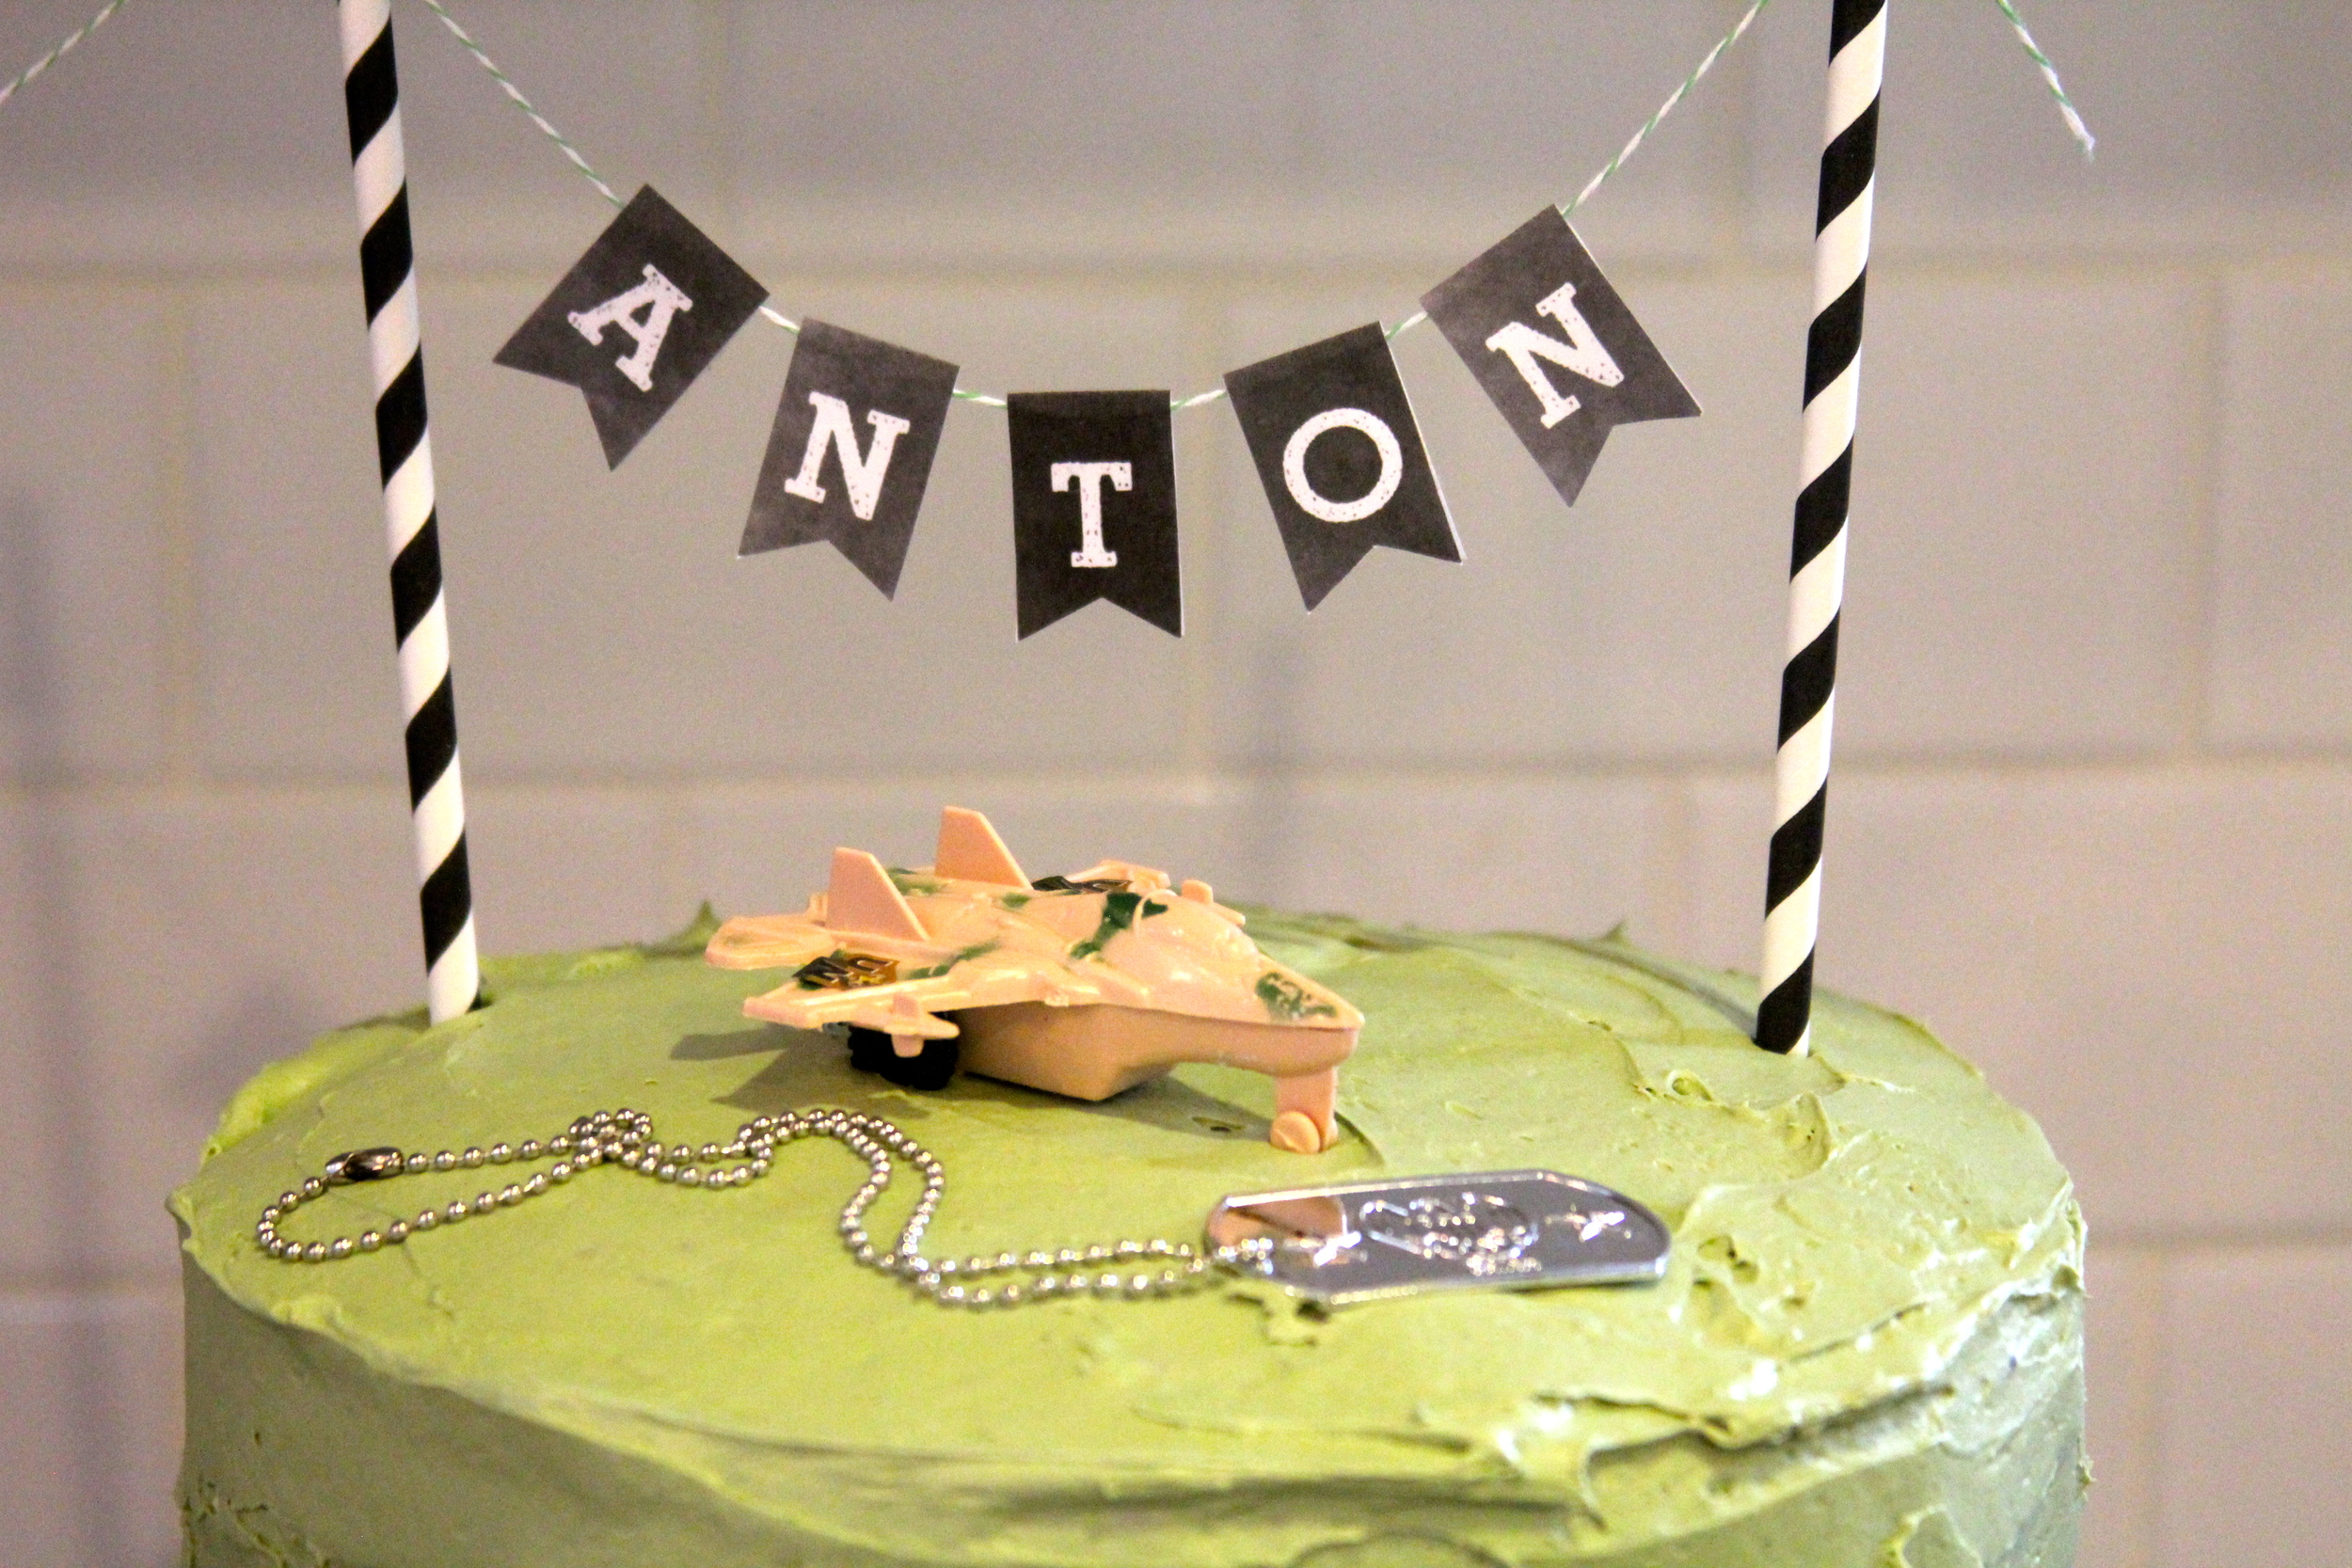
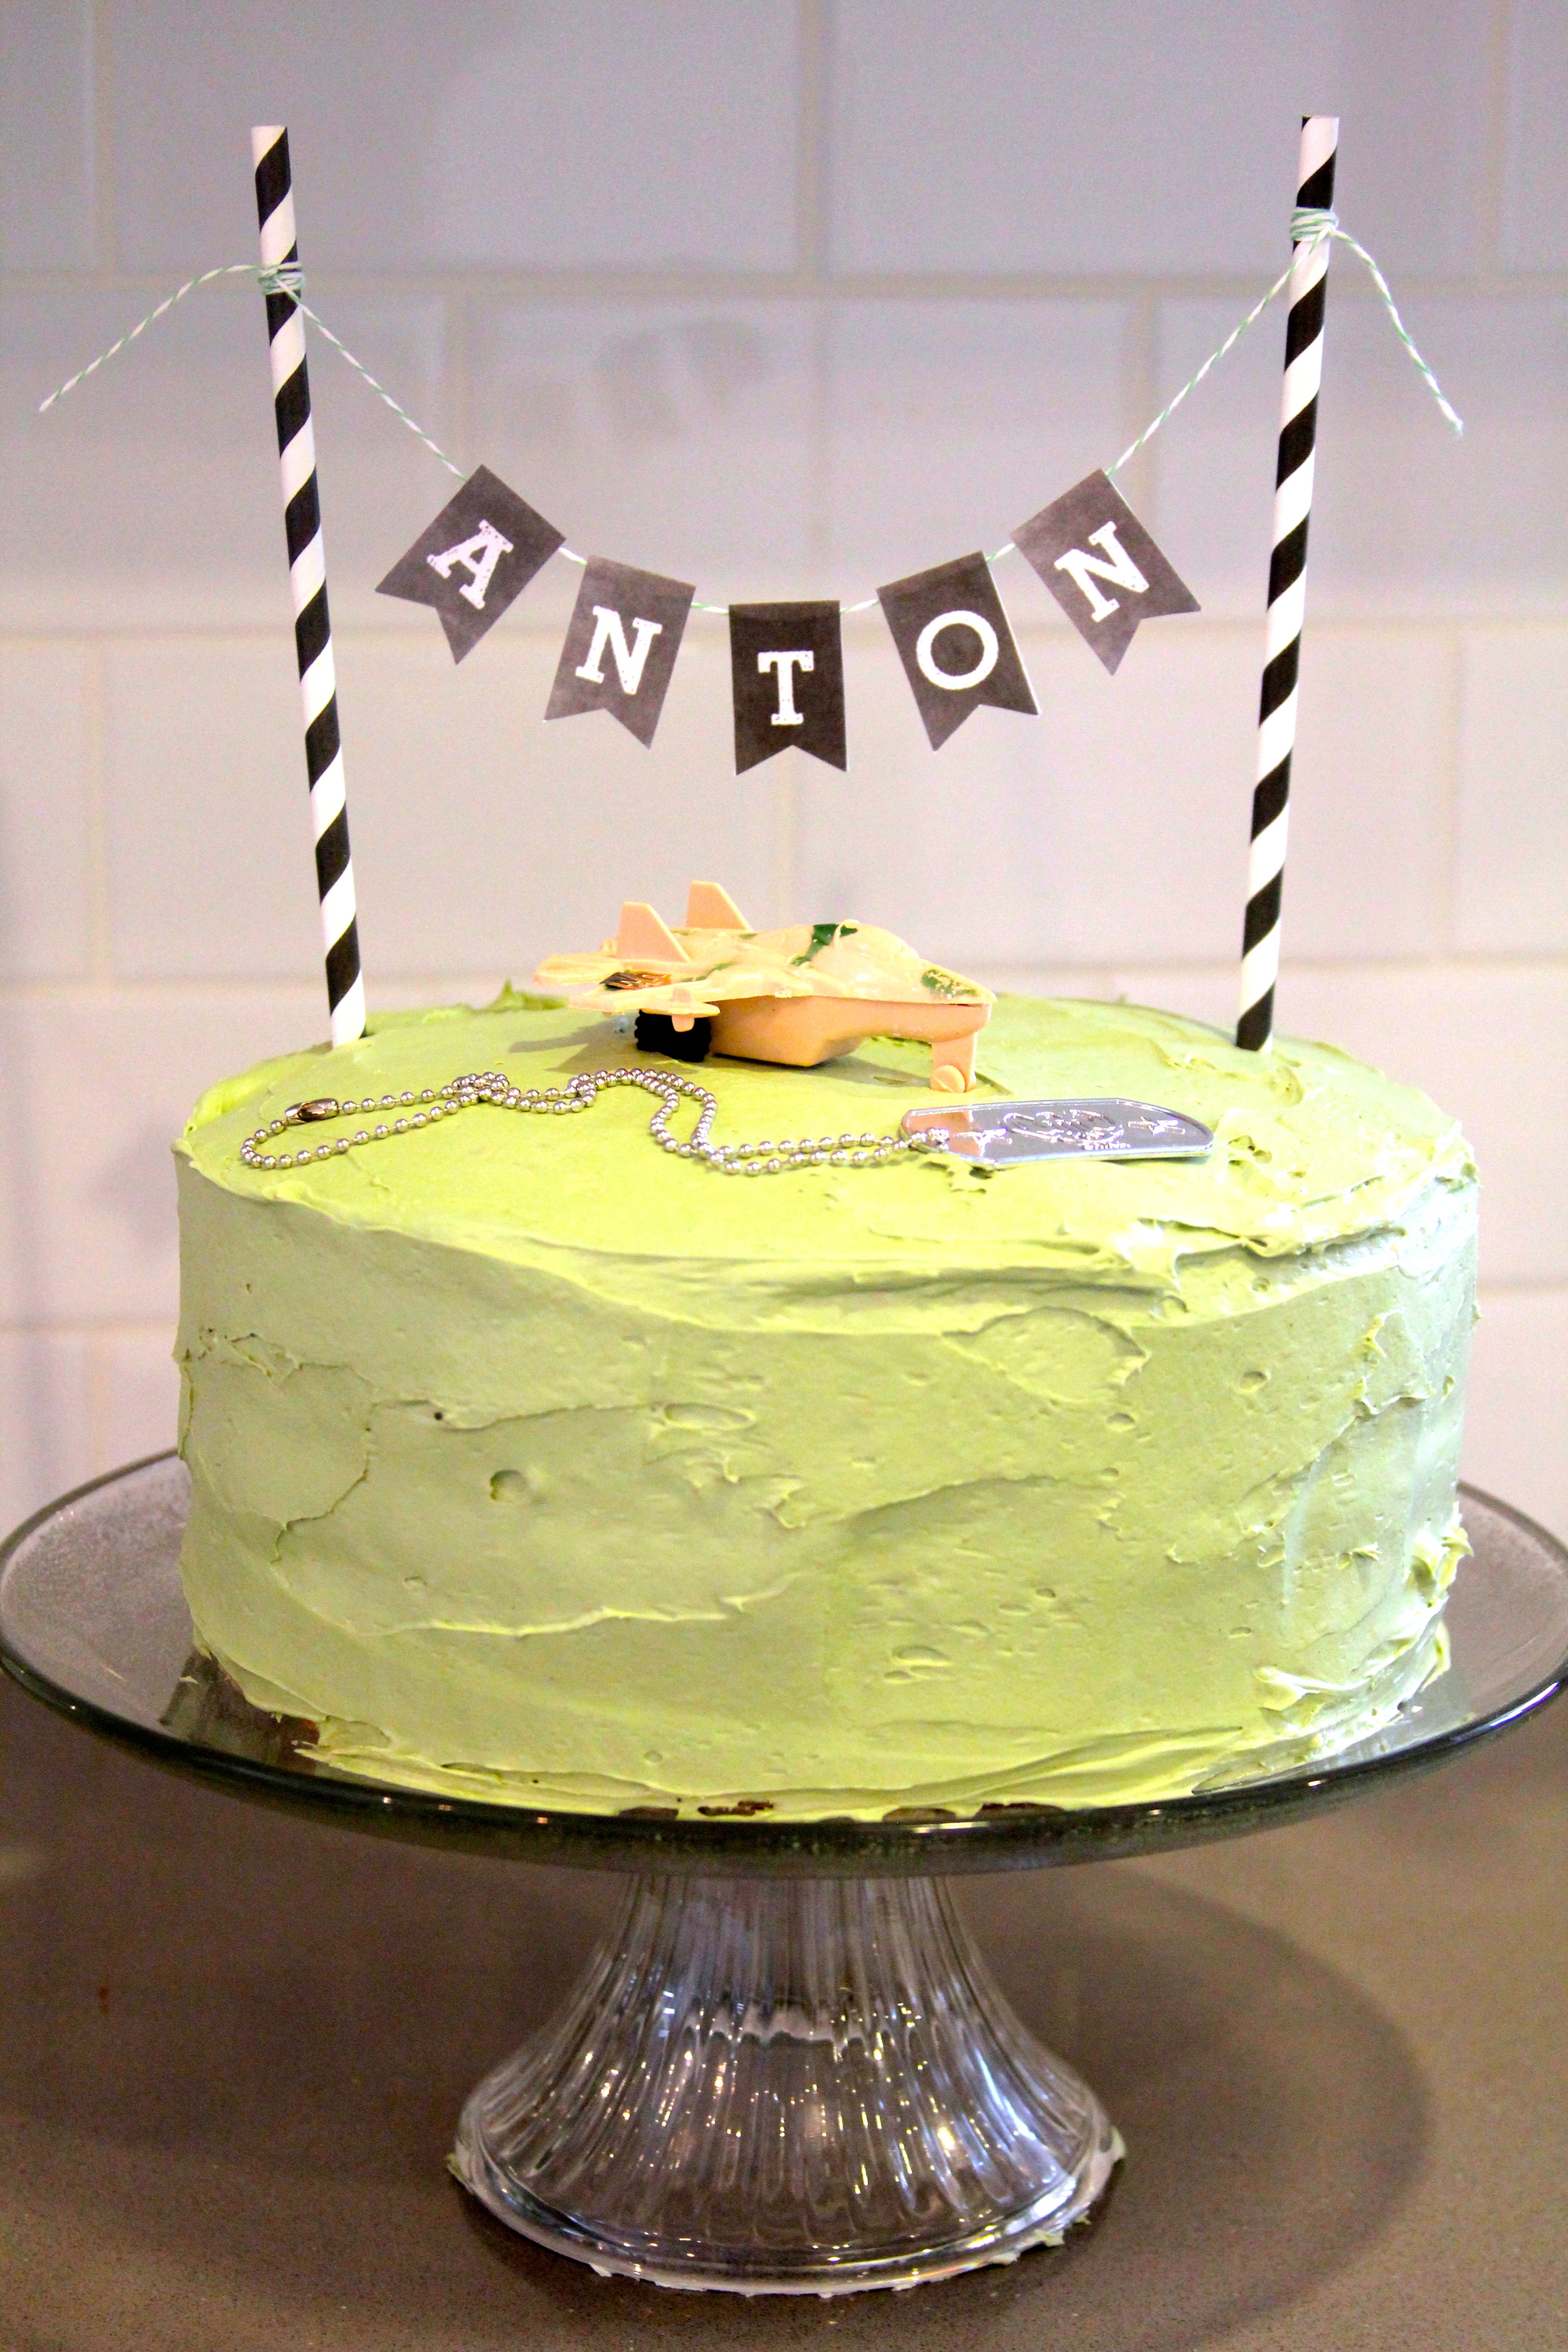
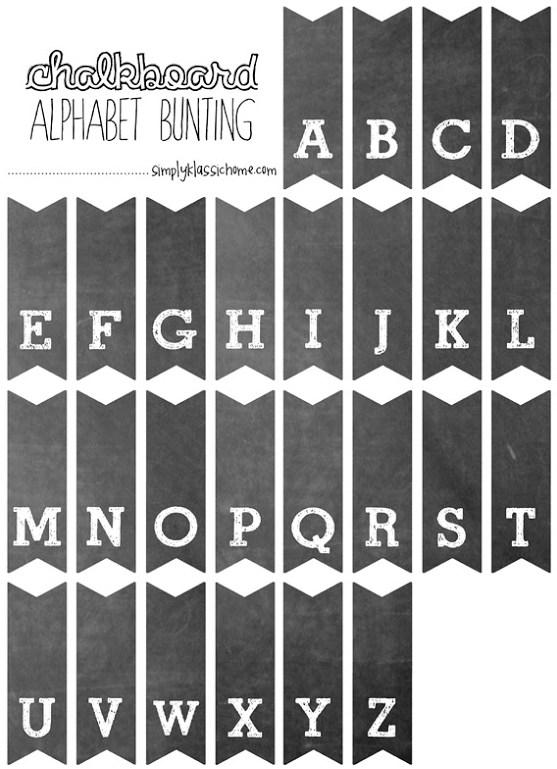
These beautiful chalkboard bunting letters are courtesy of the ever-creative Kristin over at Yellow Bliss Road {get 'em here}.

Hope this inspires you to get creative on your next birthday cake!

linking up to these fun parties:
| the diy dreamer | live.laugh.rowe | made in a day | design, dining + diapers |