our fireplace | part 1 {chevron}


This transformation has been nearly a year in the making.

Can you believe that we started with this??

...and then this???
We certainly had vision for our house, that's for sure.
I had seen this photo on Pinterest awhile back and immediately knew I wanted to try it on our fireplace.
I'm so annoyed I can't find the source. It's the home of the couple that heads up much of Anthropologie's displays. Amazing blog. Amazing ideas.
Bummer. Sorry.
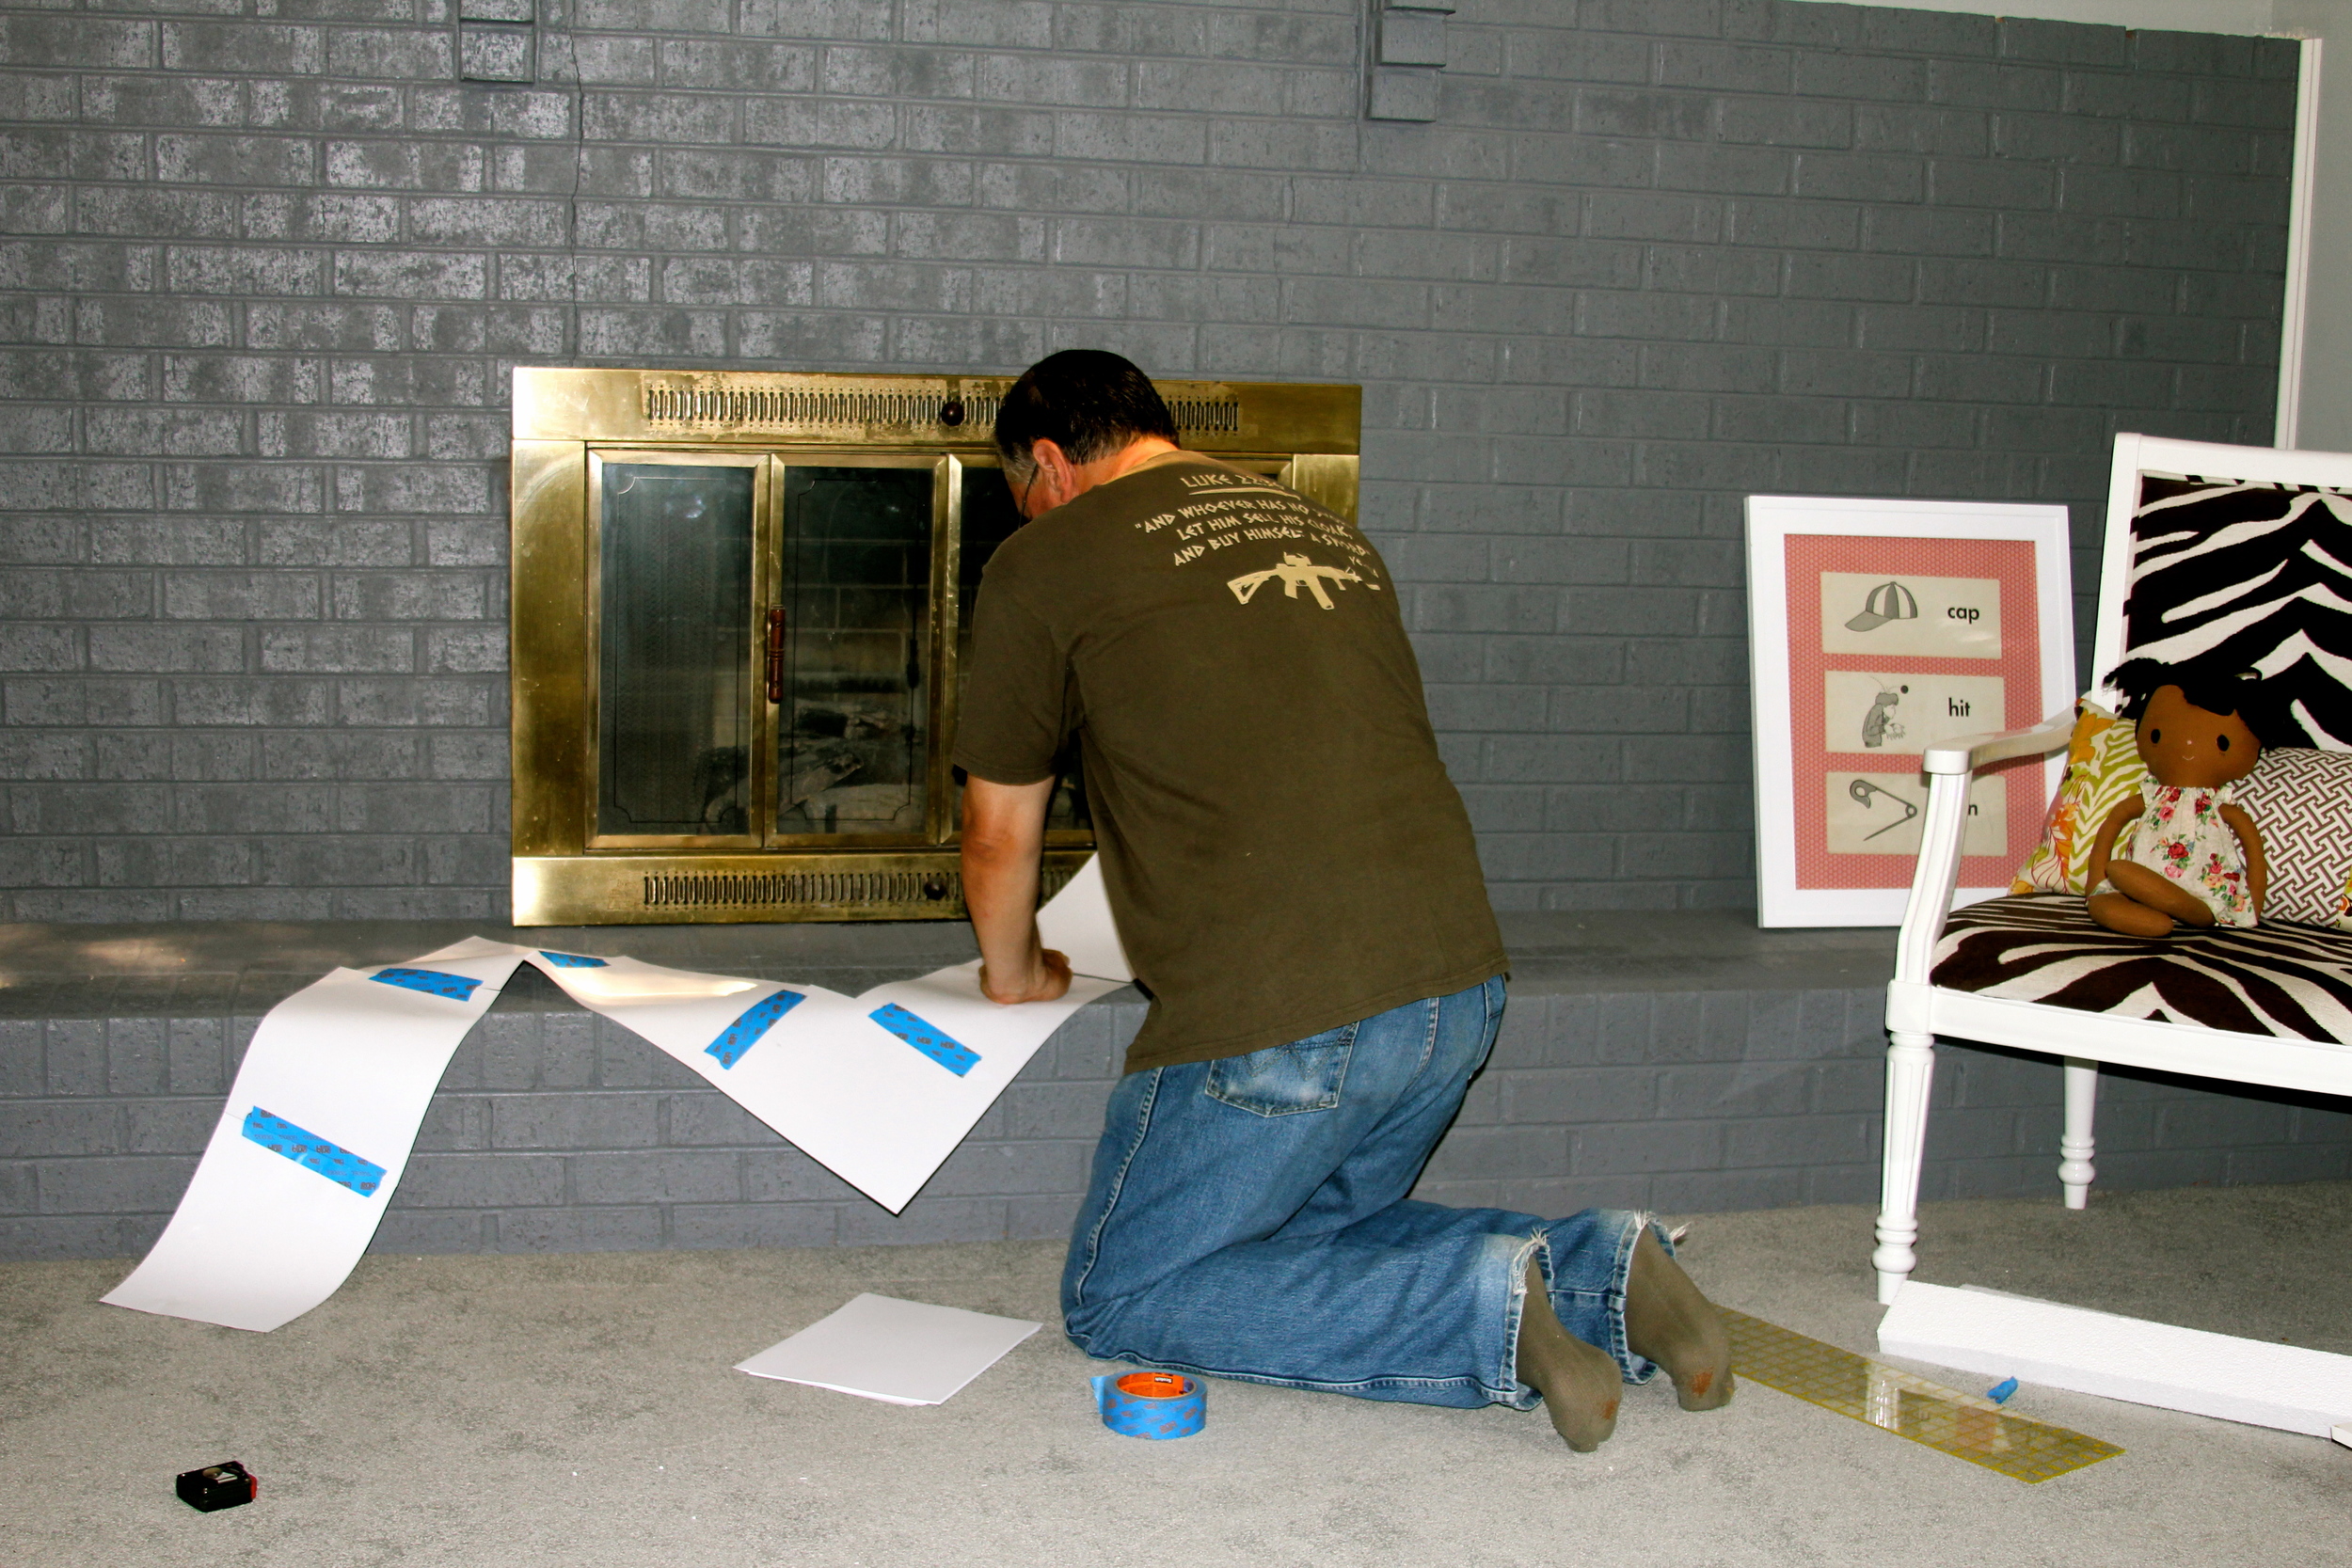
My inspiration came into action last summer when my folks came to visit. Thought it would be fun to start with my Dad.

Anton & Laith loved helping, too. In their pj's.

We decided to first build a template and decide on the size of the chevron. I wanted an impact and for it to be bold...yet not TOO busy.

Simply taping together regular-sized printer paper was the perfect solution.
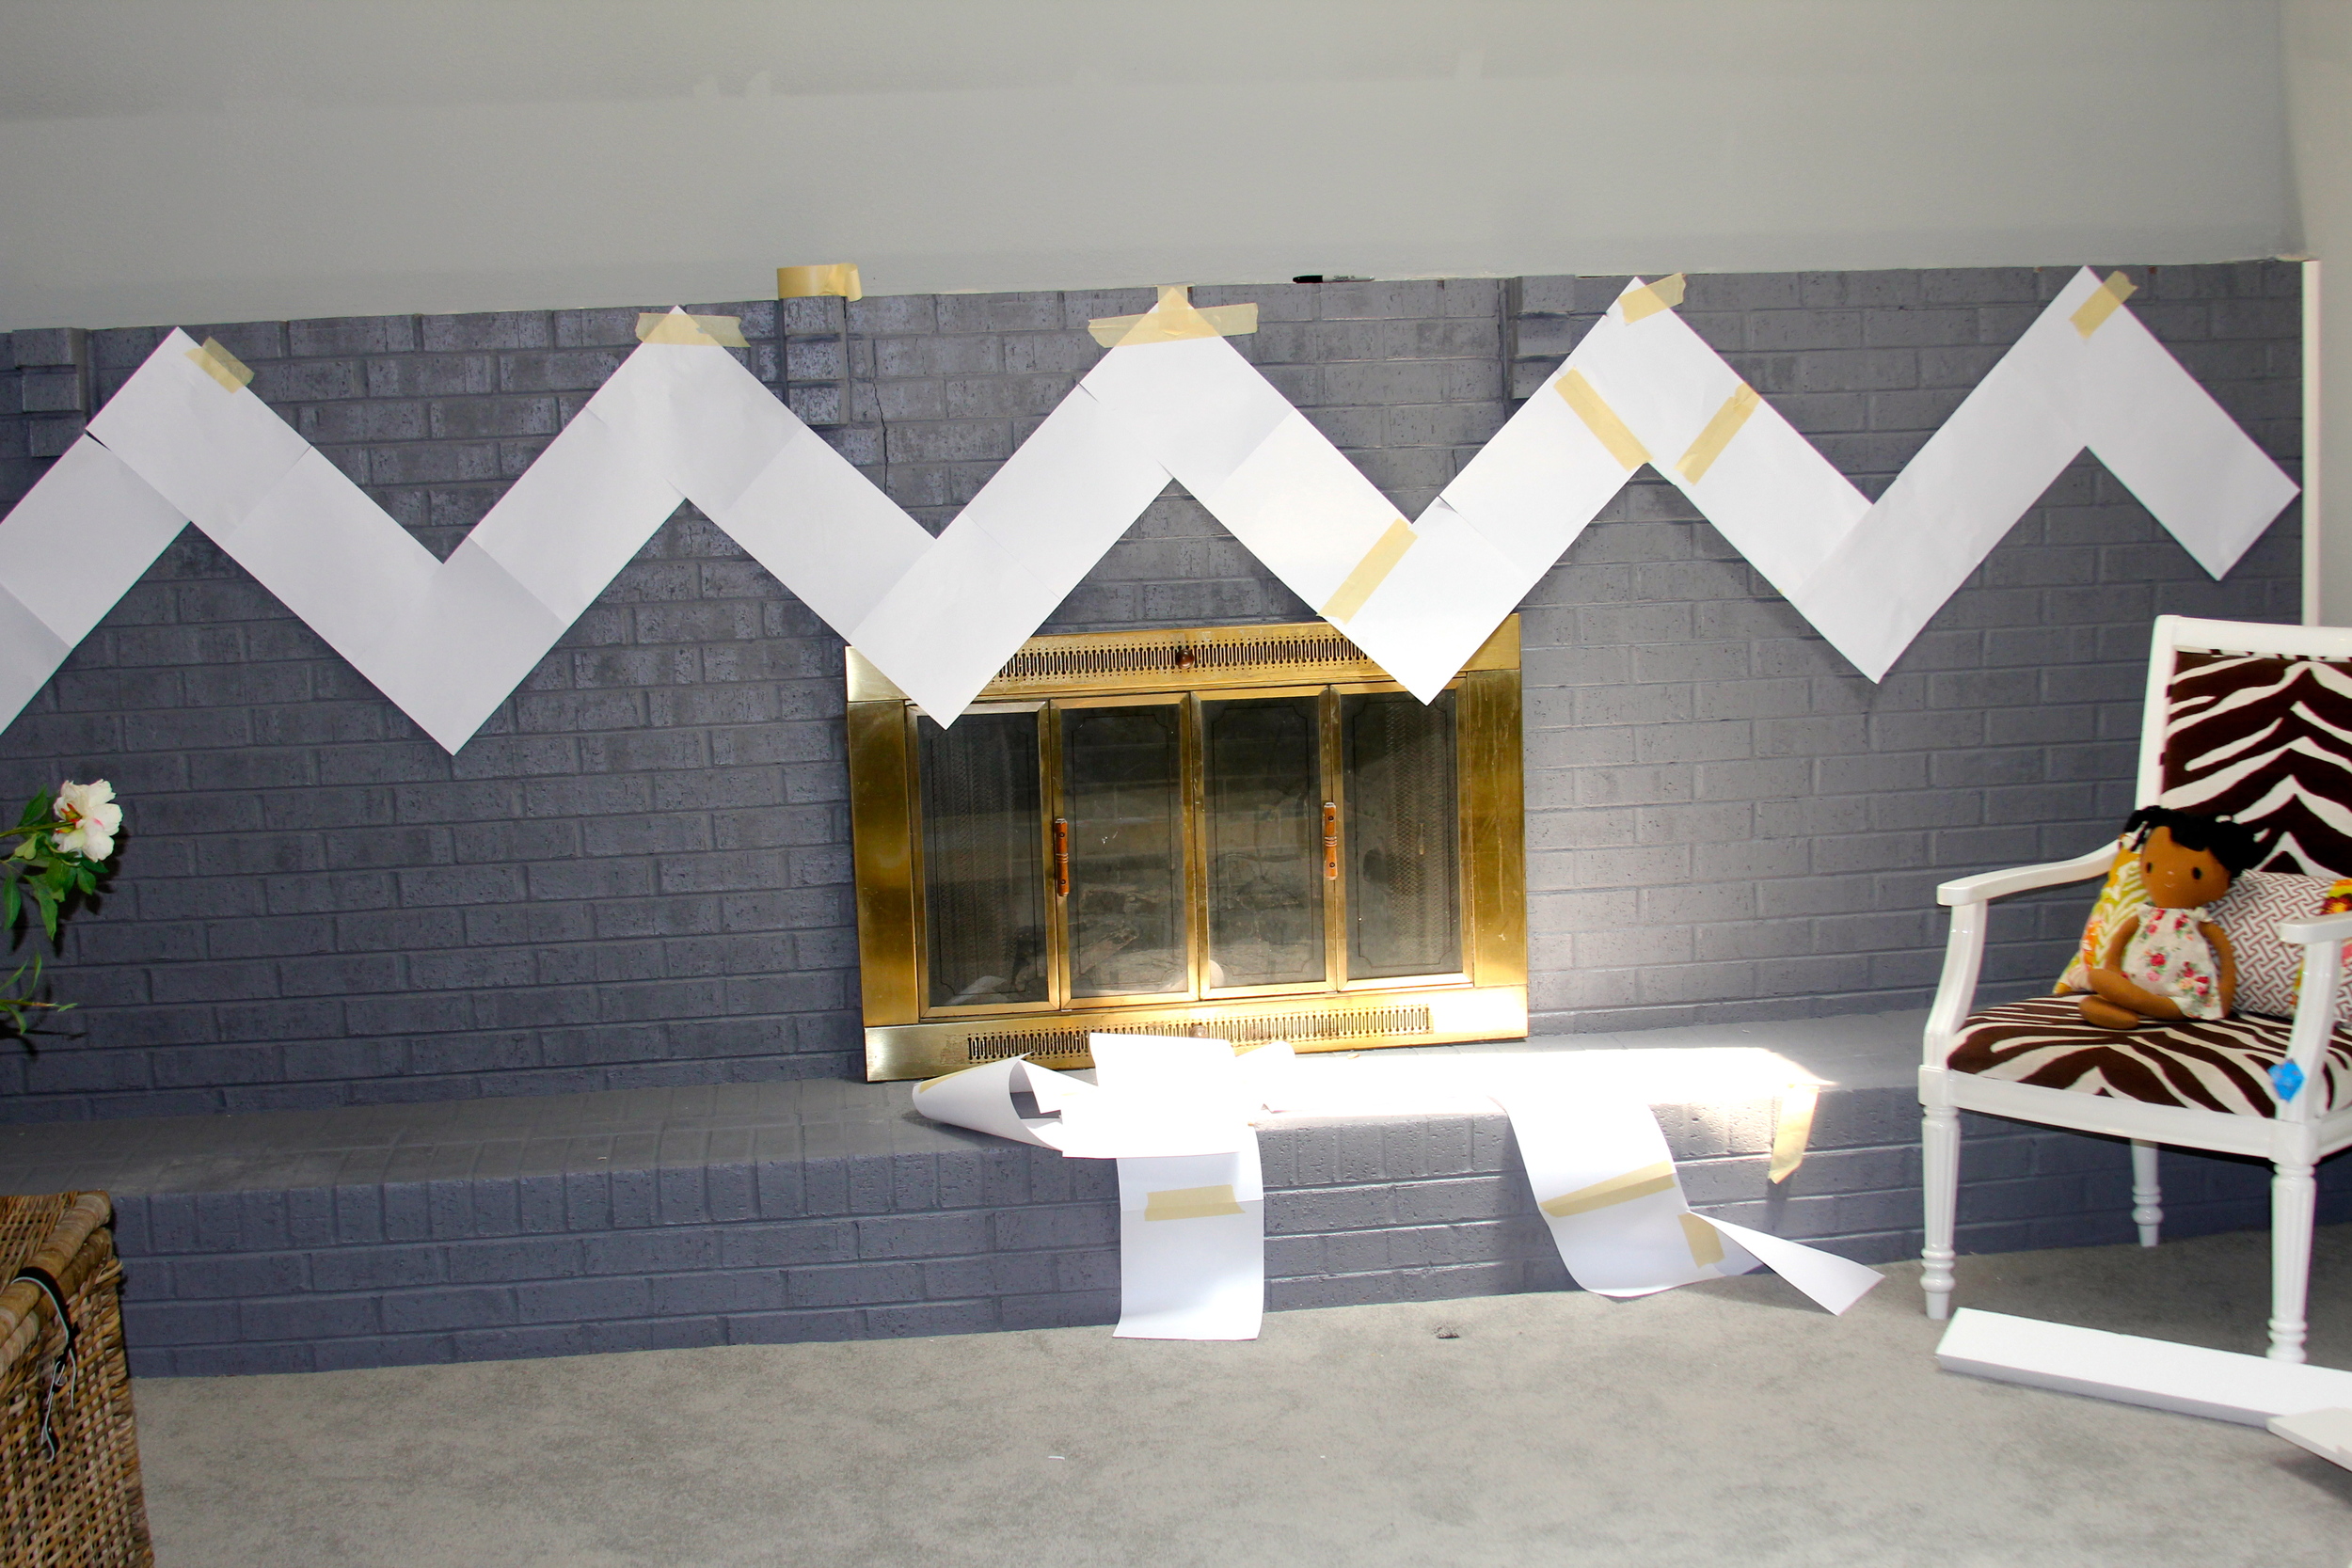
After some trial and error, we finally got the measurements correct.

It was nice to be able to visualize how it'd look before we actually got the paint out.
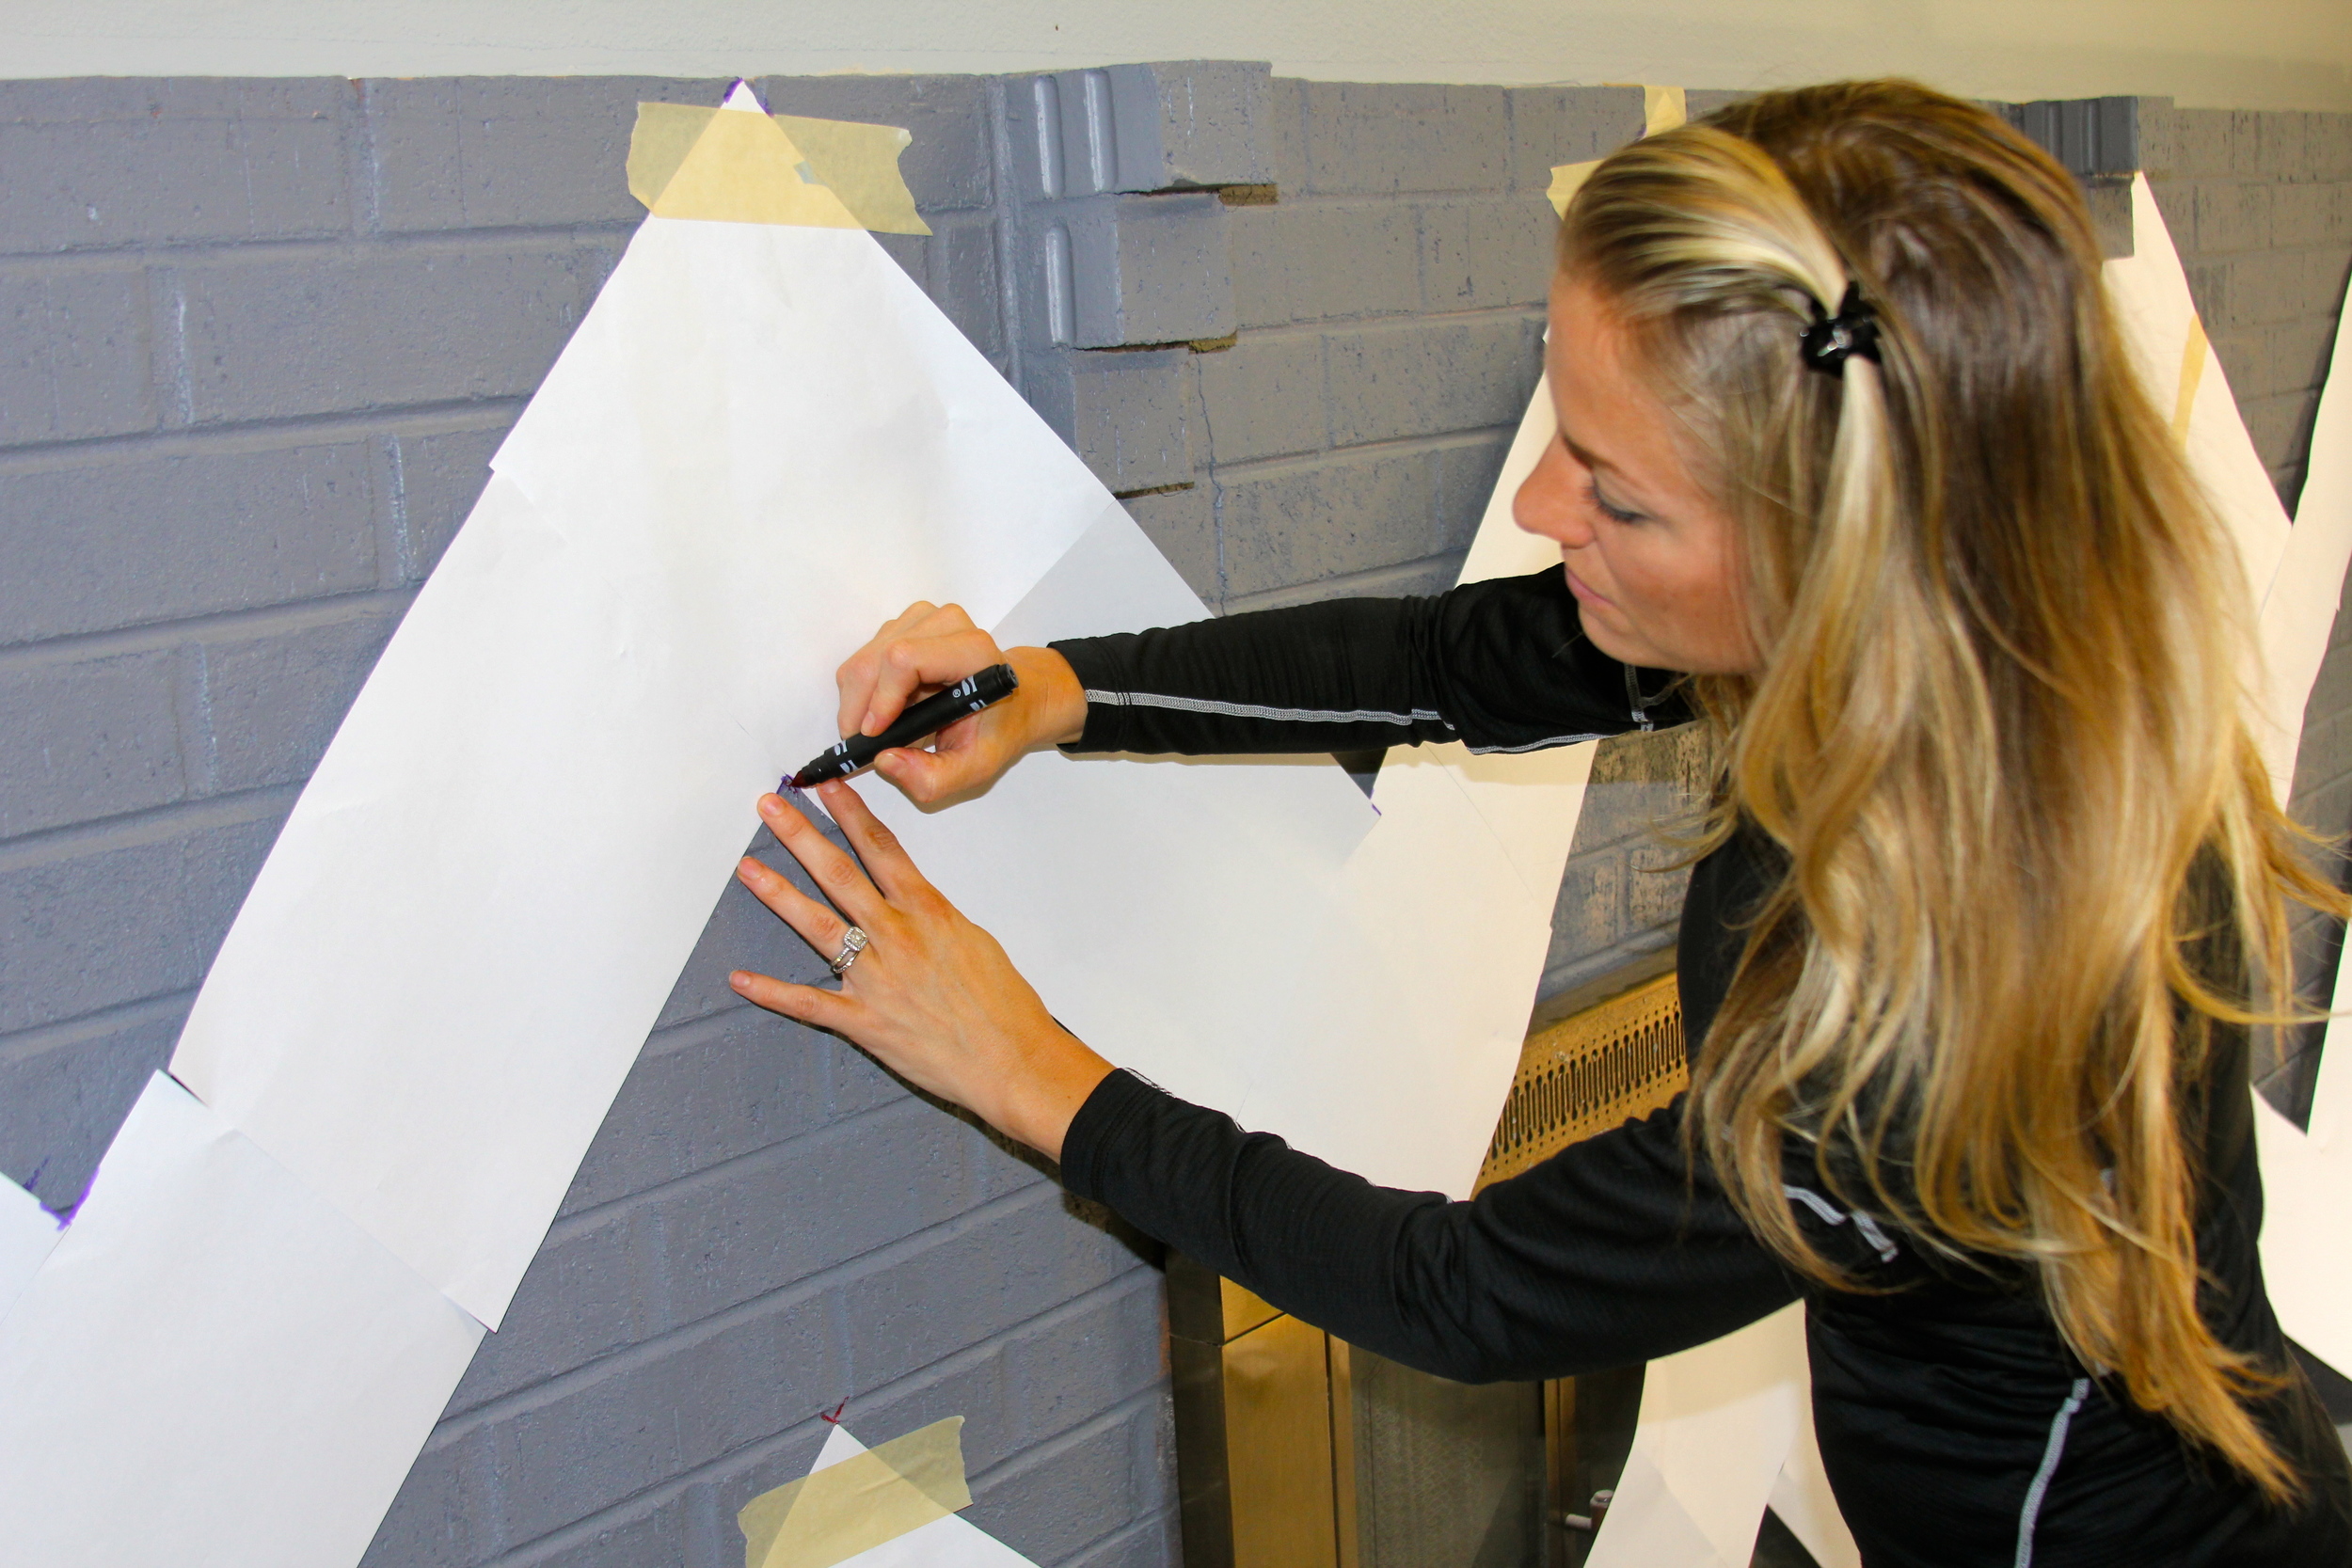
Sneaking a washable marker from the kids stash, I marked the angles in our design so I'd be able to remove my template and easily see where to place my tape.

{{ hint 1 }}
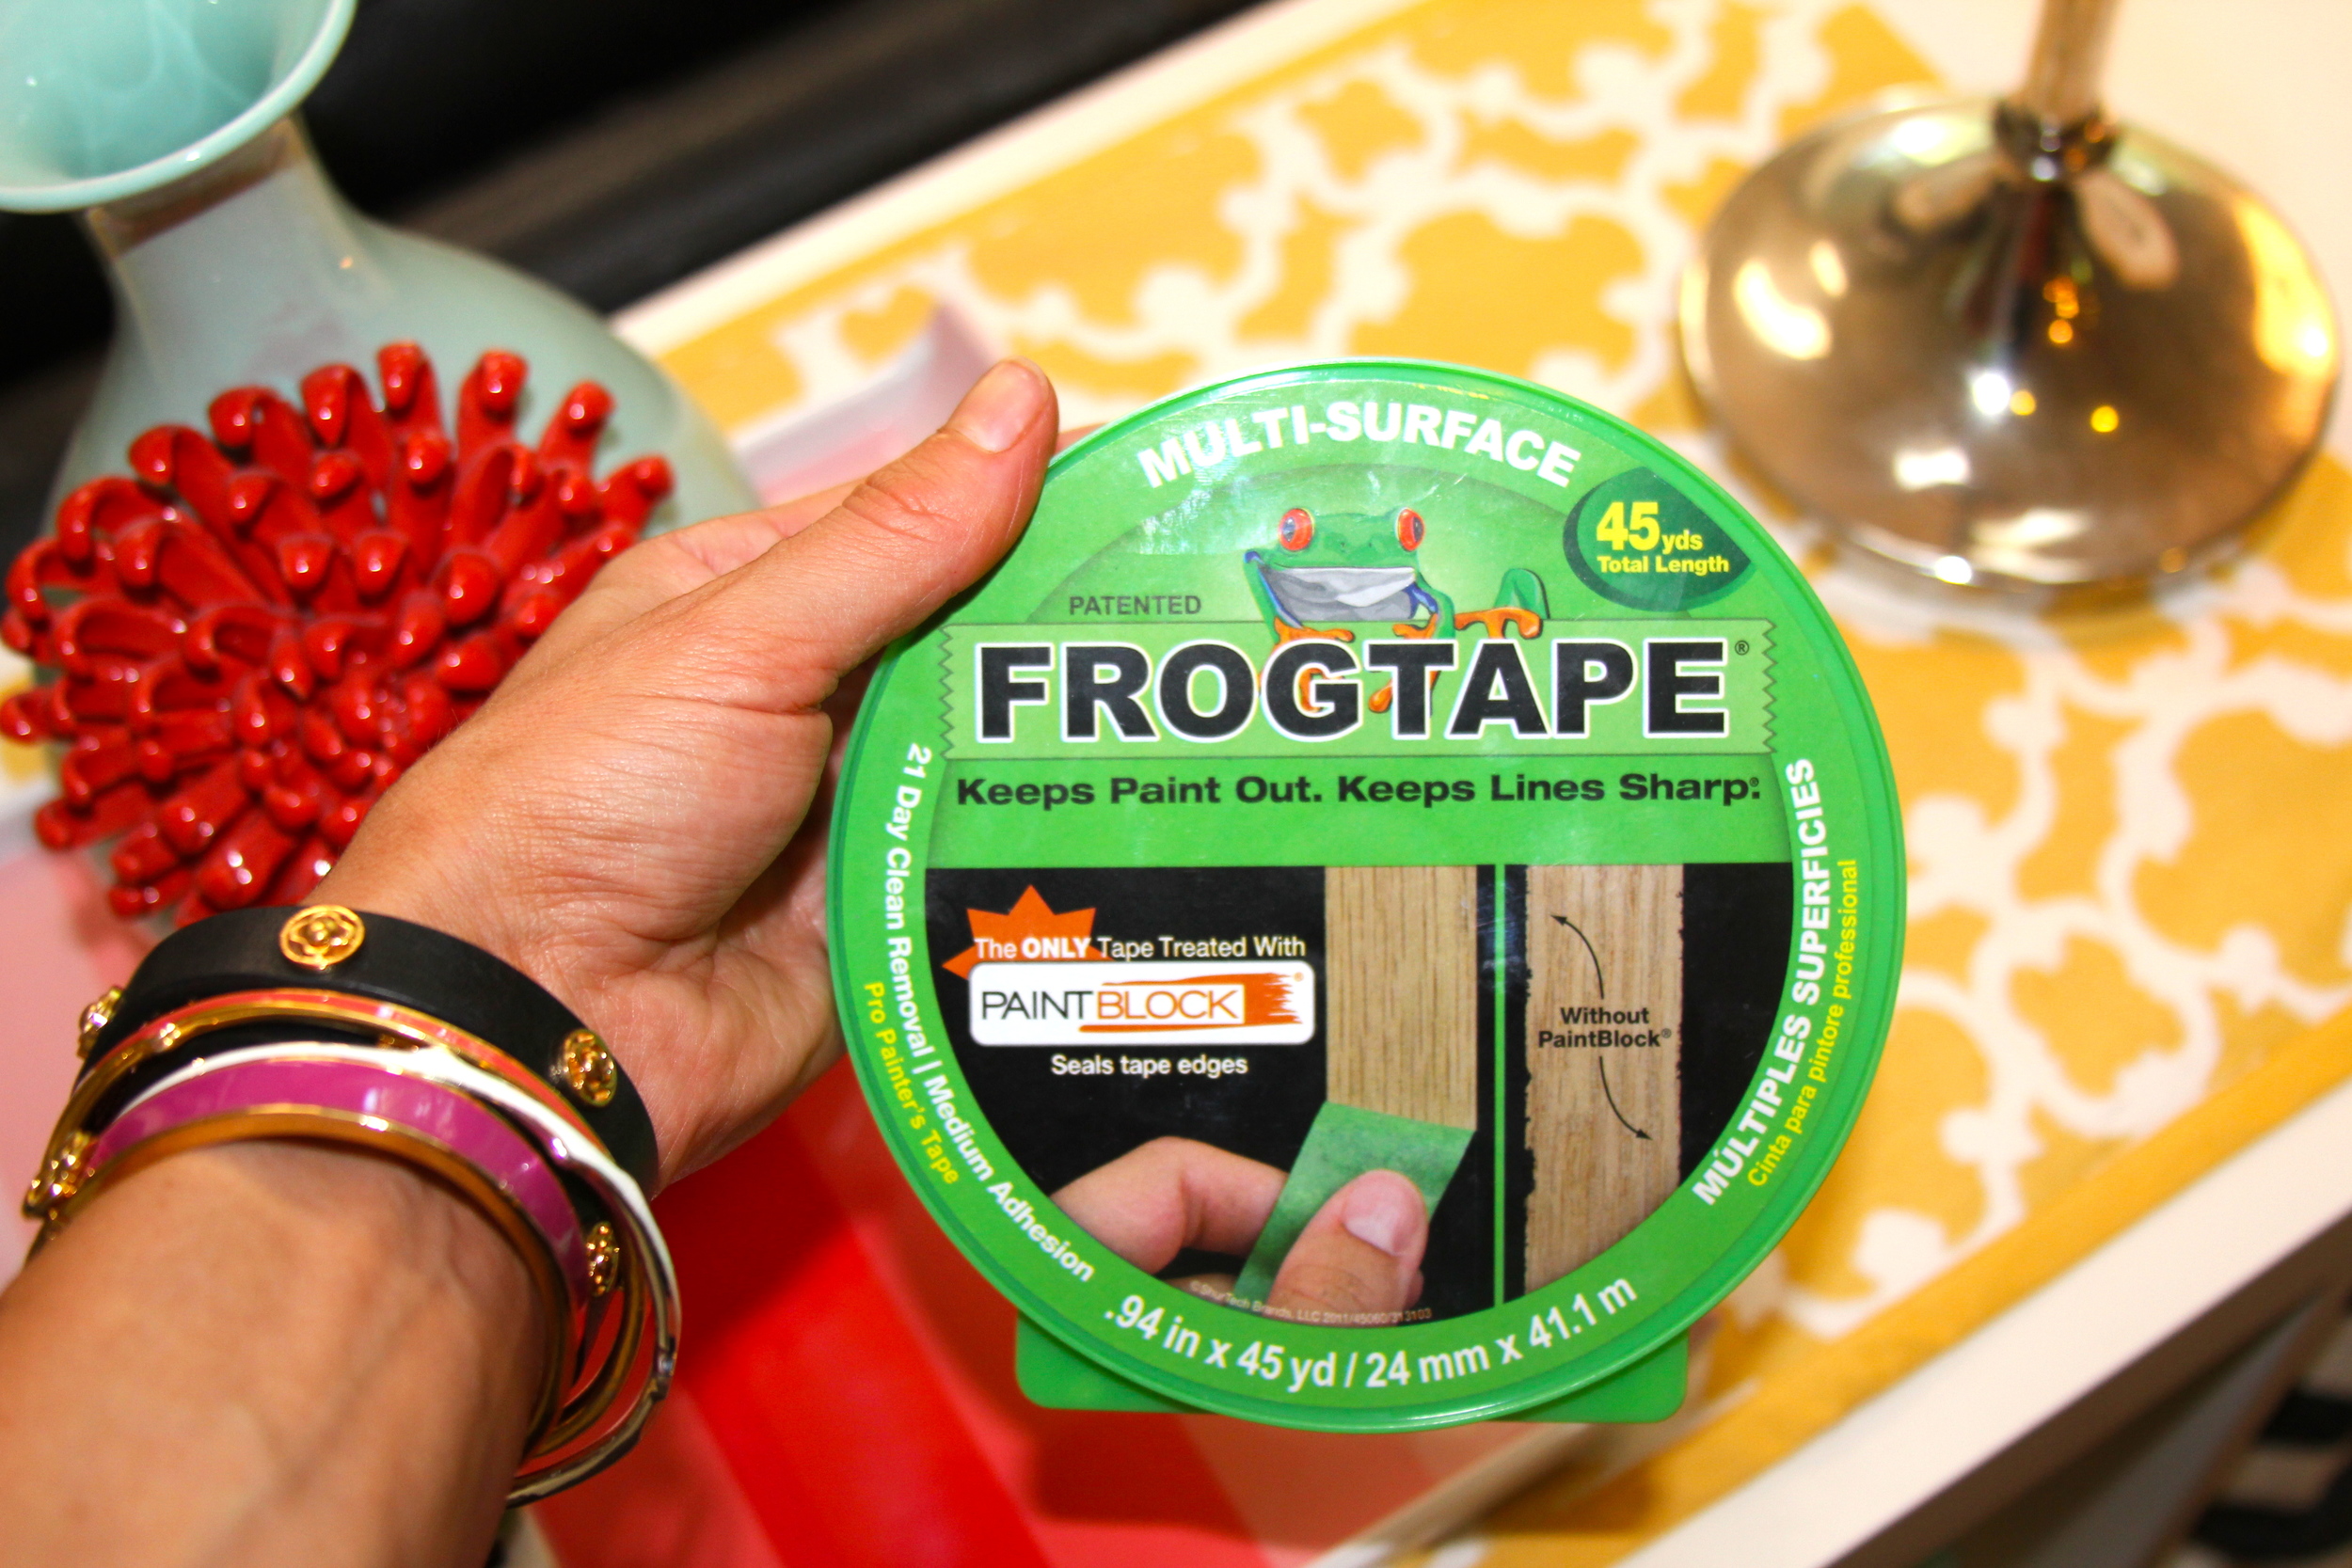
I had bad luck with painters tape. The blue tape fell off almost as soon as I pressed it on, so I found good-old-fashioned masking tape in Ben's toolbox. That pulled the paint right off the brick. Thank goodness for a trip to Home Depot and finding Frogtape. It's a little more expensive, but worked fantastically.

We did end up getting Ben's lazer out though to make sure all my angles were even.

Anton kept jumping up onto the mantle asking us to "shoot" him with the lazer. Such a boy.
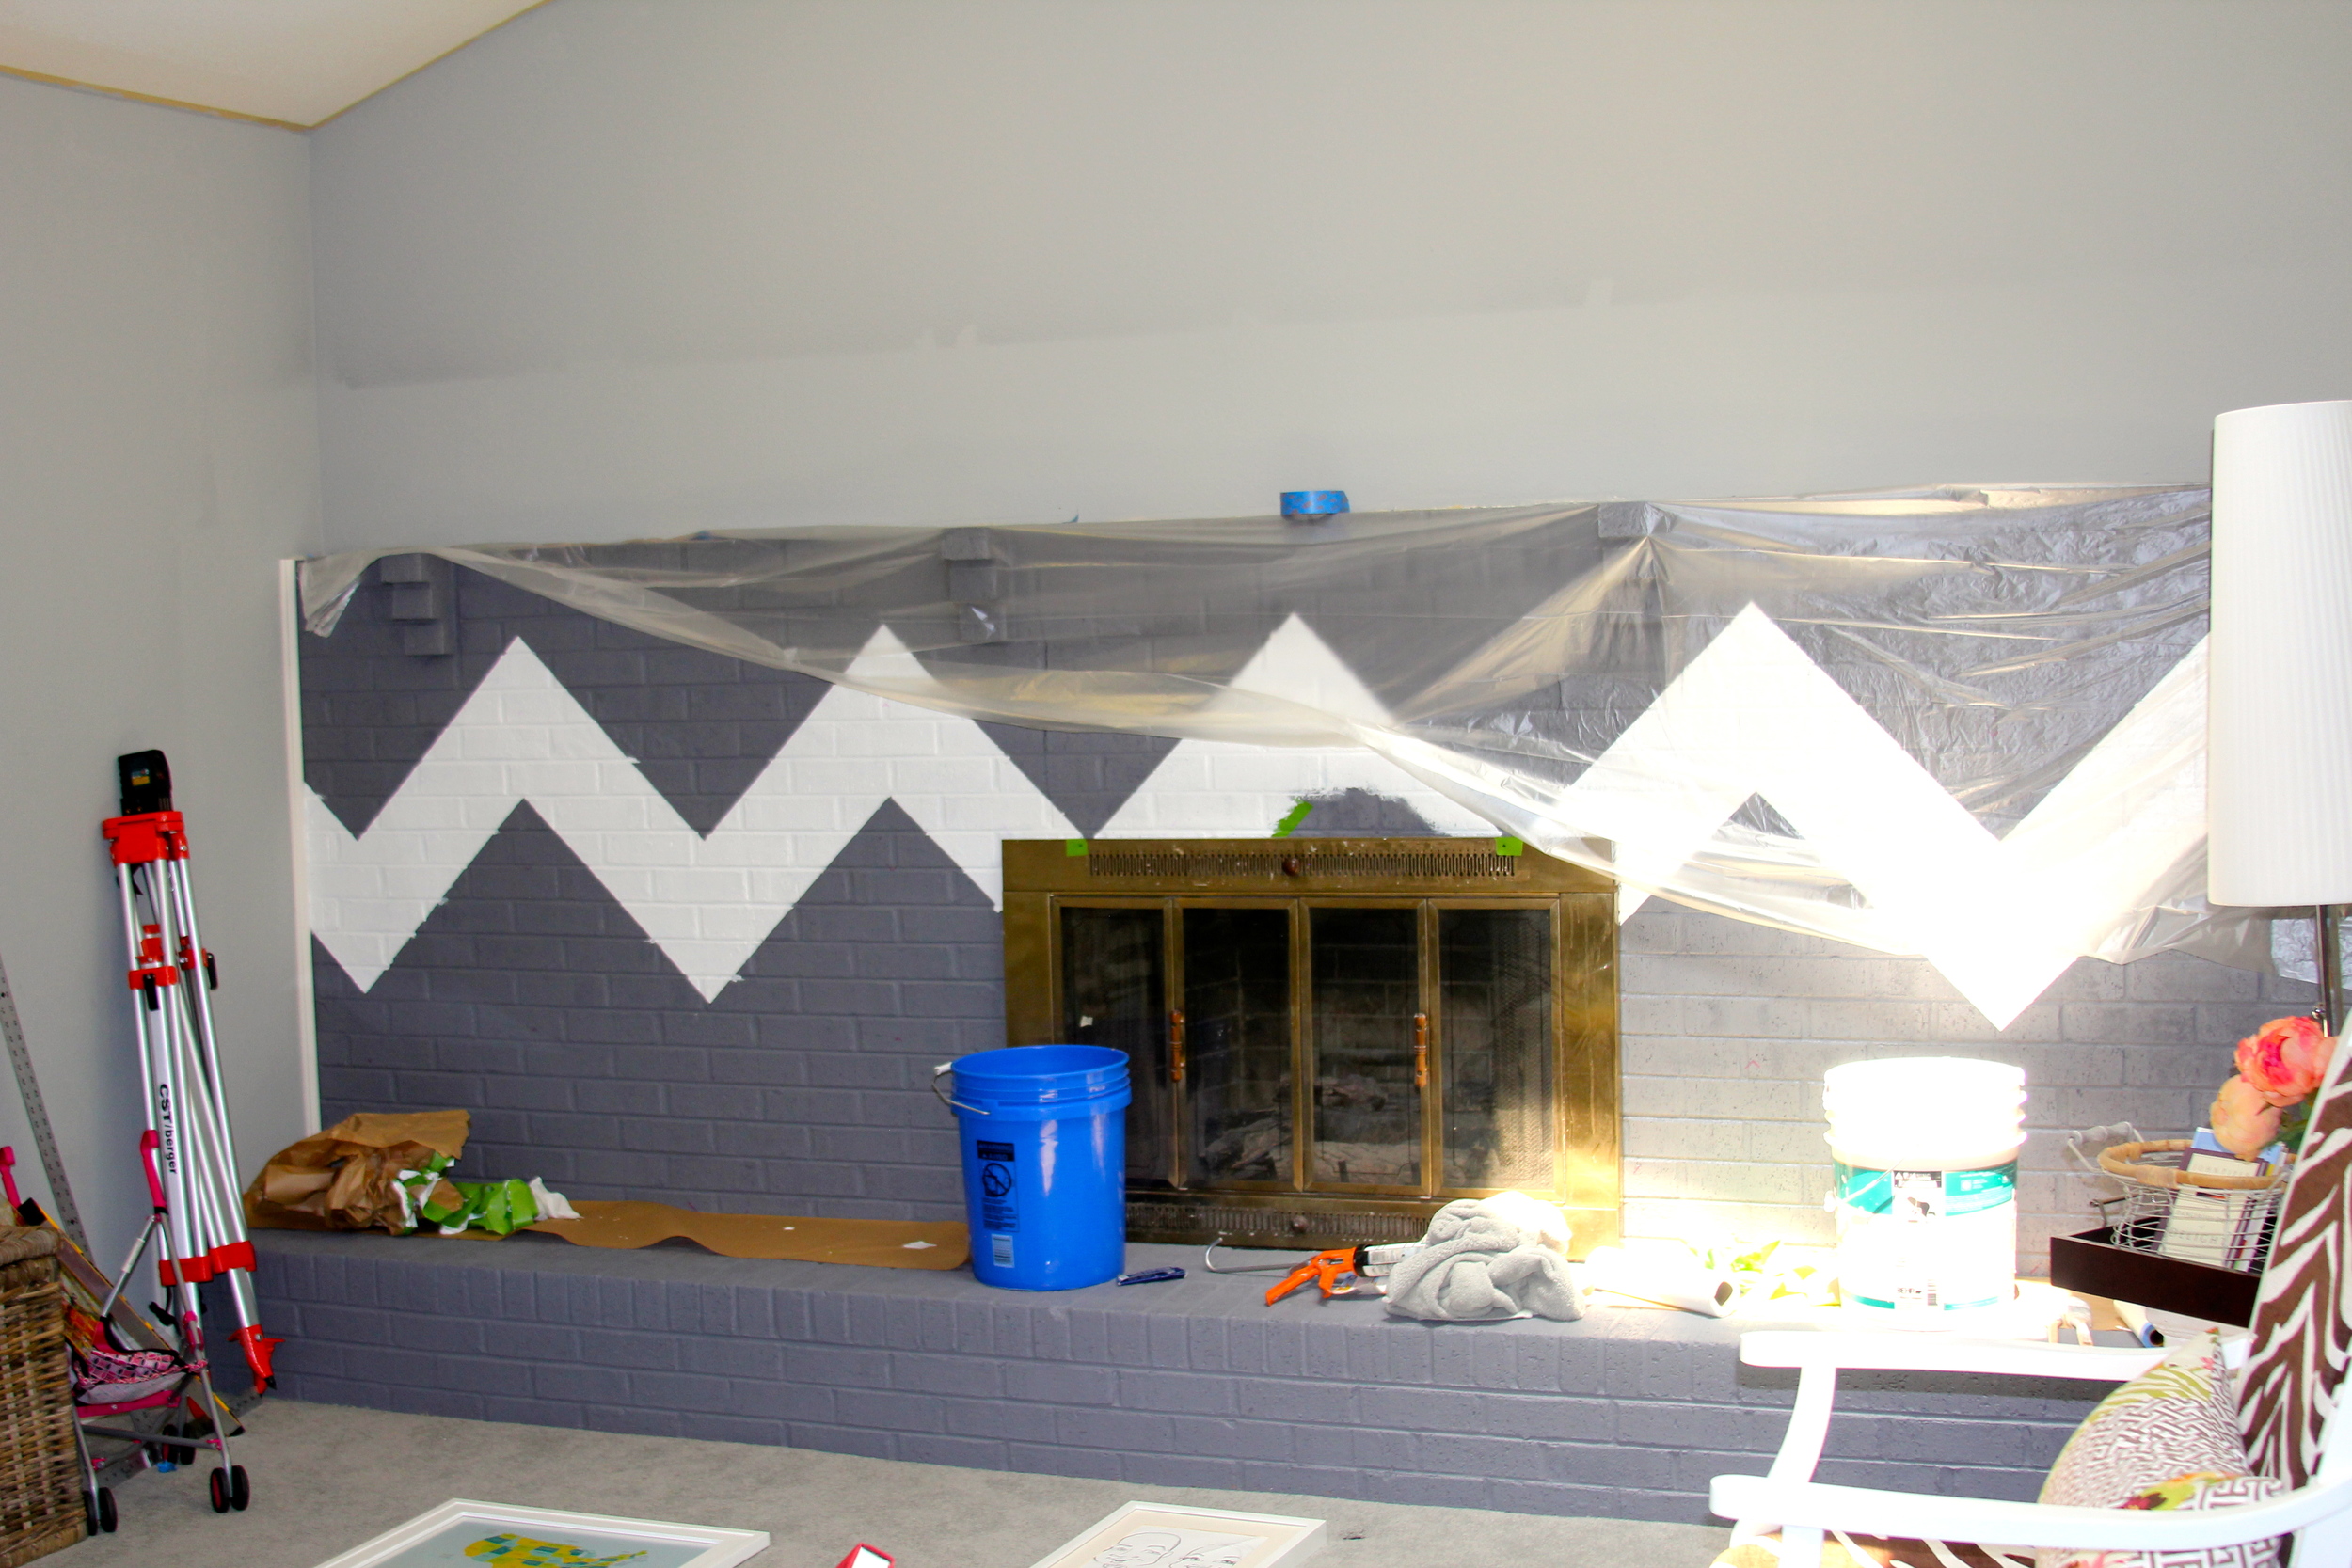
Finally we began to paint. It's a bit hard to see in this photo, but I was really discouraged by the fact that even with my hours of taping, the lines weren't perfectly crisp like I wanted because of all the texture from the brick.

{look how different it looks once we added the chalkboard paint! that diy comes in part 2}
{{ hint 2 }}
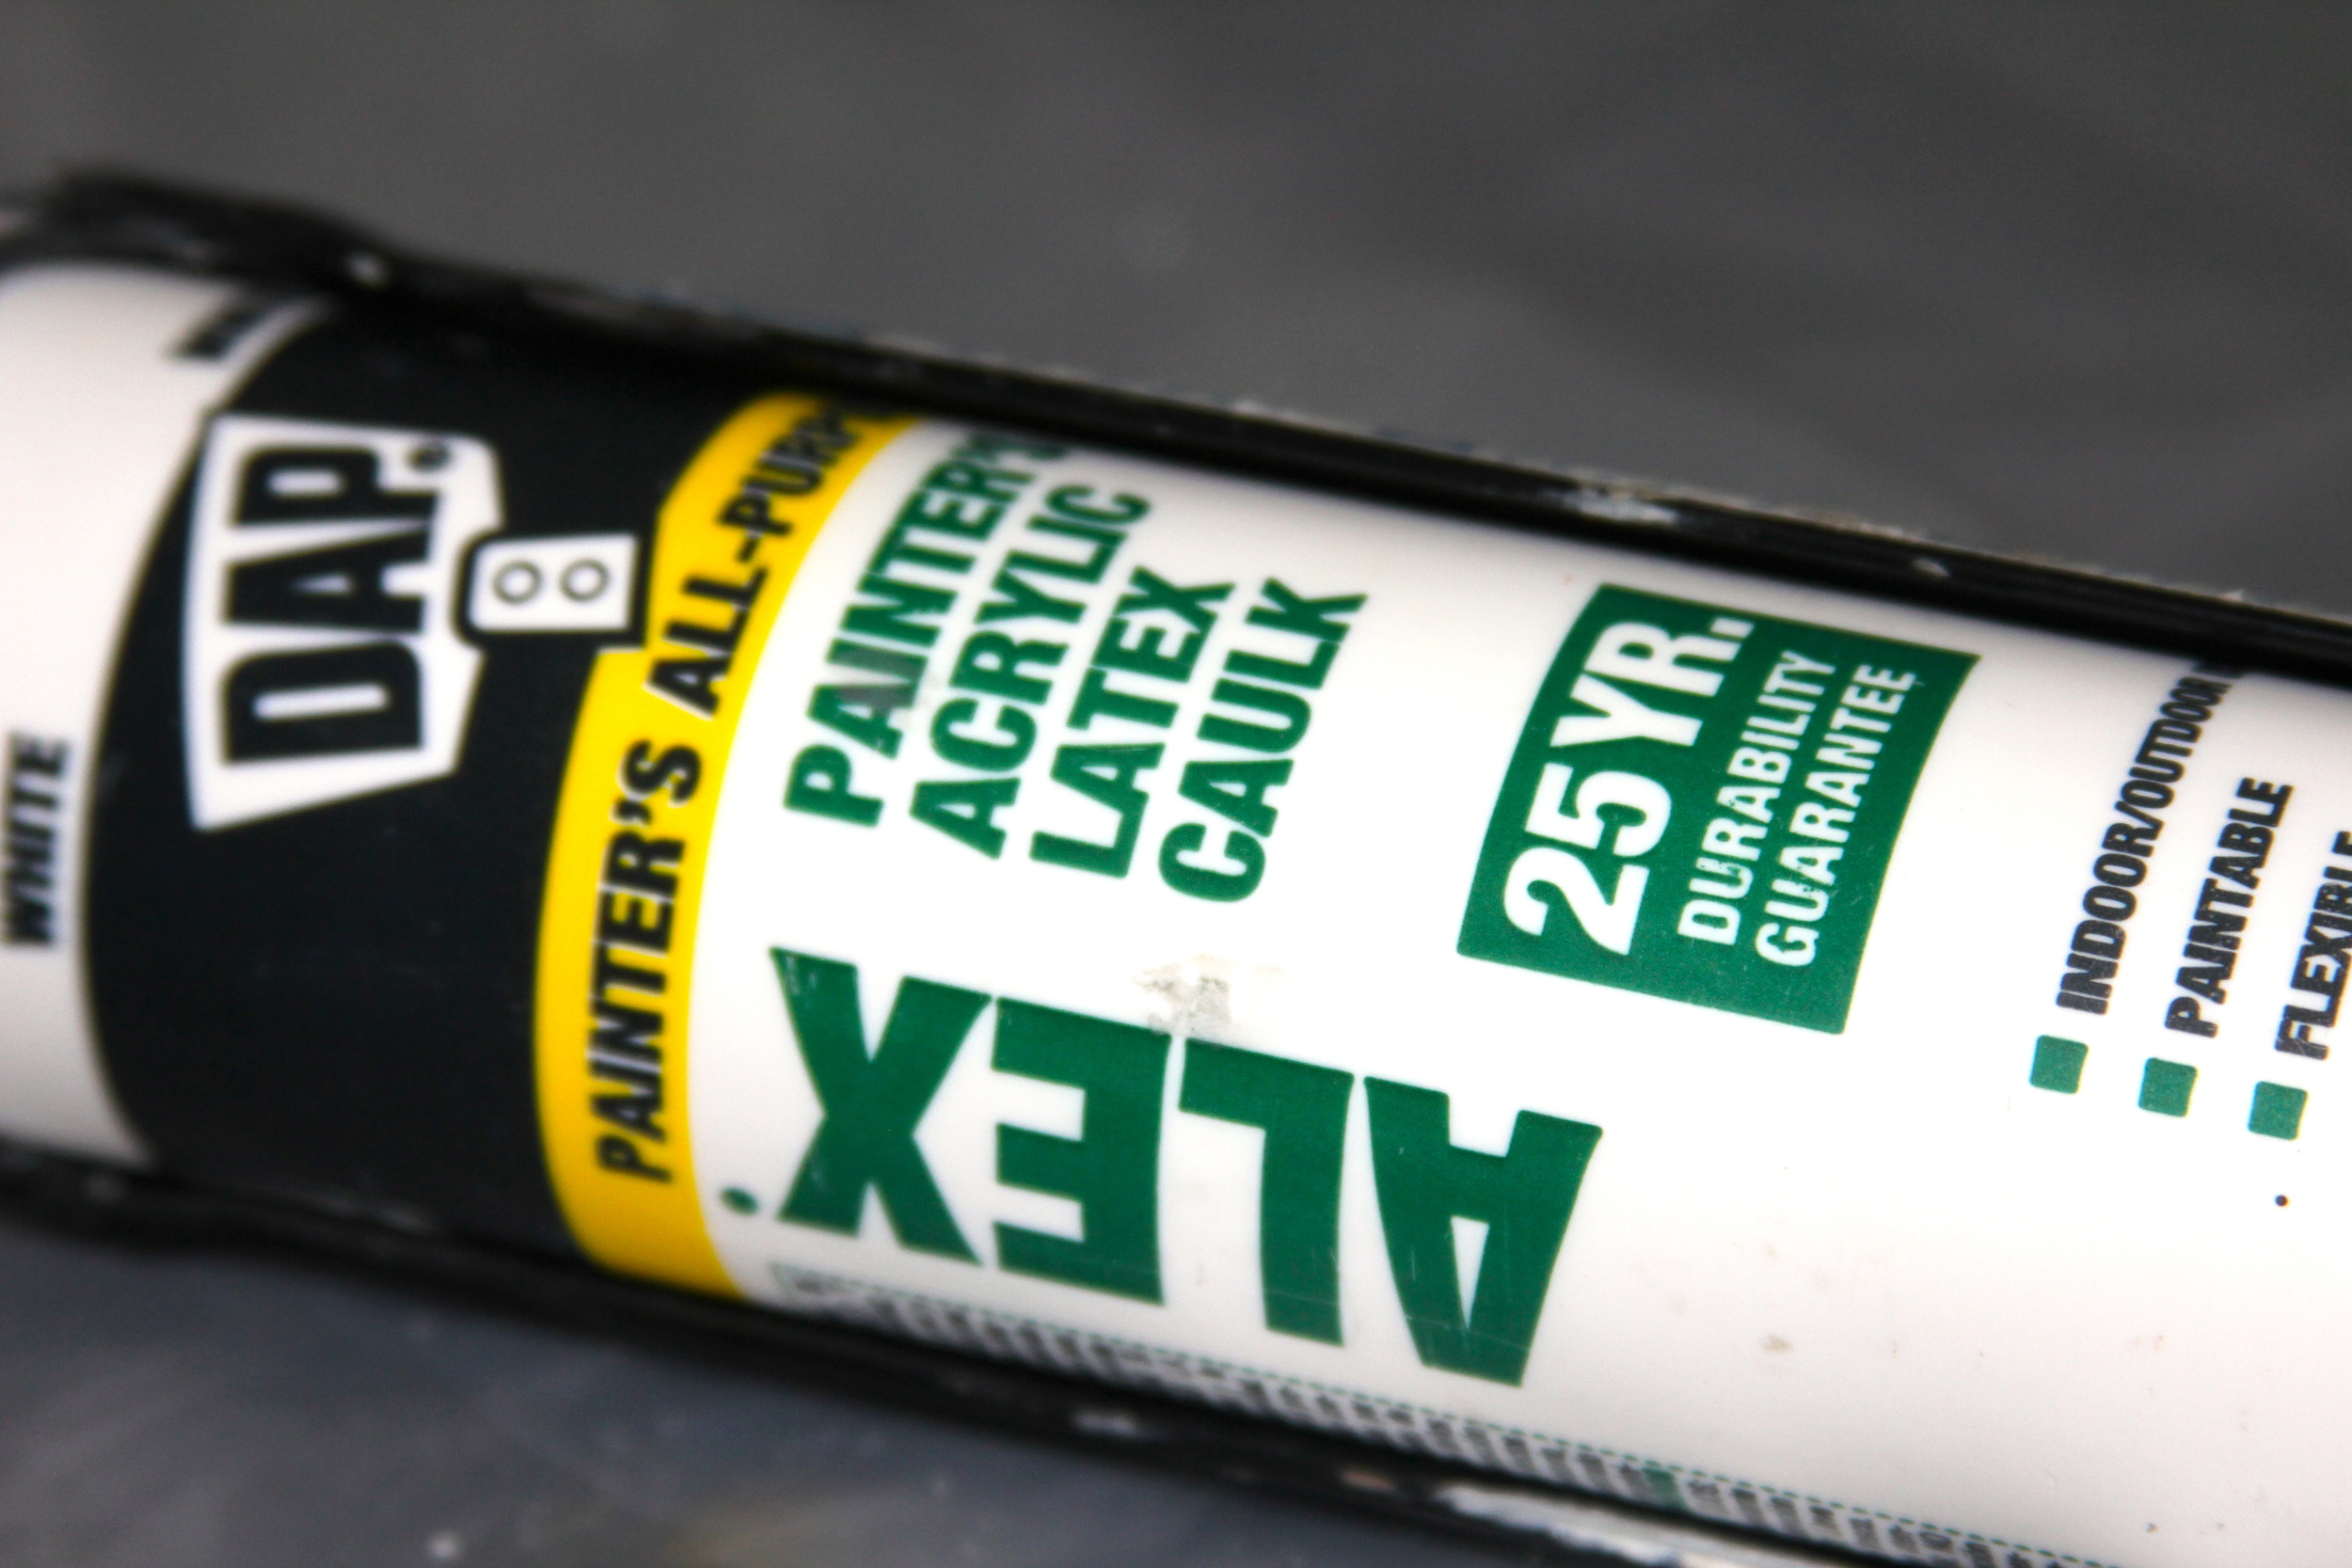
Ben, being the brilliant man that he is...thought of using this WITH the Frogtape.

We just squeezed some of the painters caulk onto the line where the tape and brick meet & with a rag, smoothed it across. Only do this where you'll be painting. You obviously don't need to do it on BOTH sides of the tape.
The benefit of this painters caulk is it fills the texture of the brick. So when painting, you won't have it bleed or need to worry much about the bumps in the brick that you just can't press the tape enough into to form a crisp edge.

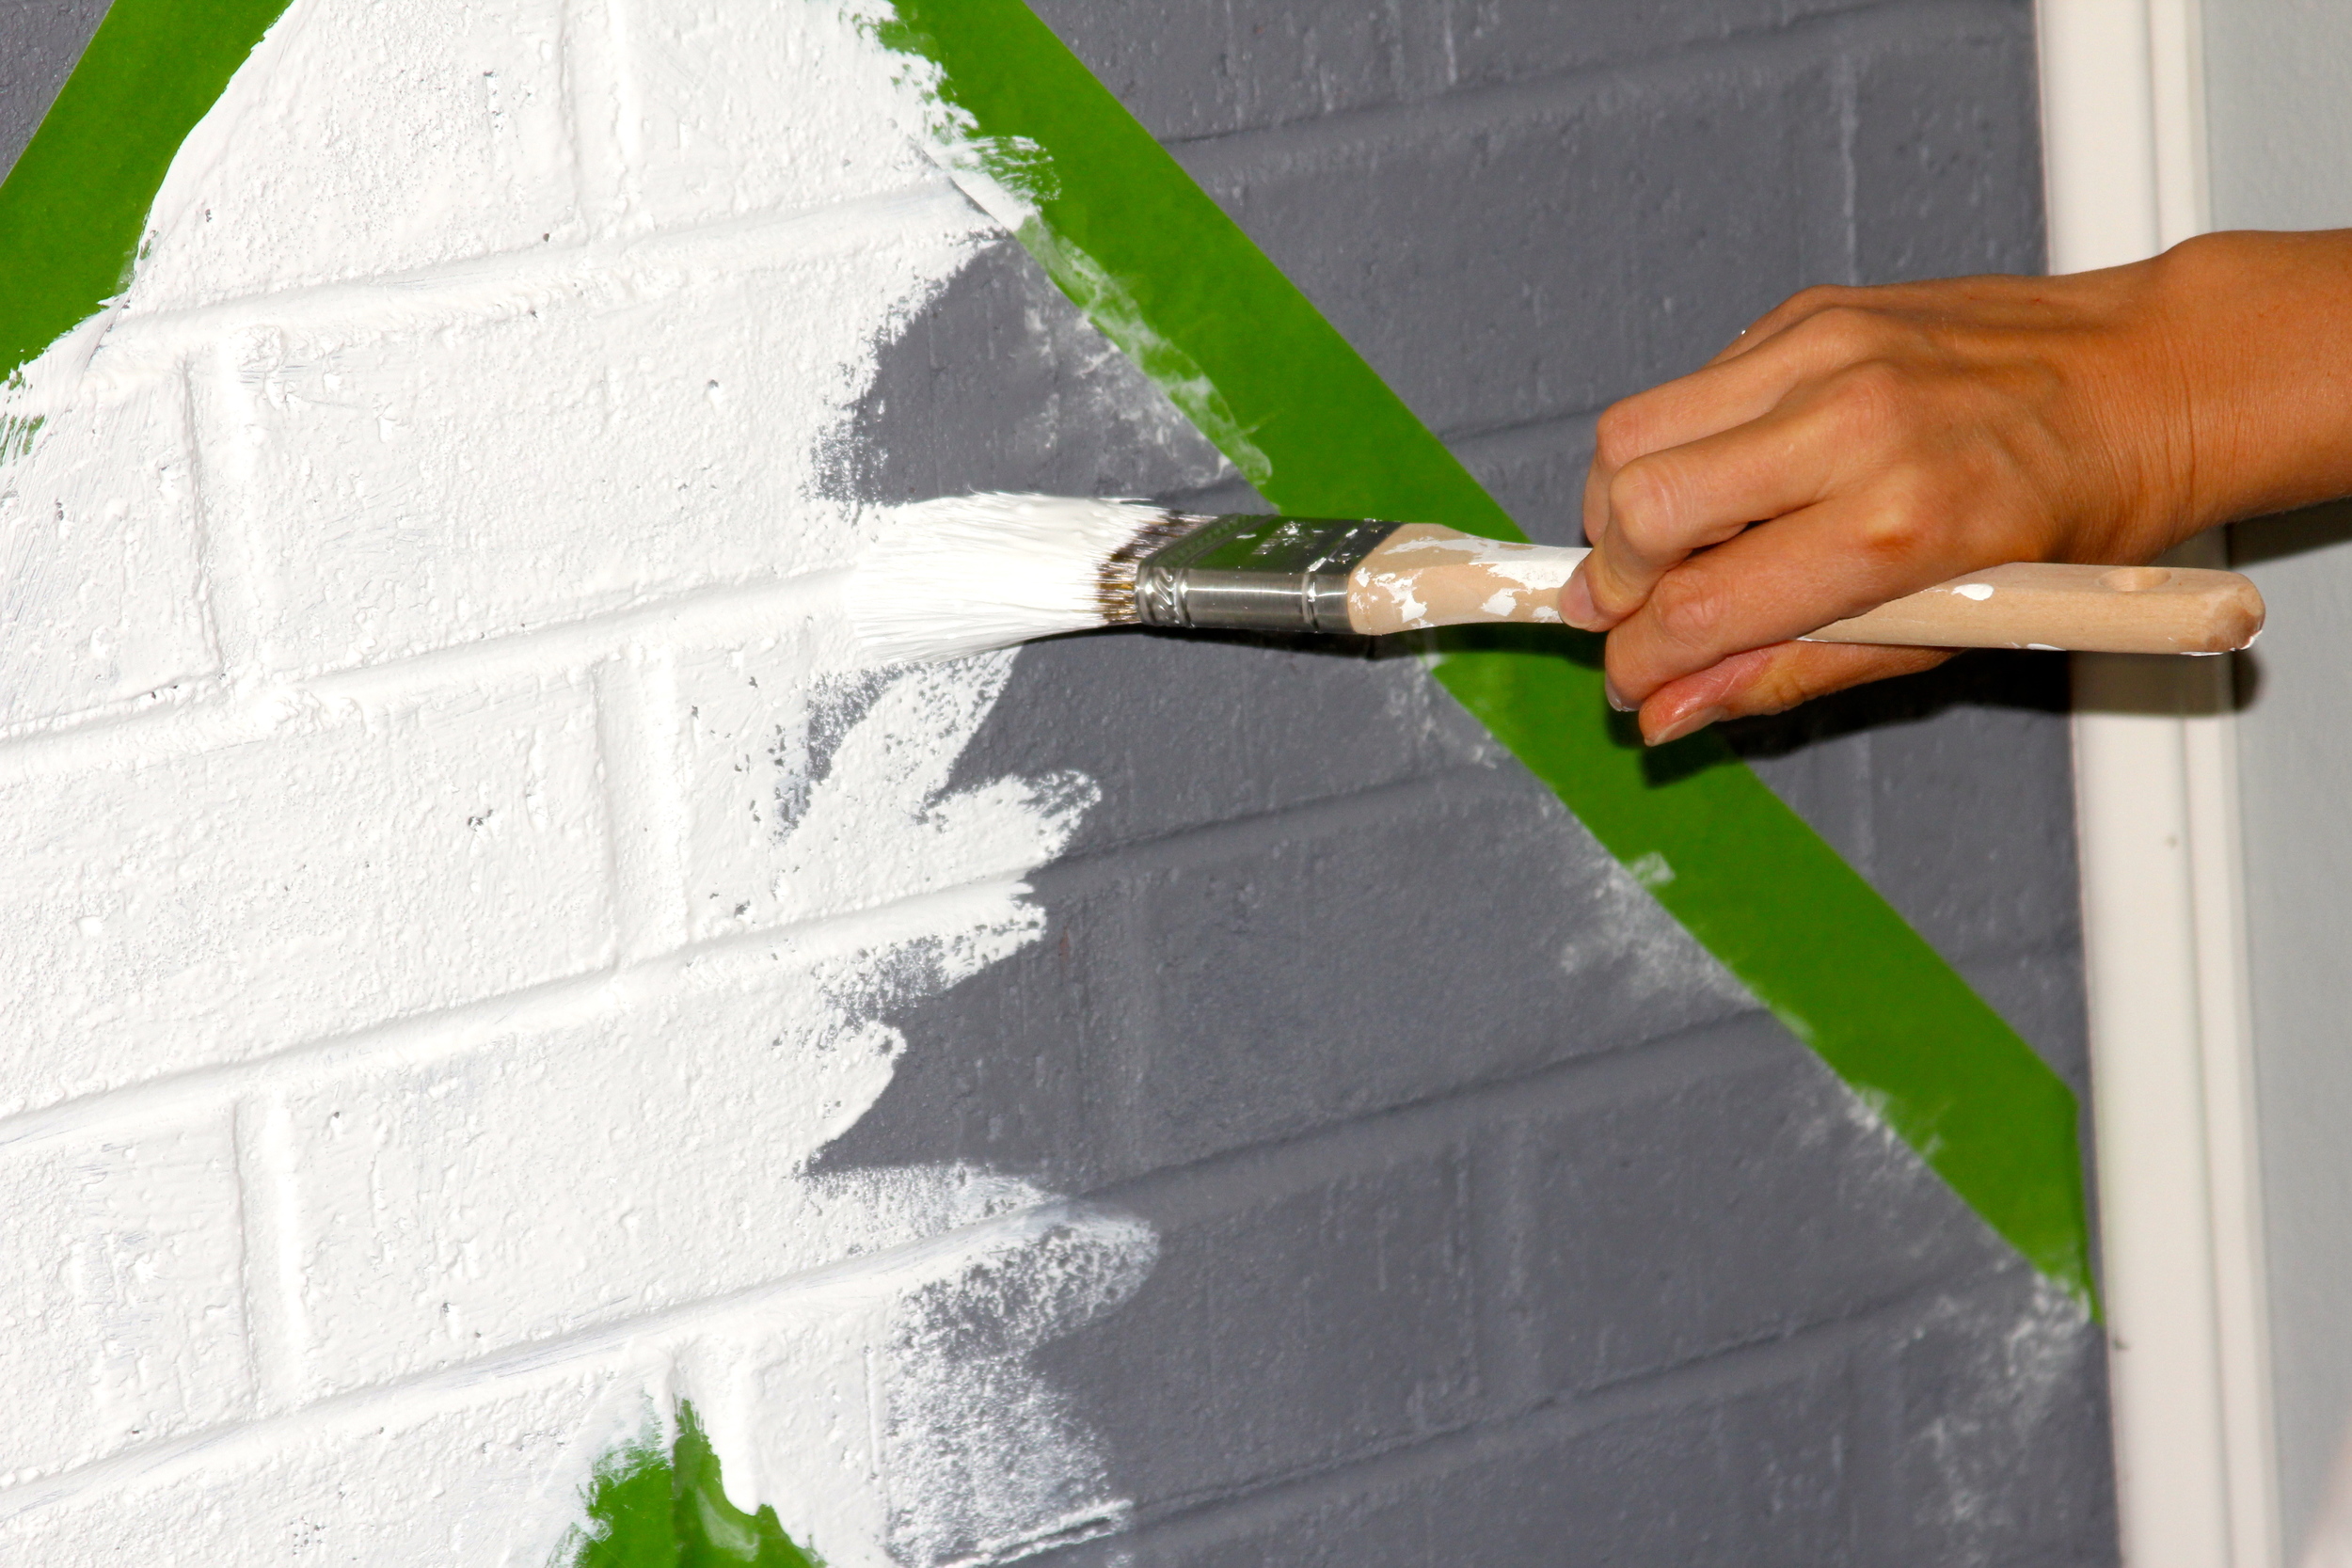
Look how perfect it ended up being!

There was still some touch-up...but really not much.


Imani thinks it's her little stage.
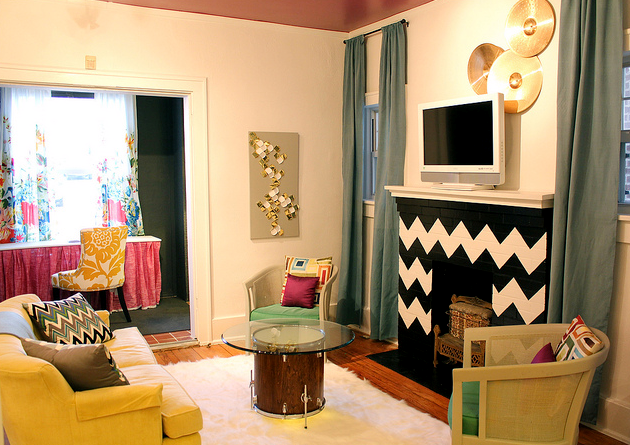
She loves it...how 'bout you?
////////////////////////////////////////////
also see:
our fireplace | part 2 {chalkboard}
our fireplace | part 3 {mantle}
