my imperfectly perfect chevron pumpkin {tutorial}
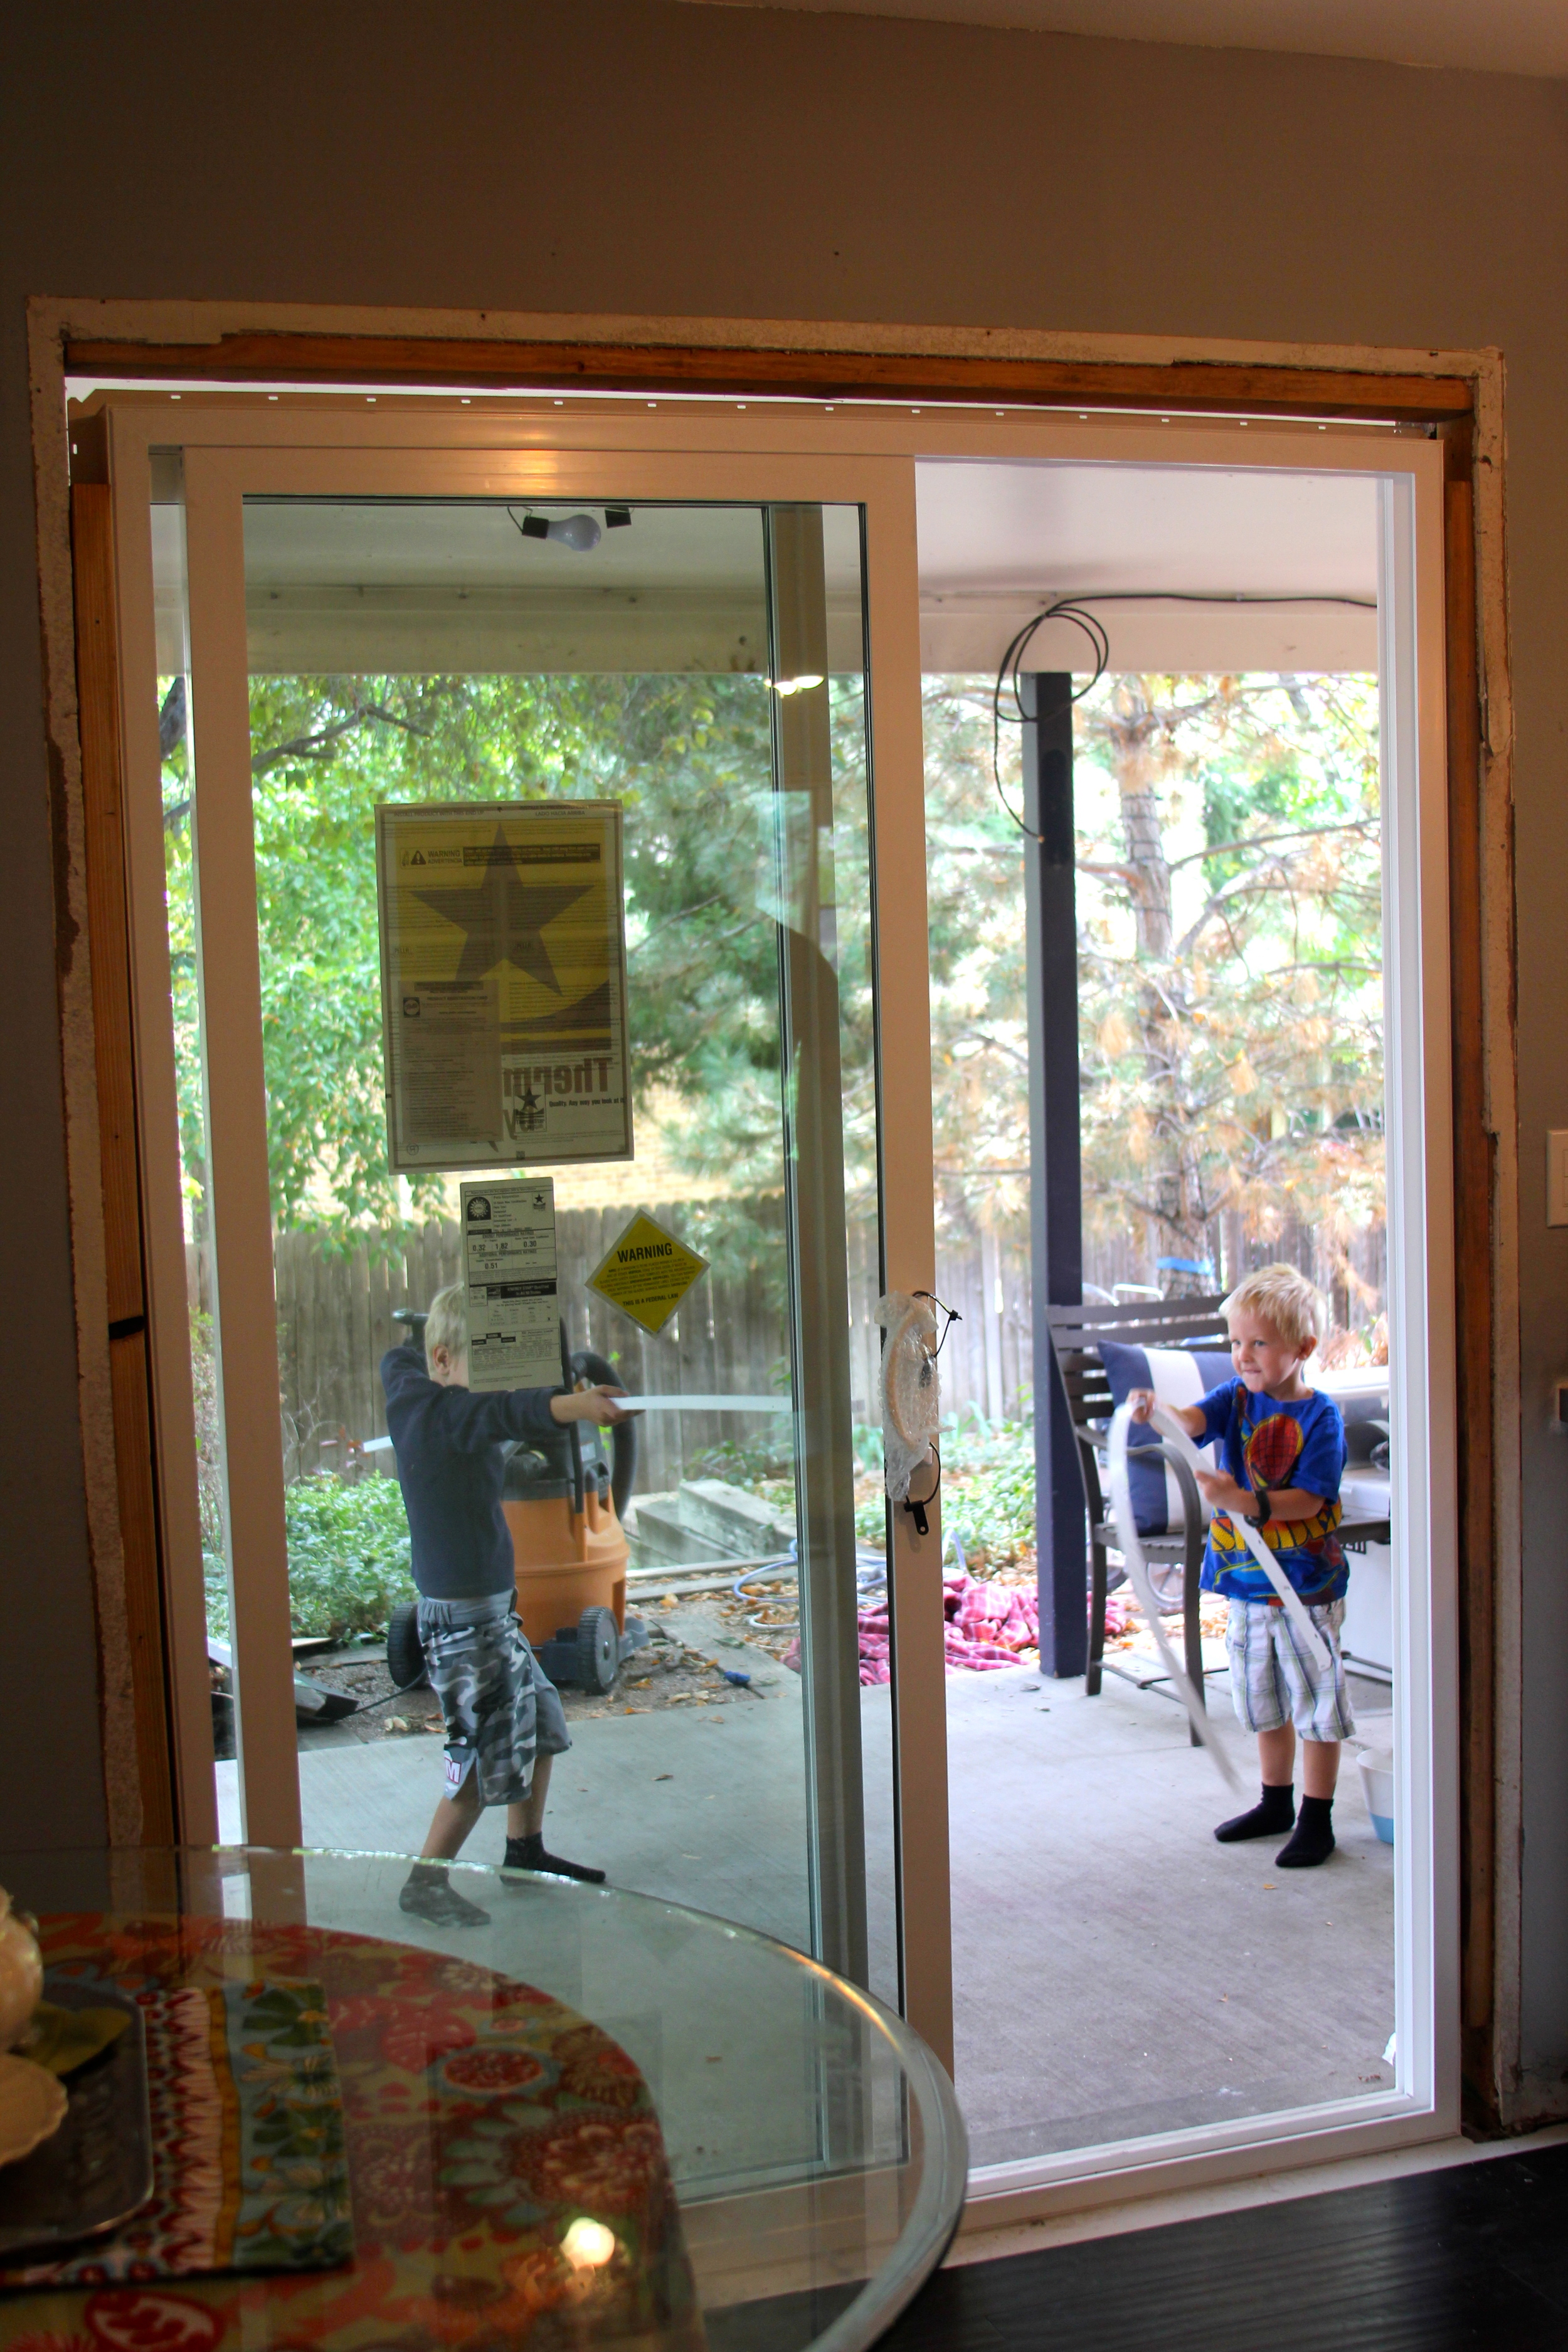
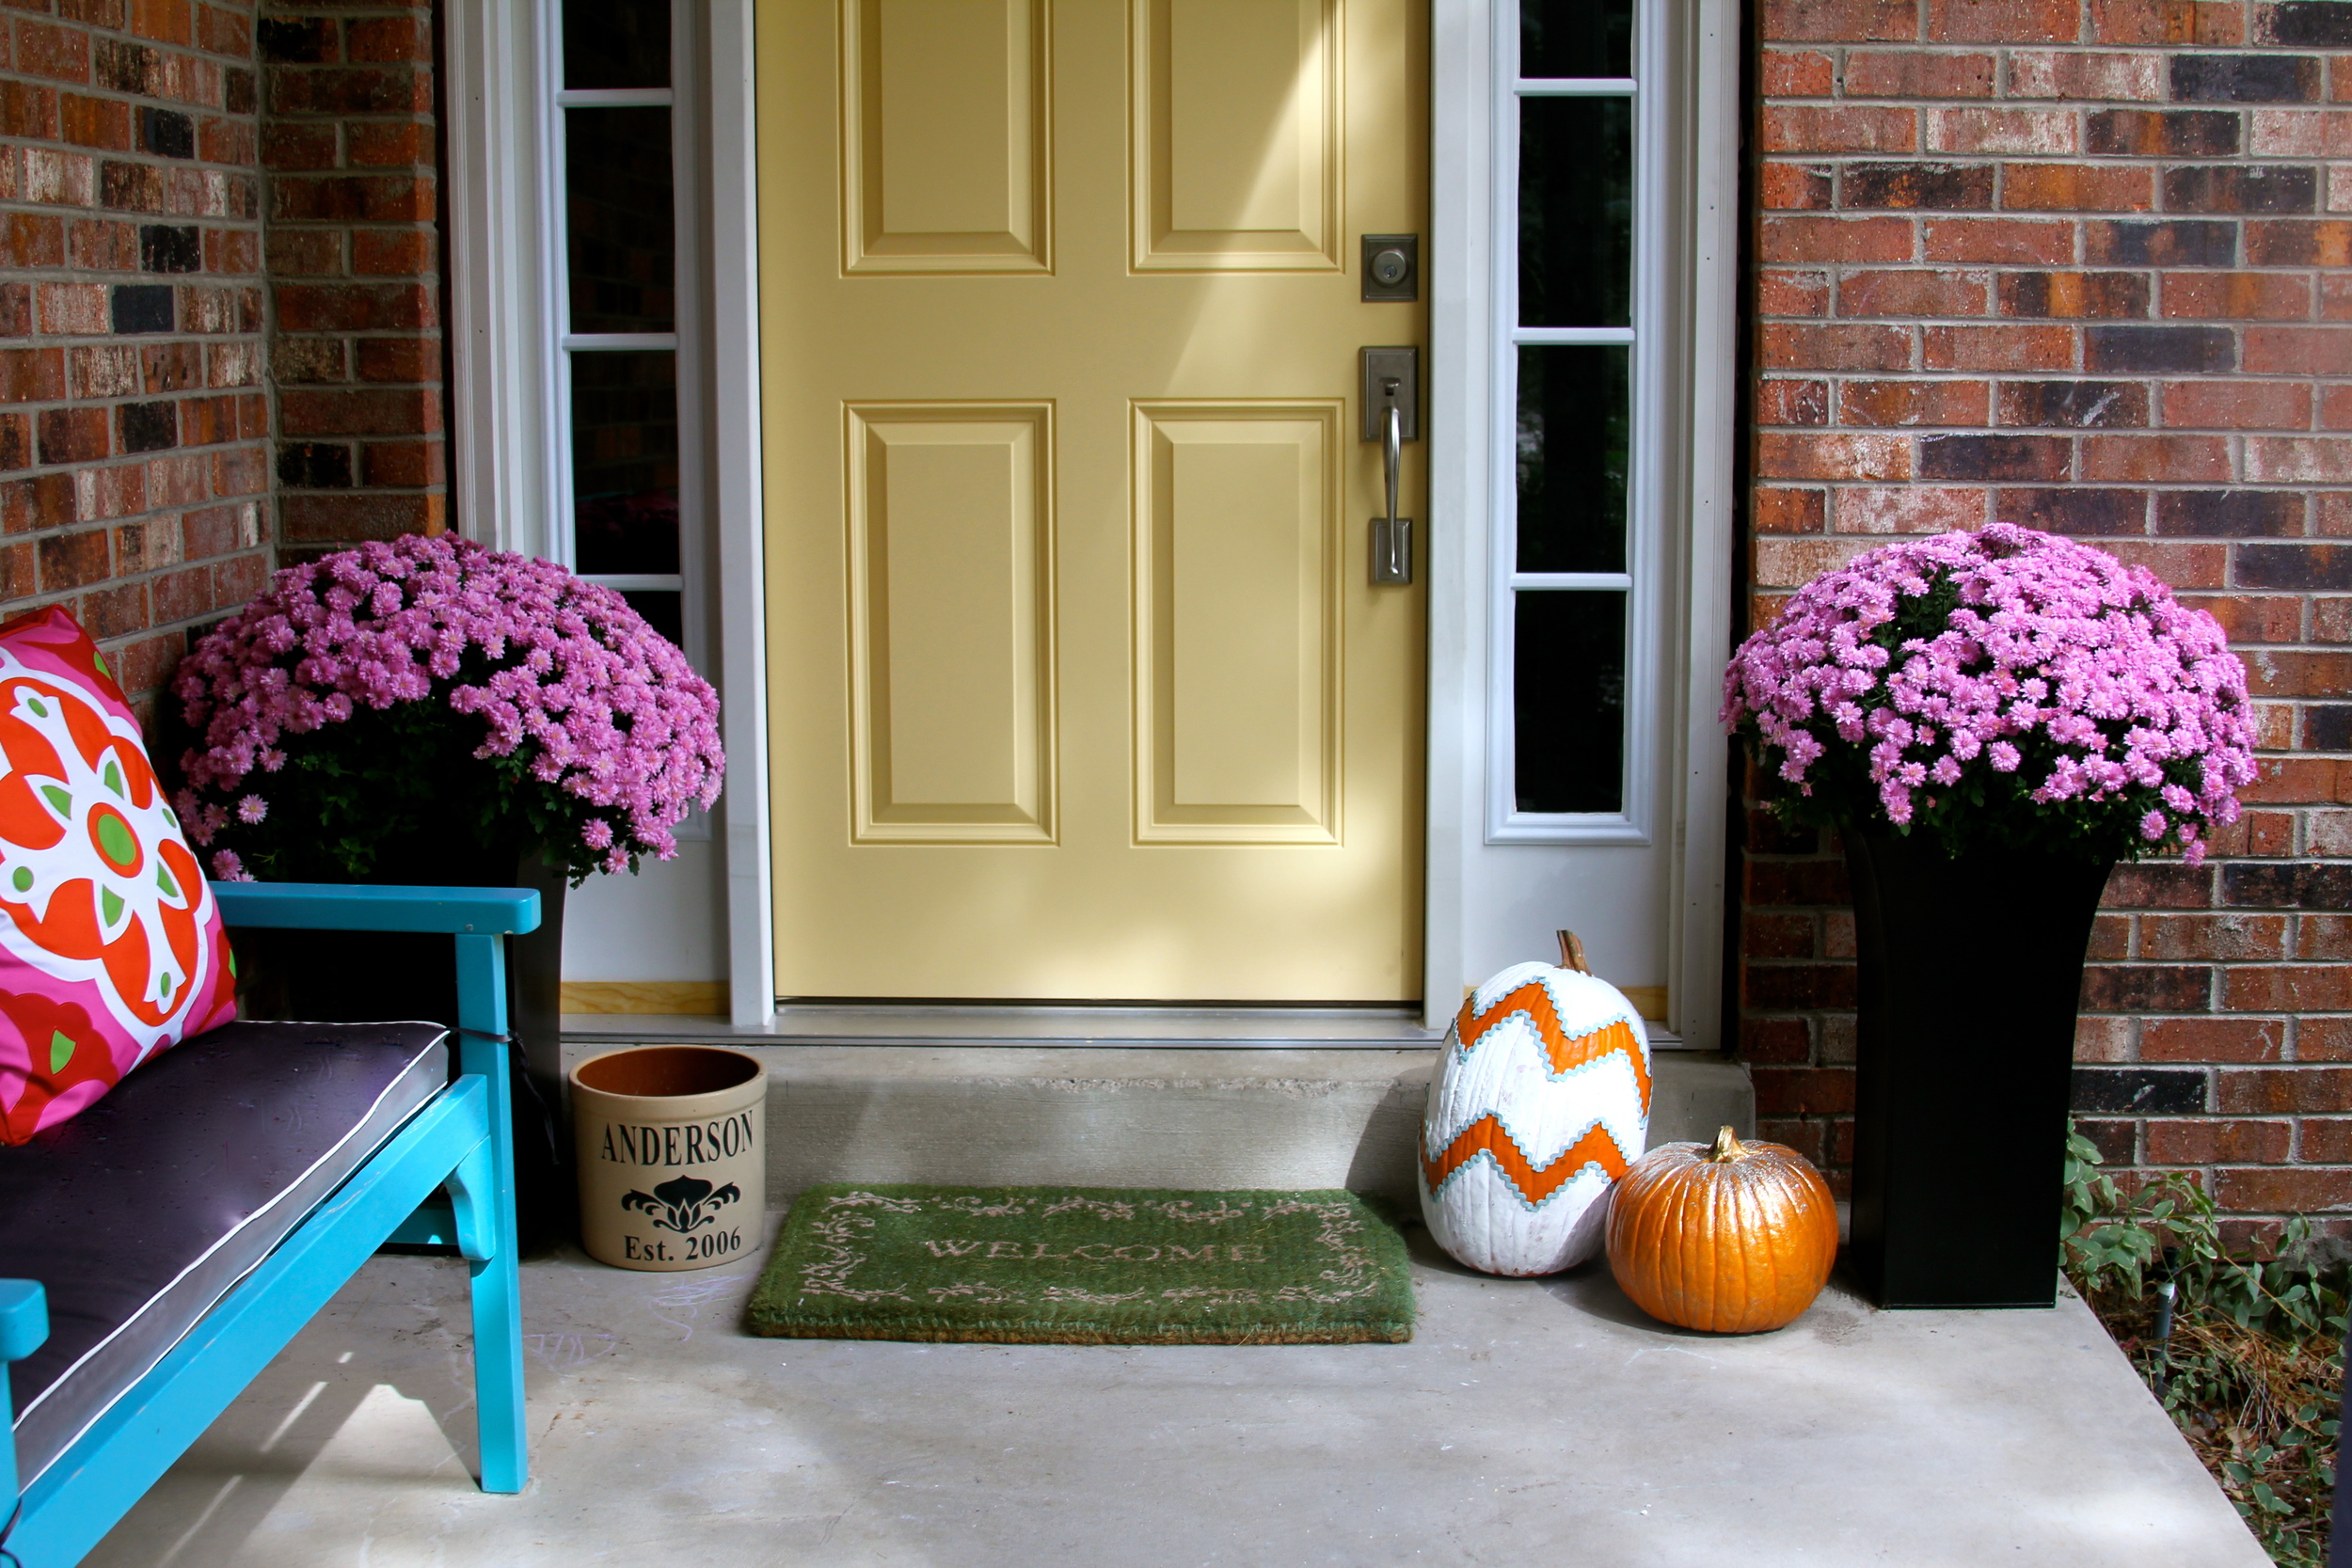
Last weekend we put in our new {yellow!} door. I can't even tell you how excited I am to actually have it in. THIS weekend, Ben worked out back on the sliding glass door {again, YAY!}.
Though the kids were having a blast "helping"...they weren't all that helpful. So I thought I'd distract them with a project.
I think I bought our pumpkins before it was even September. The first place I saw them this season, I snatched up a cart-full. They've been sitting on our porch eager to be worked on by little hands.
The downside of me buying them so early though, is that {from prior experience} I know they will not last through to Halloween if we carve them right now. Partially because it's been so hot...come on Colorado, what's up with the heat wave?? Please can we wear sweaters soon??
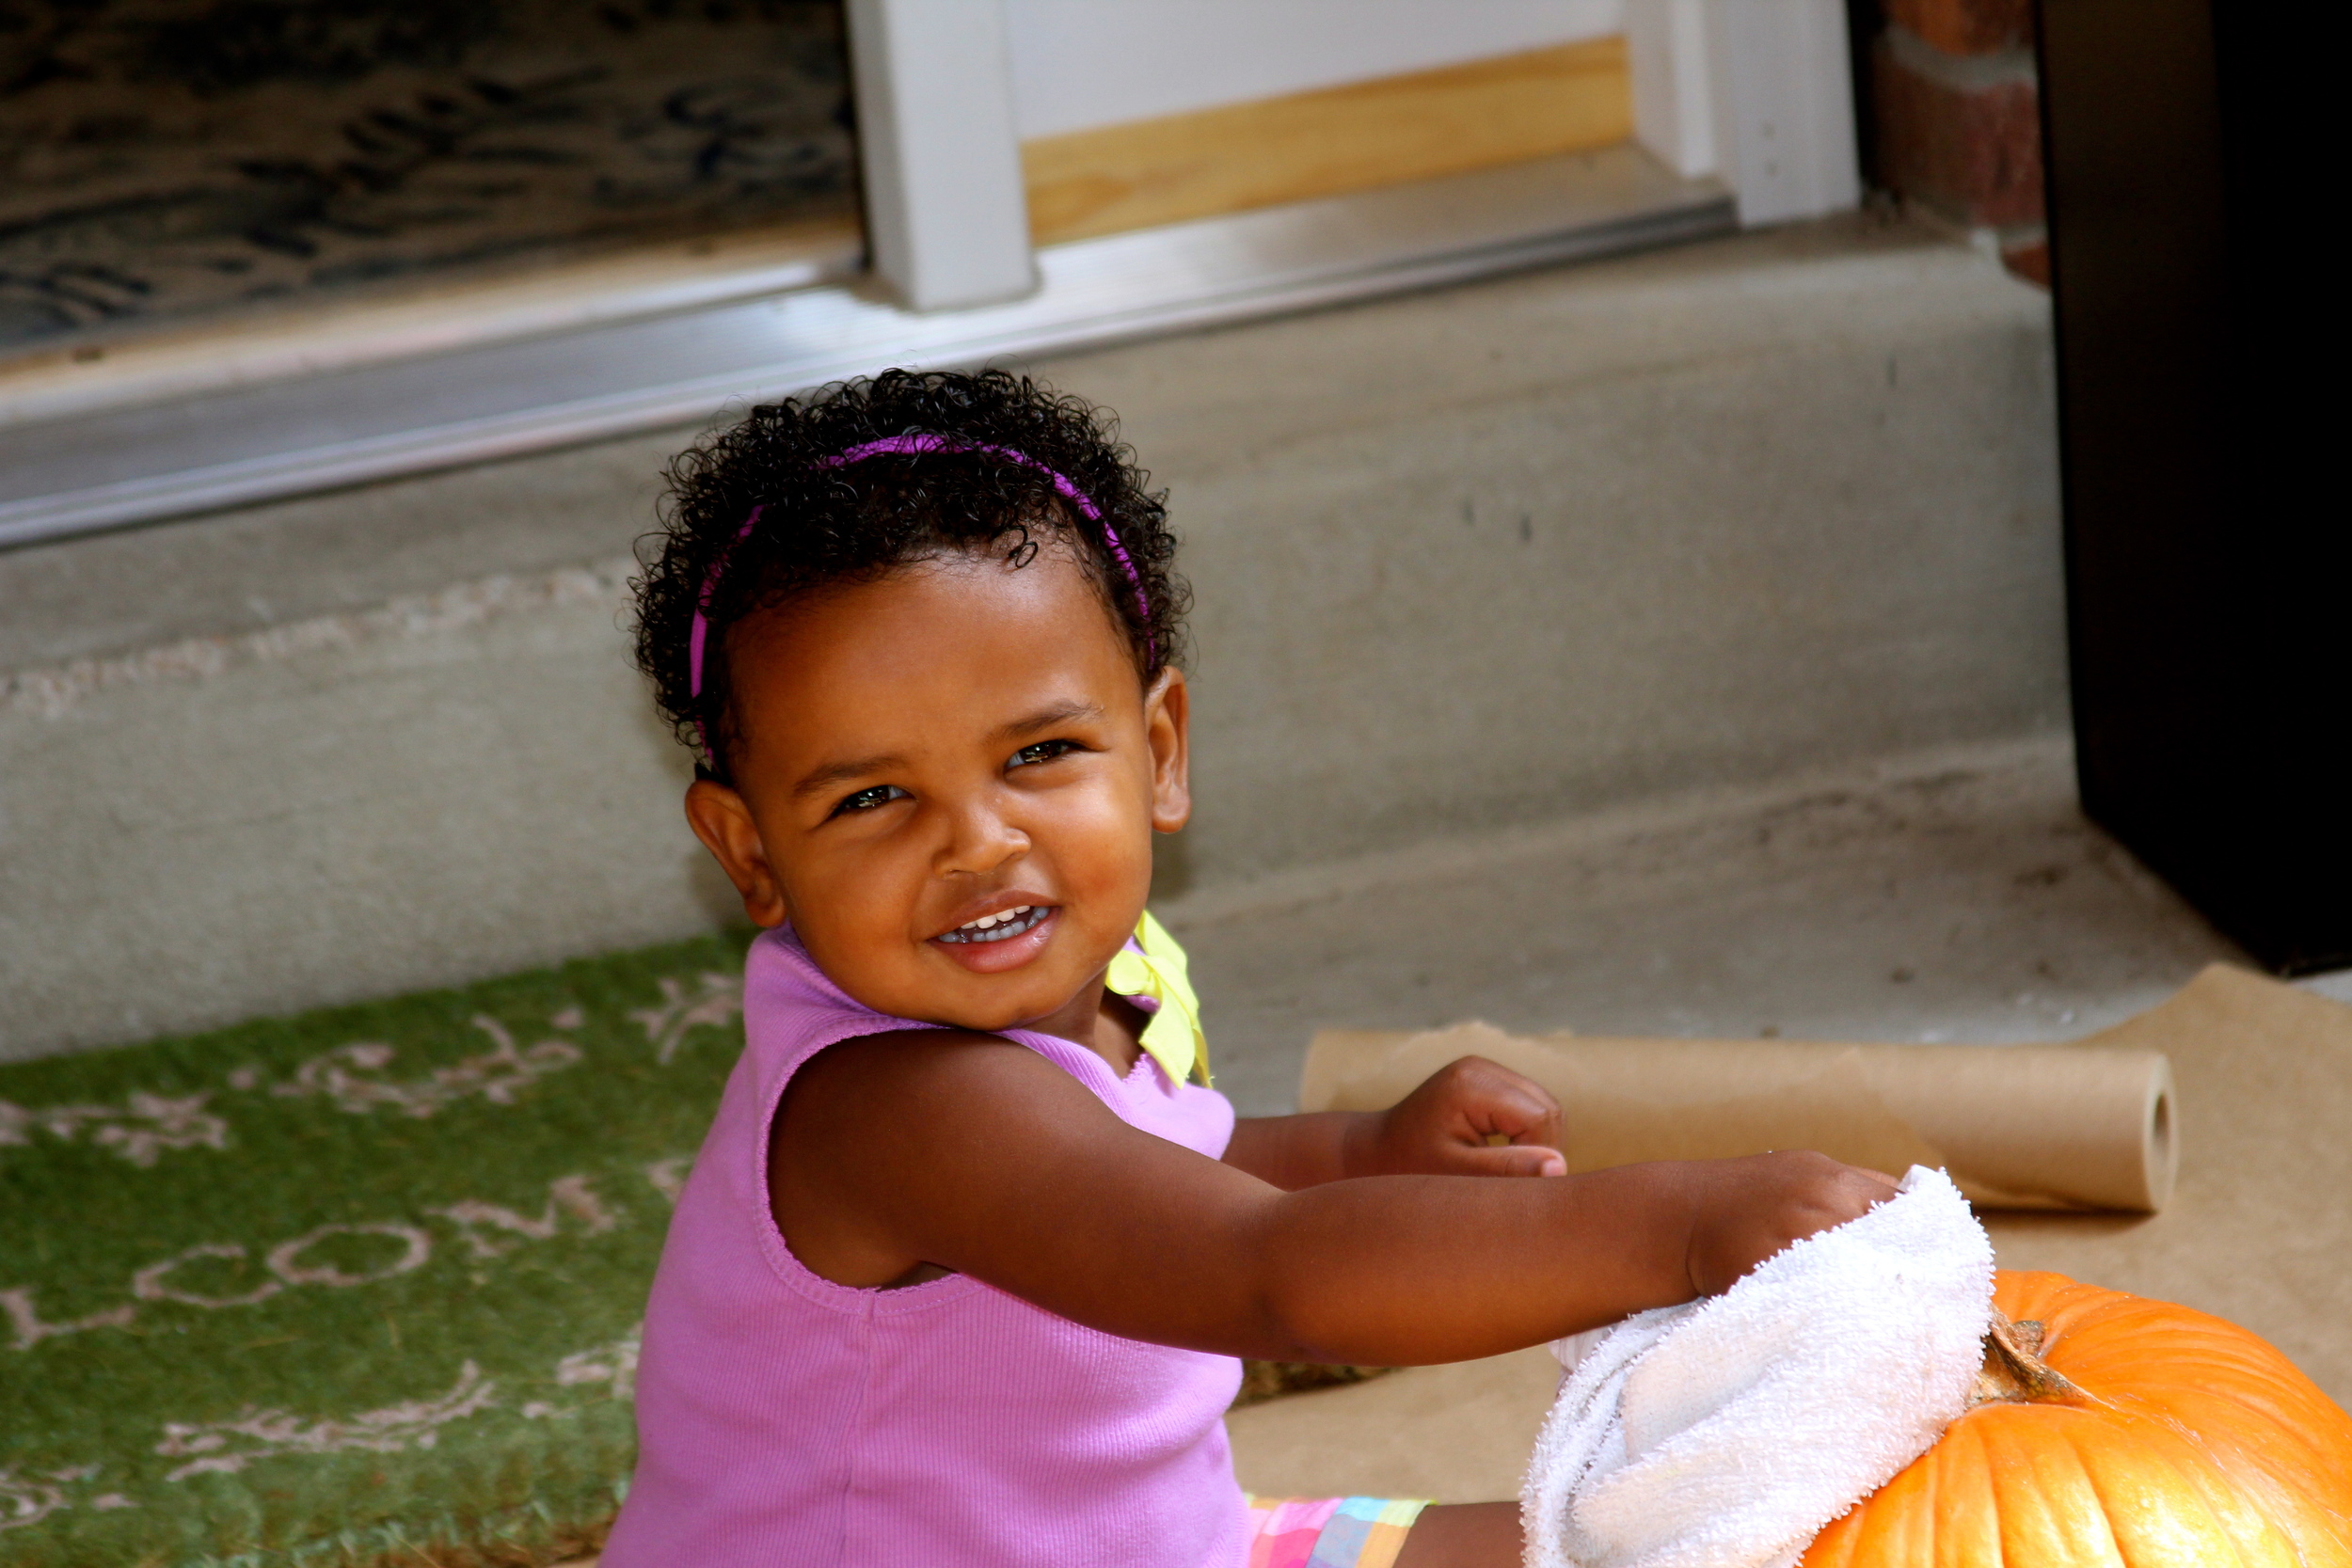
I gave Imani the task of getting the dirt off with a damp cloth. She did a great job & took it very seriously.
Have you seen the cover of Country Living Magazine this month? Don't you love it?? If you've seen my house, you know I'm crazy over chevron... so this is just the inspiration I needed.
Love the color blocking, too.
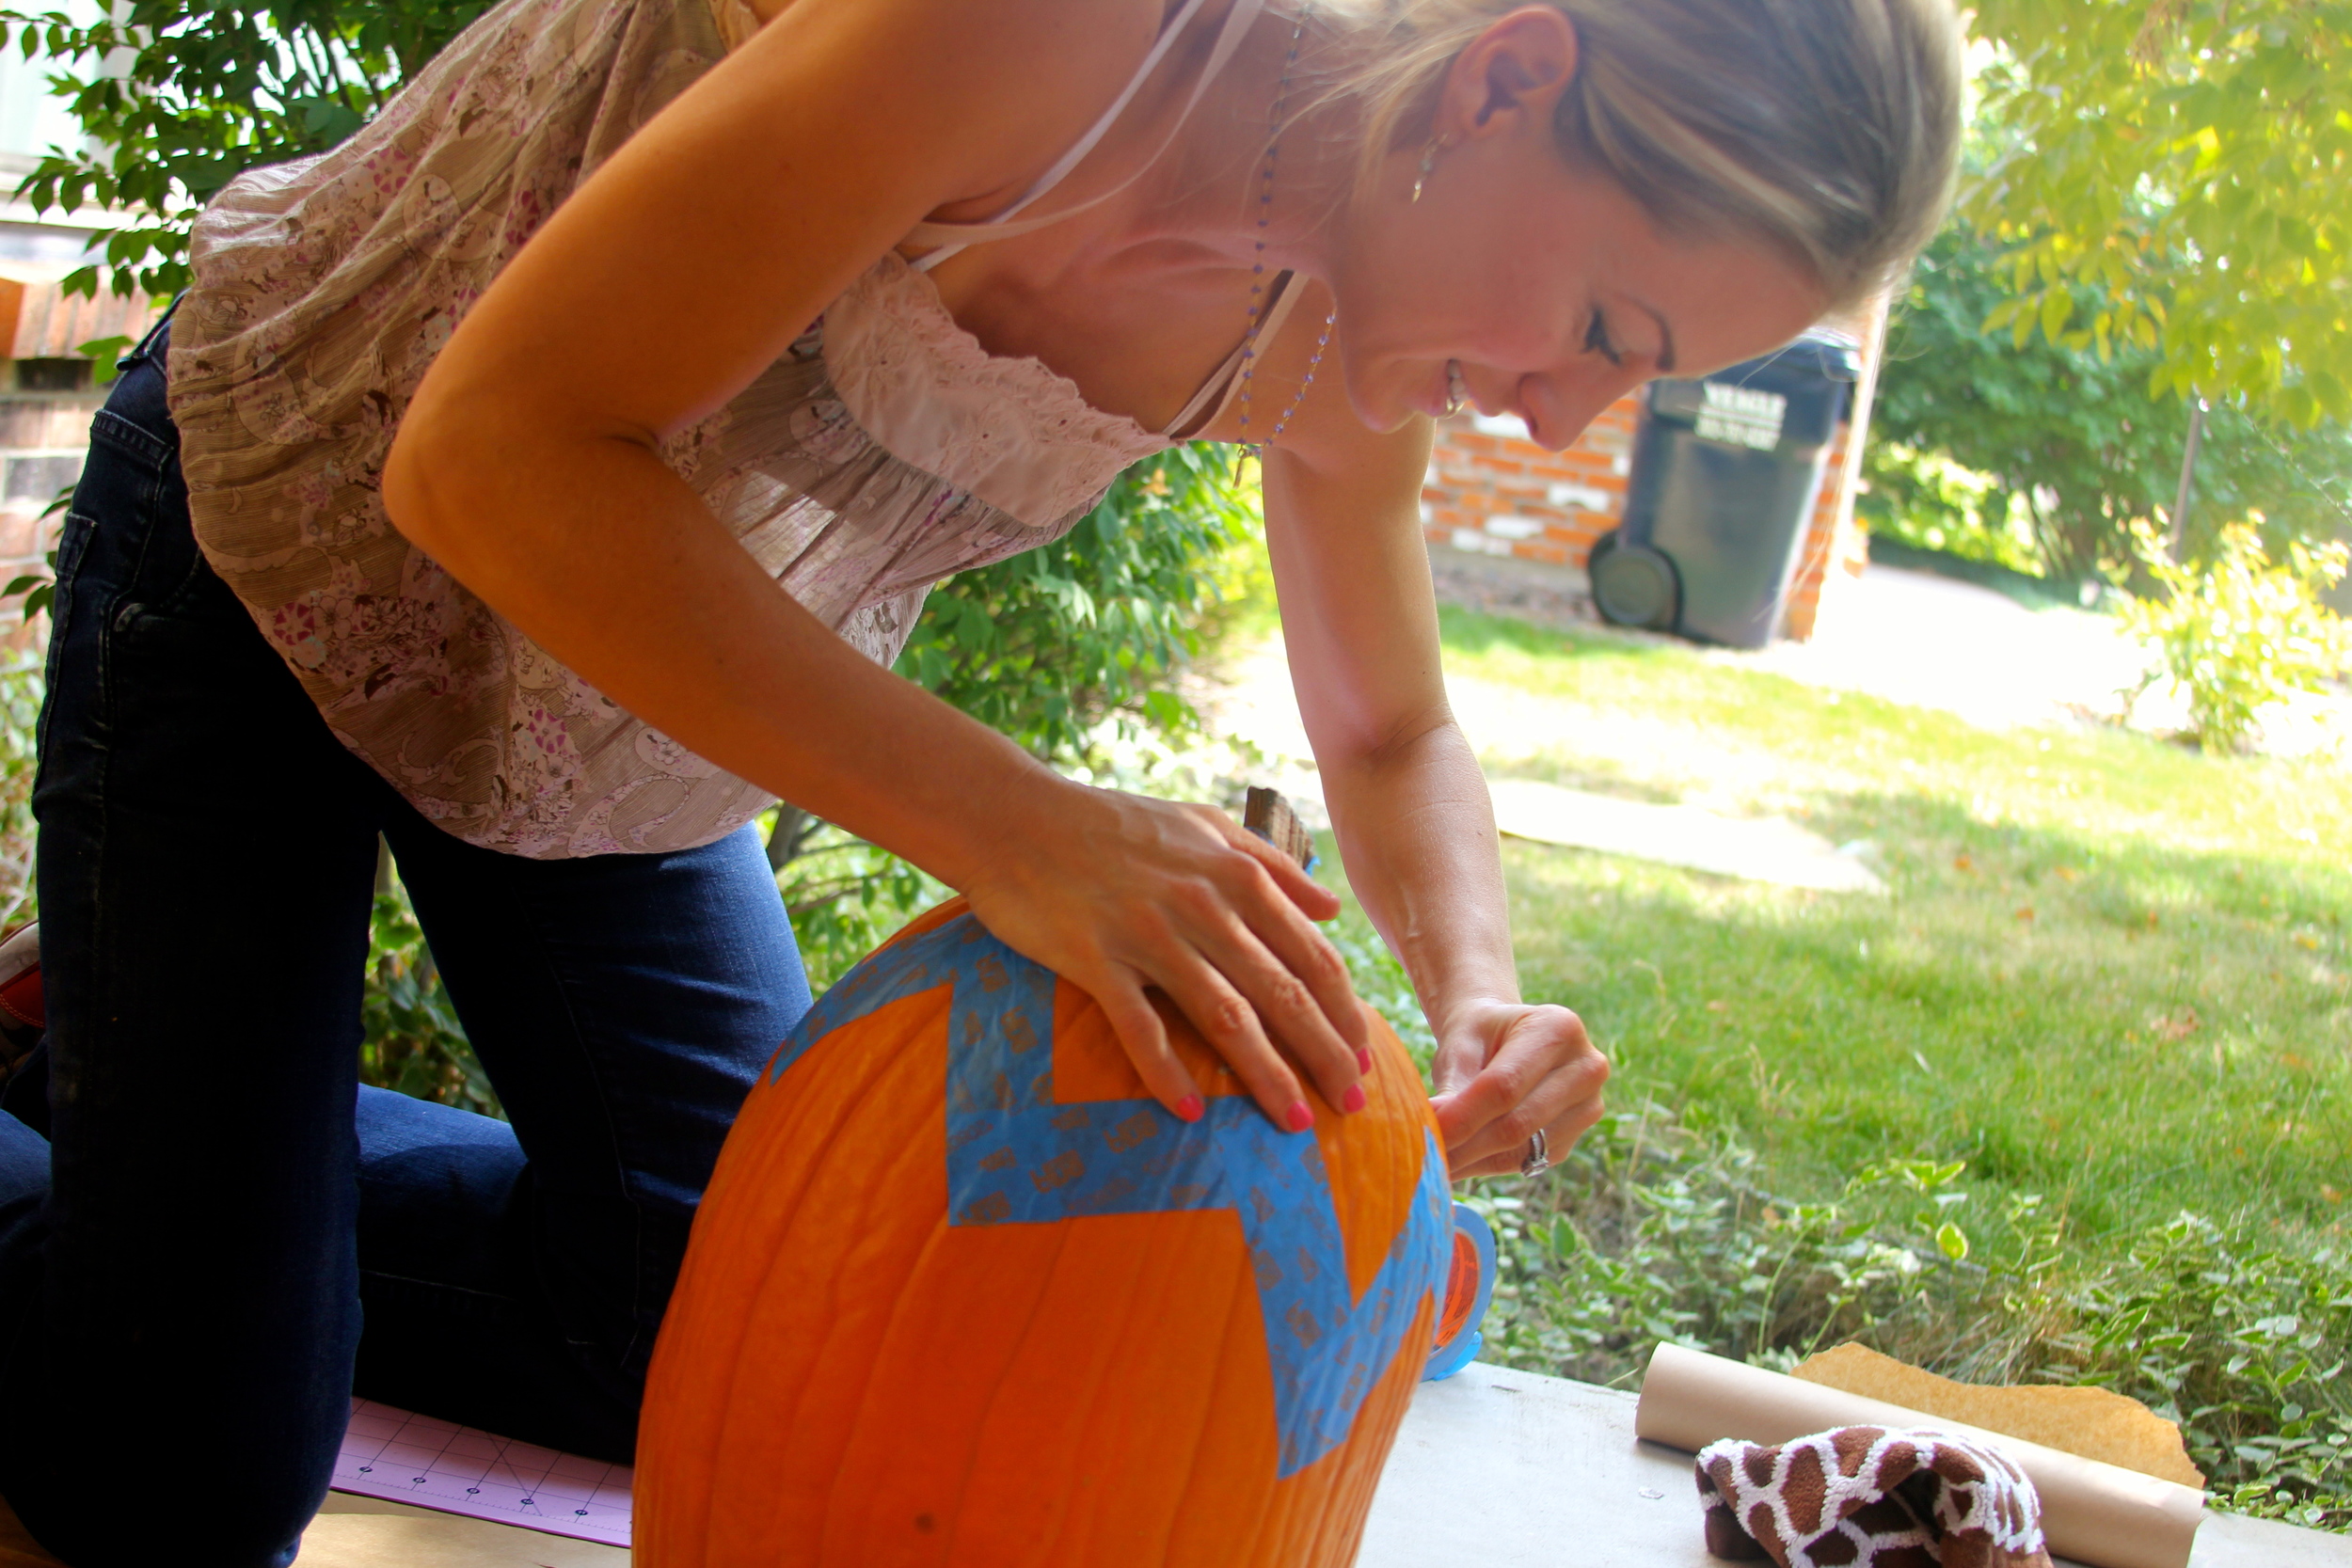
I set to work by grabbing Ben's blade & cut 5 inch strips of painters tape. I love using my sewing board because I can cut right into it.
If you don't have one though, simply grab a ruler and be careful not to dull your blade when you cut.
Place your strips at a right angle, all the way around.
My pumpkin {well, it was supposed to be Imani's pumpkin but I kinda took over} was REALLY wonkie shaped. Wonkie. That's a technical term. Look it up.
Anyway, since mine was leaning and definitely not a perfect oval, I gave up doing my 90 degree angles because well, it didn't look right. But whatever.
{perhaps that should have been my 1st clue of upcoming disaster}
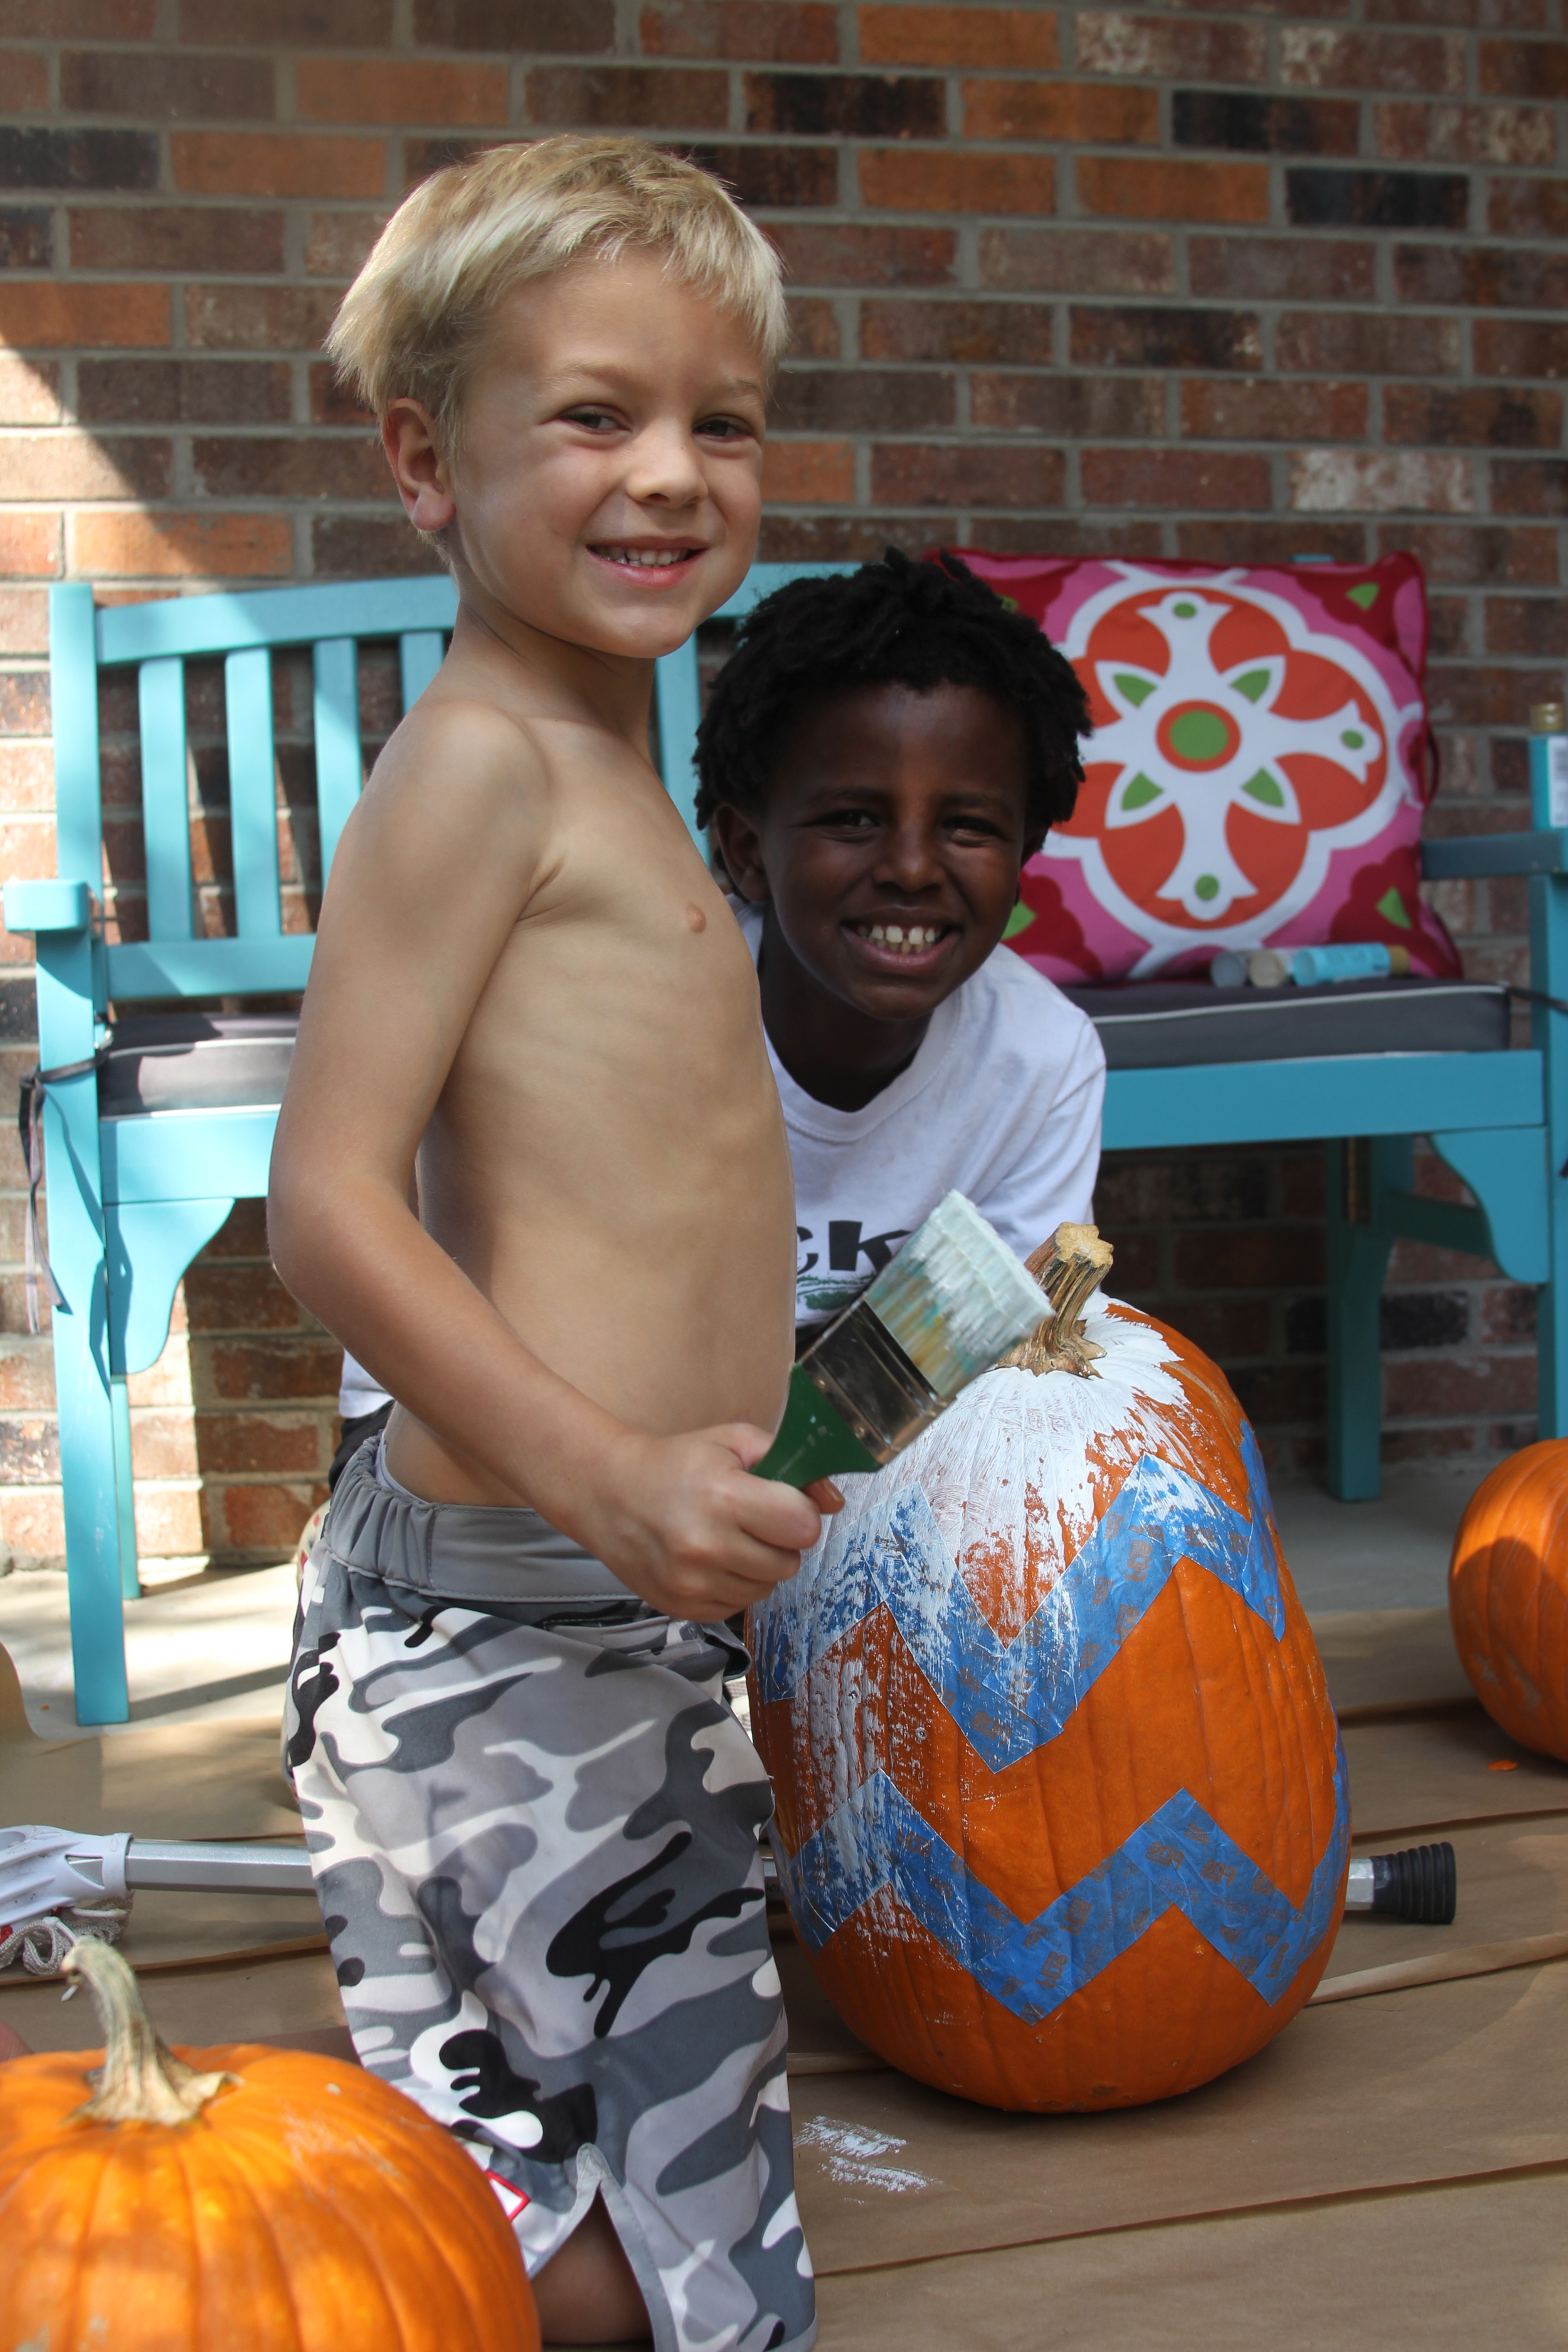
Out ran my helpers. Like I said, it was really hot that day and my paint dried as fast as they slapped it on. Grr. But they did a {ahem} fantastic job anyway.
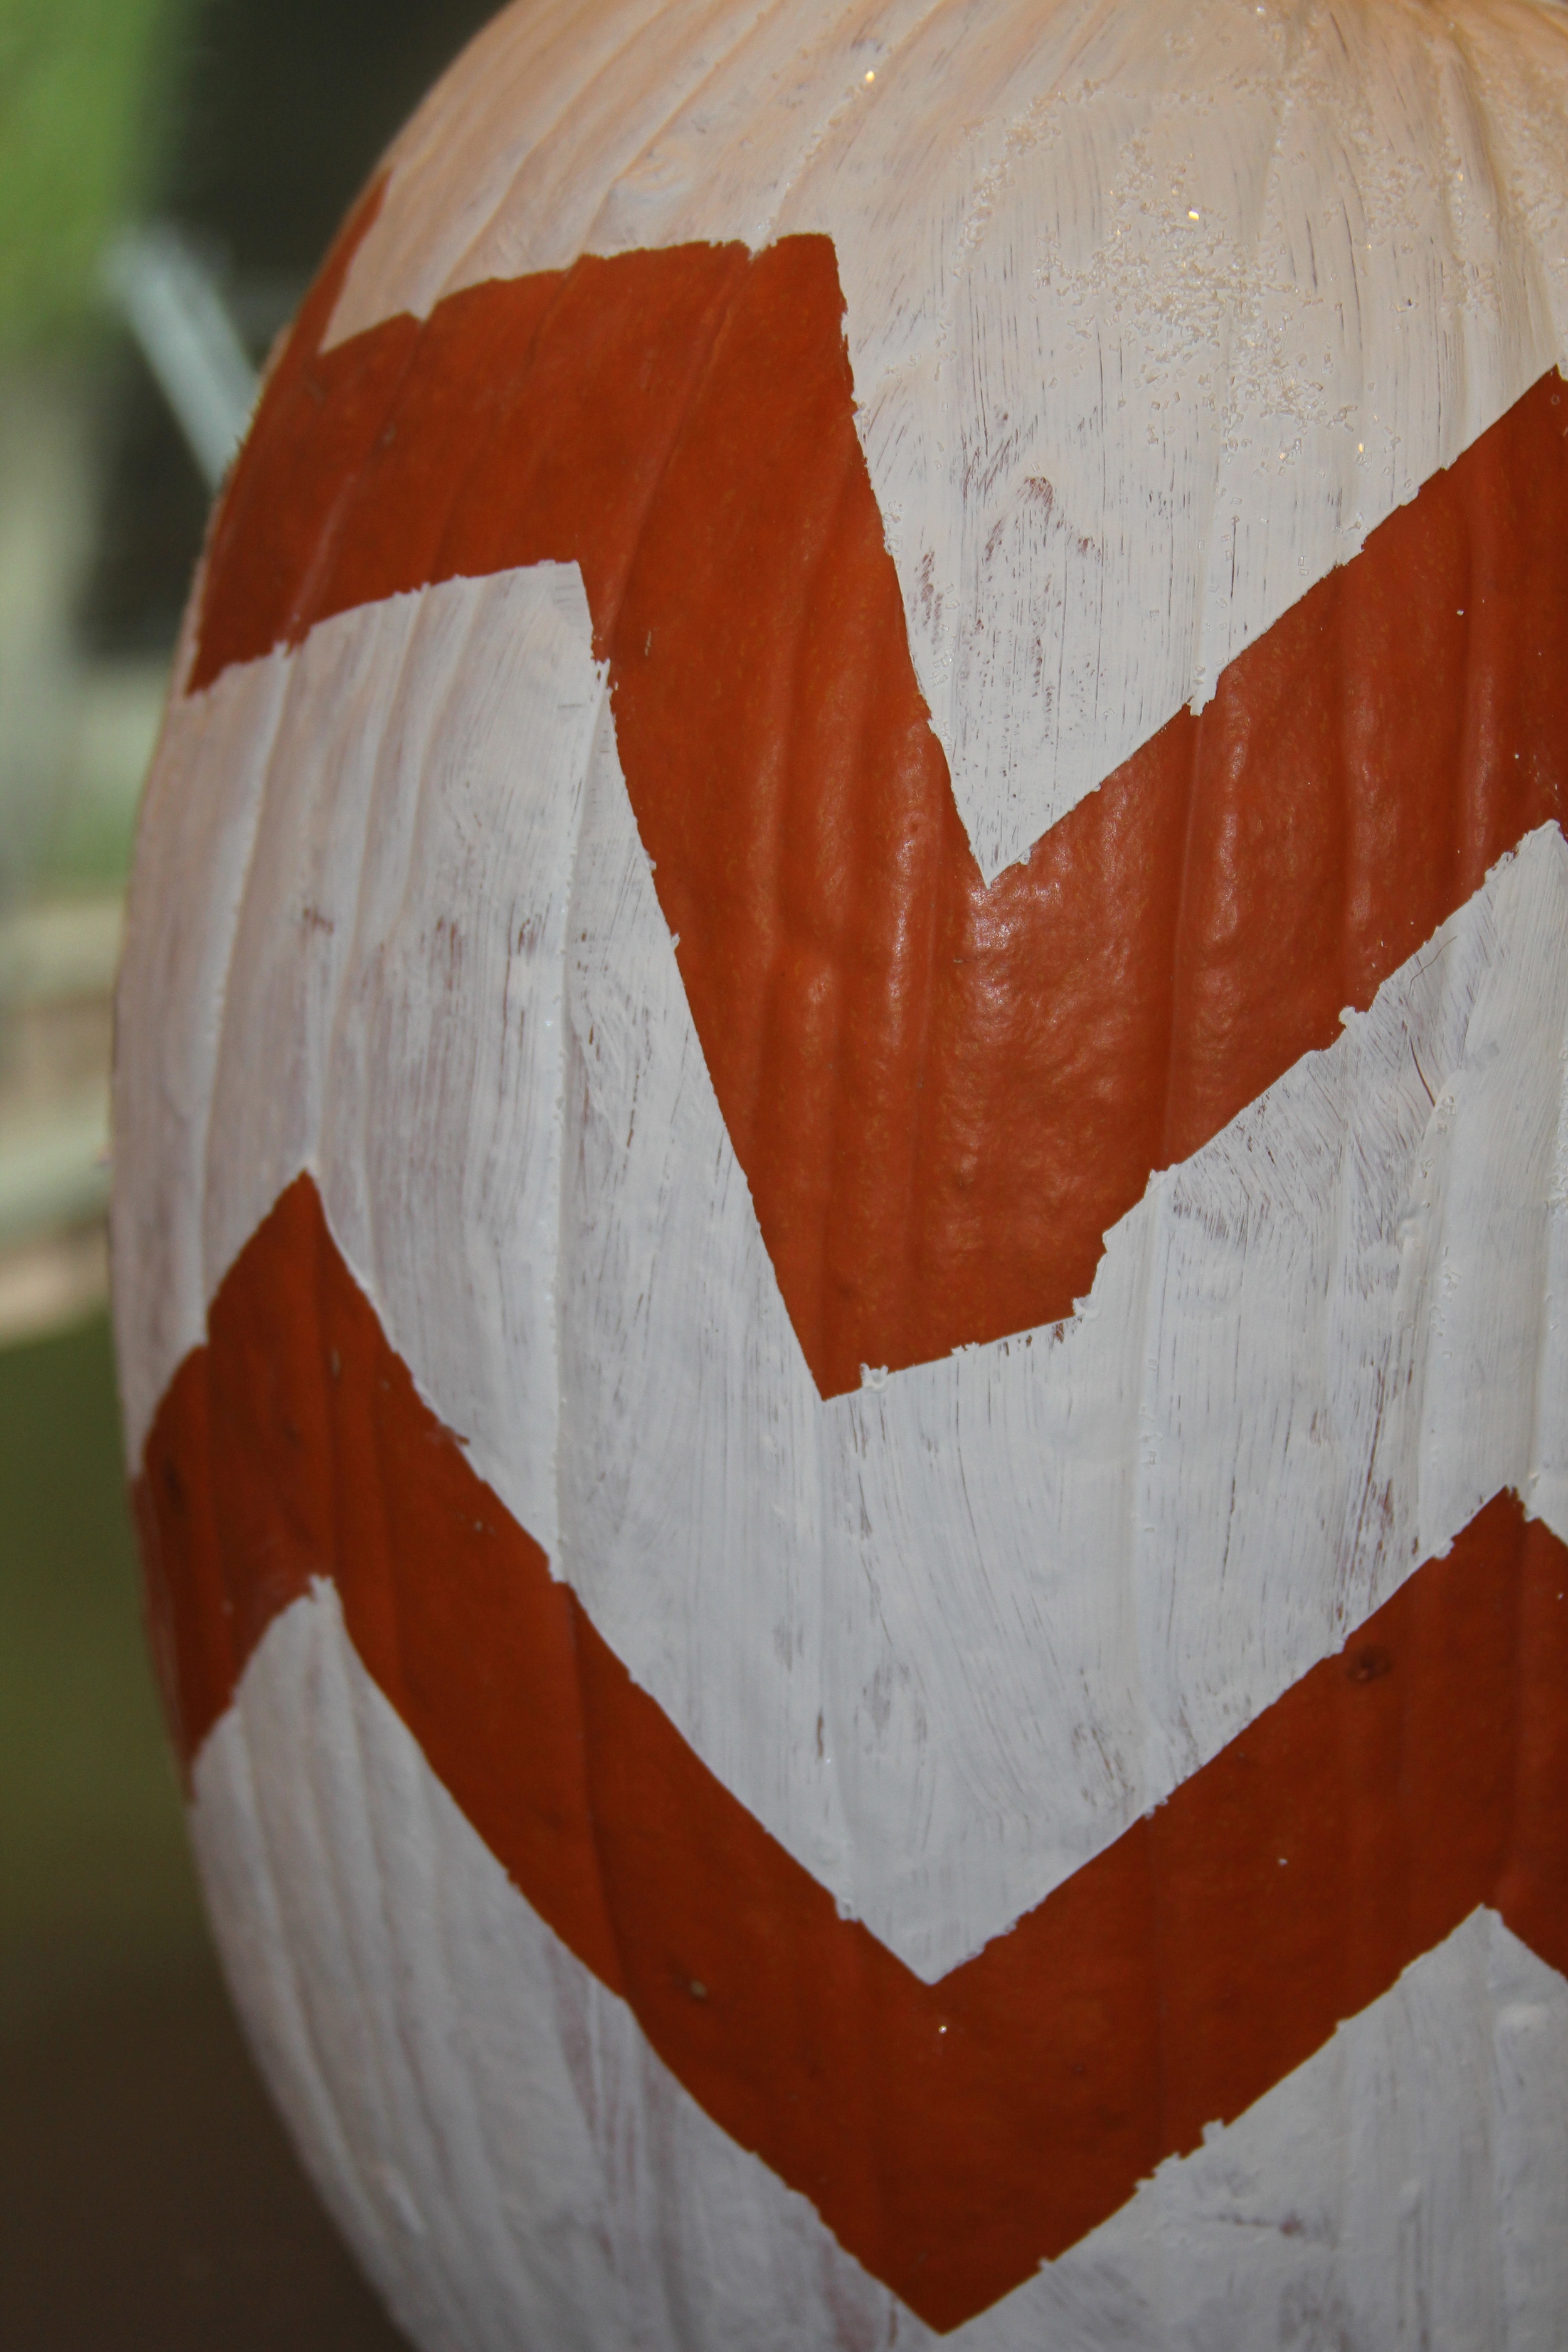
Sadly, I did a TERRIBLE job sticking the tape on. I was so busy playing with the kids and having Anton assist in placing the strips on the pumpkin that I didn't check that the edges were planted firmly and super stuck.
I tried my best to clean up the lines and straighten them up a bit, but it wasn't good enough.
The crisp edges that I sought were non existant. Not gonna lie. I wasn't thrilled.
After living with it on my doorstep for a day or two, I used one of the best pieces of advice my dad ever taught me...if you mess up, use it to make it even better.
I CANNOT tell you how many times I go back to that piece of wisdom. Especially since I love art and creating things. Paintings, projects, etc very...very rarely go perfectly. So improvise.
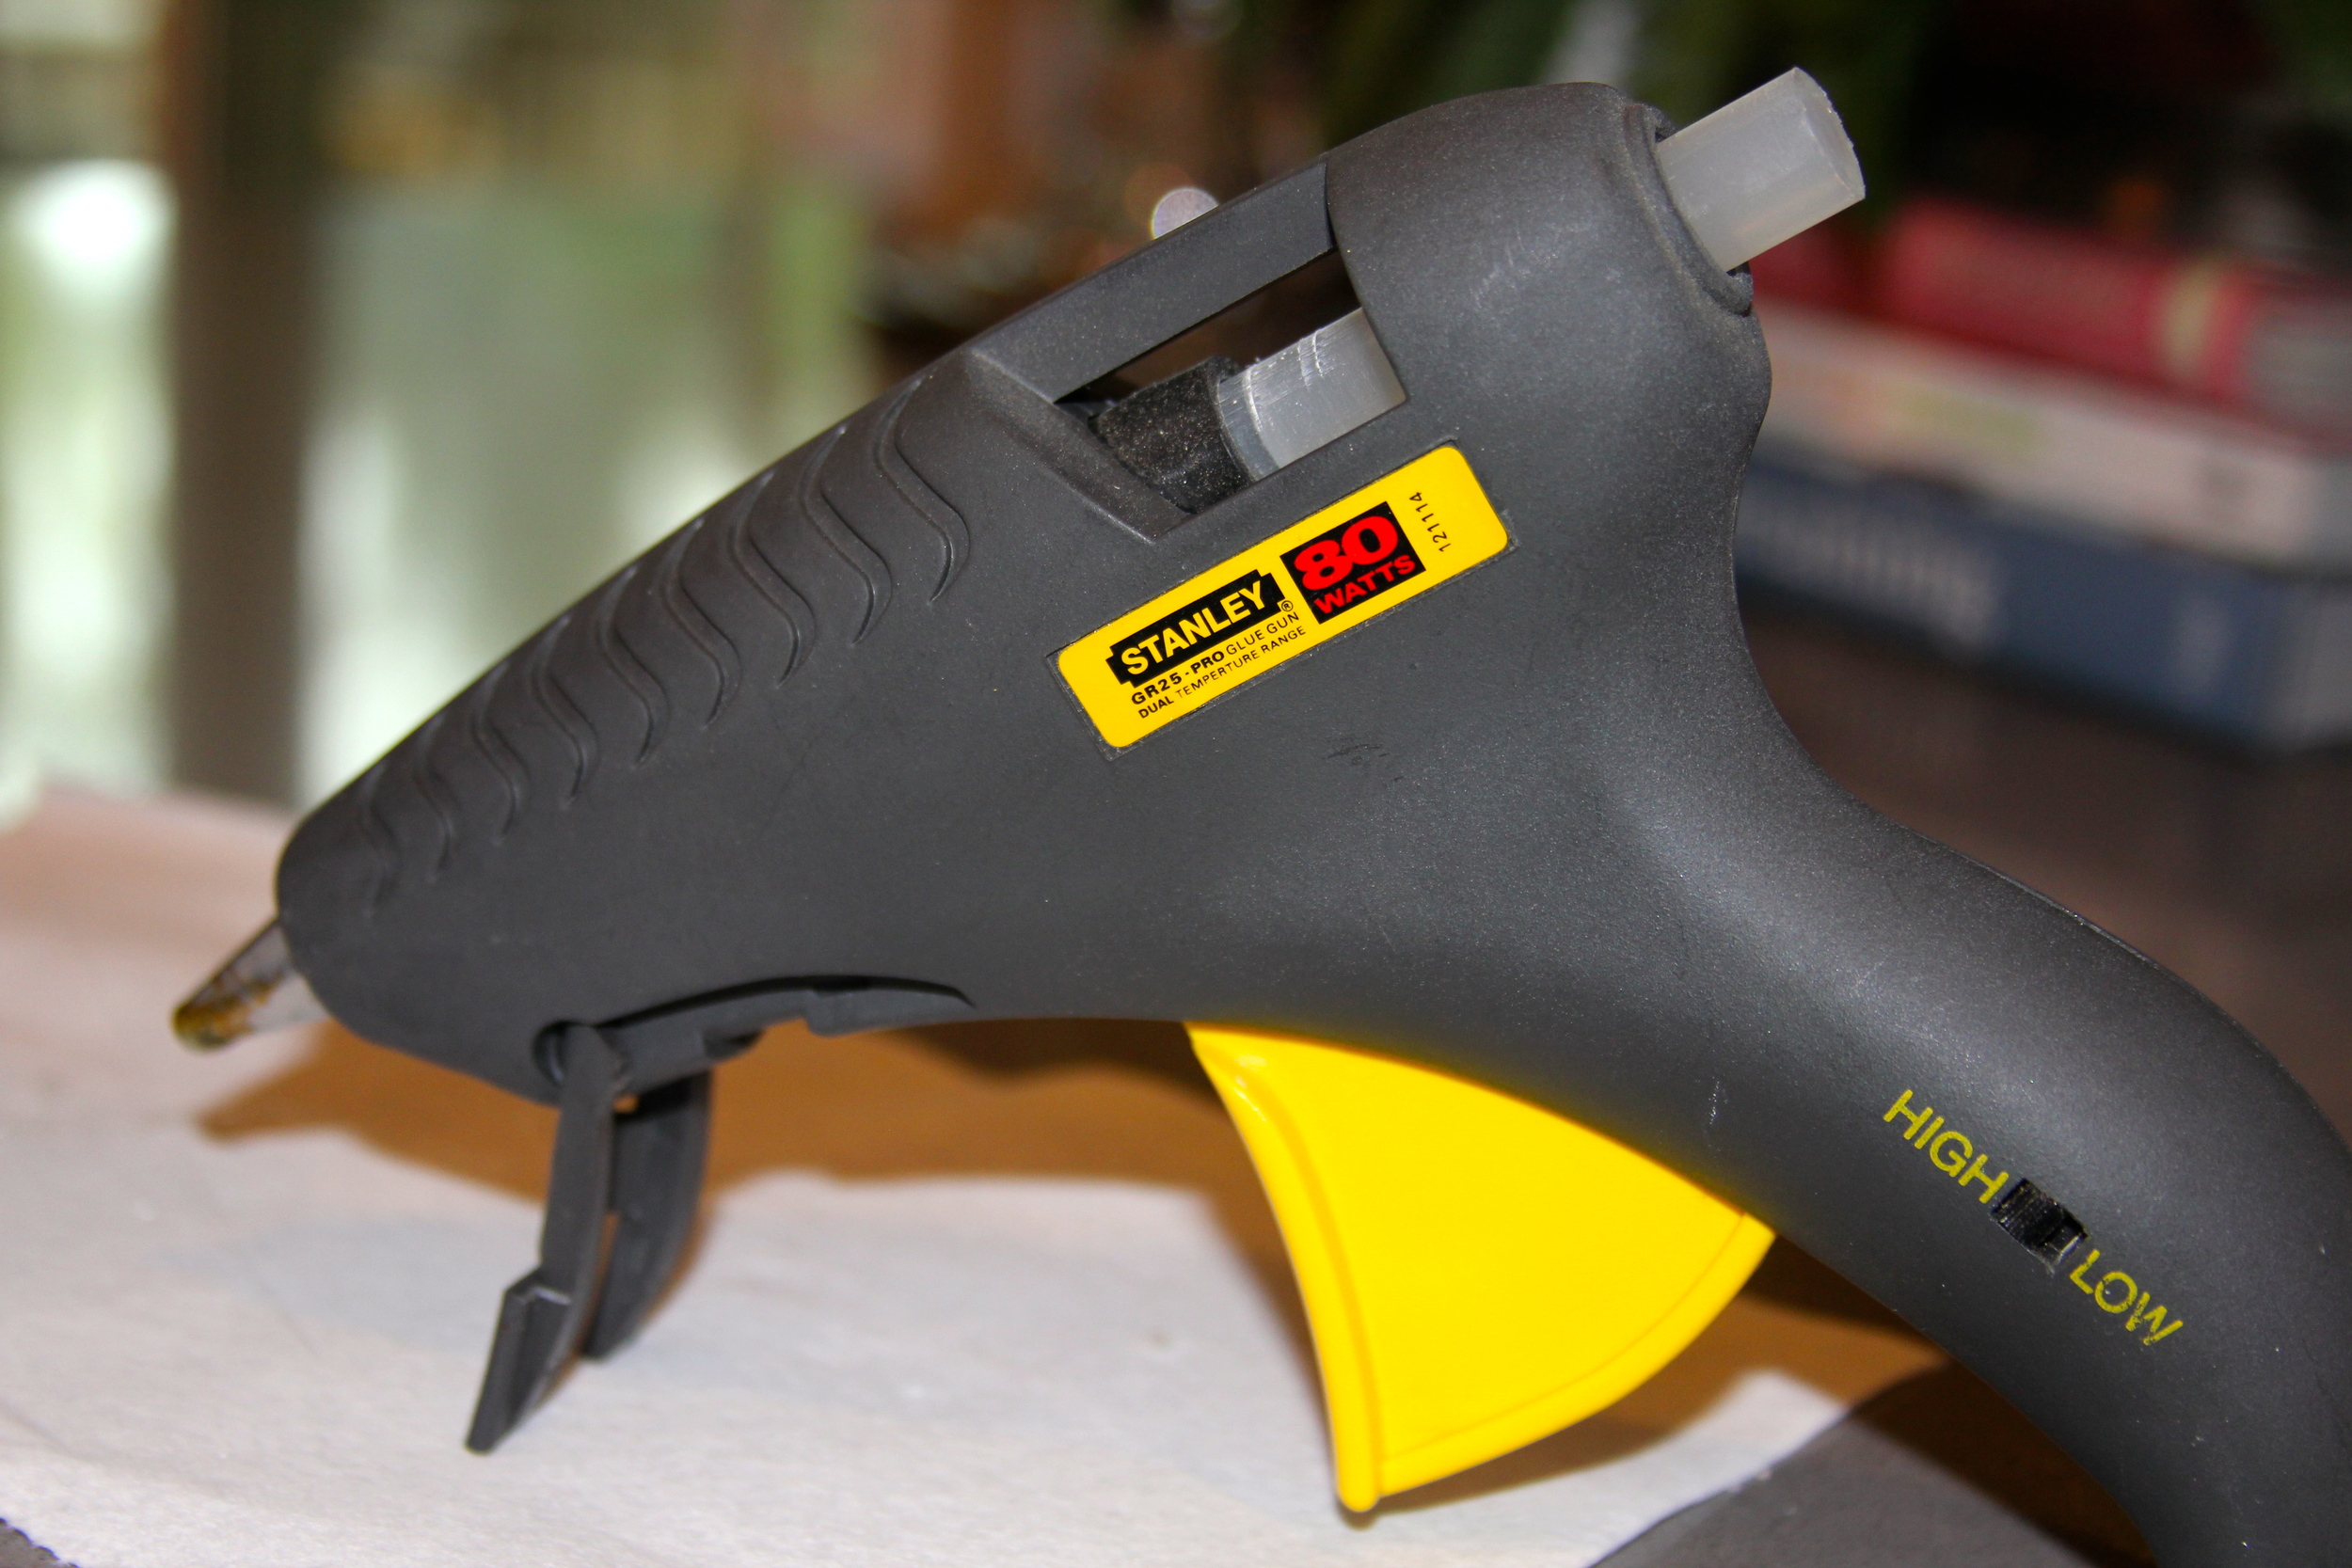
Therefore, I grabbed my glue gun.
{this one is hot, but I also have cool glue guns for when the kids help me out}
...and found some rickrack to try and fix this sad state of a pumpkin.
{flip the rickrack at the corners}
So maybe I burned my fingertips a few times. And maybe there's a little drippage of the glue. I can go back and clean that up, no biggie.
But...I am proud to say that my imperfect pumpkin is actually a lot cuter than it would have been! It may not be perfect, but what is? I made it with my kids, and I like it.
Laith & I lightly sprayed this one with gold paint and sprinkled {a lot} of silver glitter on the top and had it drip down the sides.
He doesn't like it and wants to make a transformer one. I agree, it's not too boyish. But not to worry, we've got plenty more to play with.
...now what to do about all the other naked pumpkins on the bottom step??
Ideas?? What's your favorite way to decorate a pumpkin?
oh and pssst! don't forget to enter into the September Giveaway!
{click here}


